Steps
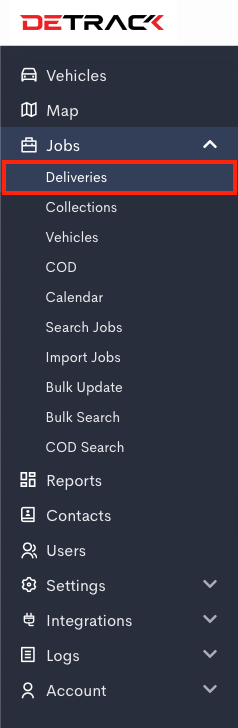
- Click on the Jobs tab.

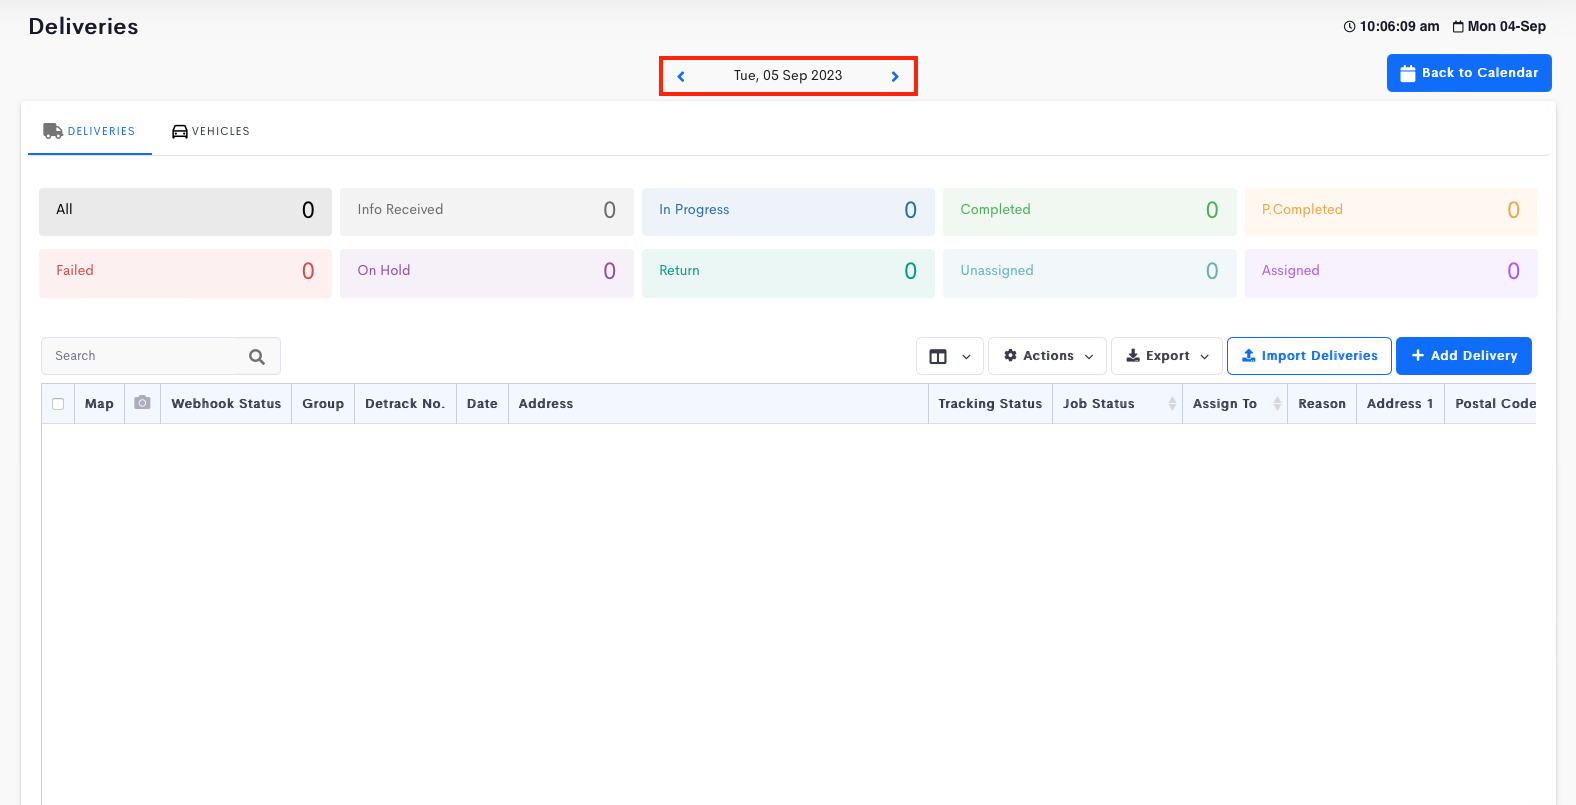
- Click on the date on the calendar and then under the Deliveries tab.

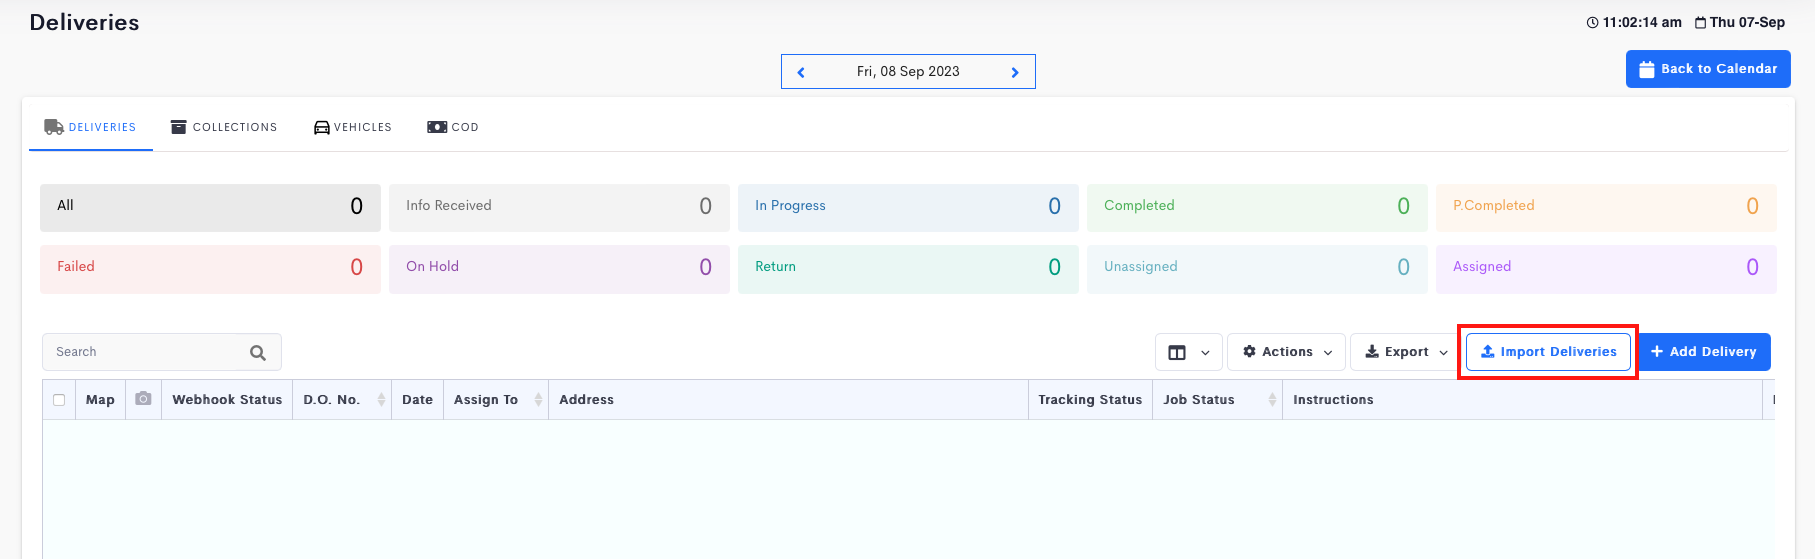
- Click the Import Deliveries button to open a pop-up will appear.

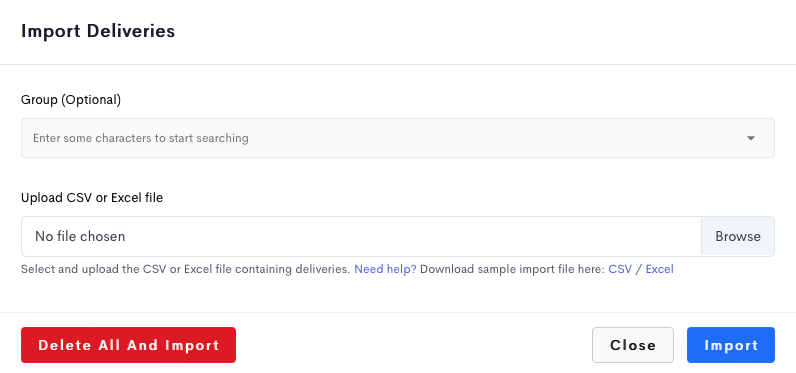
- Select your file > Import.
 Notes:
- Import button will append the jobs from your CSV or Excel (.xlsx) file to the existing jobs.
- If there were to be a job with an existing D.O. No., it will be updated.
- Delete All and Import button lets you delete all existing deliveries for the day before importing the new deliveries from your CSV or Excel (.xlsx) file.
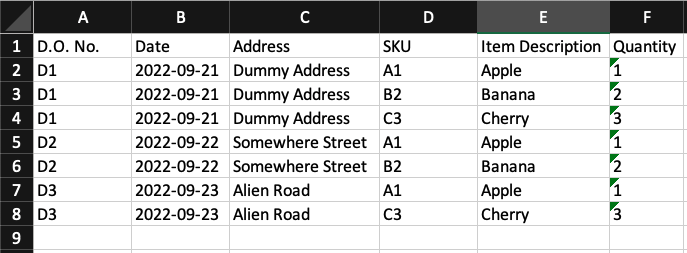
- There is no fixed order for the column headings in the CSV or Excel (.xlsx) file; the columns can be re-positioned freely i.e. Address field can be the first column or the second or last column as long as the first row reflects the Address header correctly.
- The first row must be a header row specifying which field the column represents.
The mandatory fields corresponding to D.O. No. and Address must all be present. (Case sensitive). - If your job/s has multiple items, simply repeat the row with the same D.O. No. with different SKU, Item Description and Quantity.

- If you need to import jobs for various dates, refer to How To Import Jobs Across Different Dates.
 Notes:
Required Fields
- D.O. No. (required field if Auto-Generate D.O. No. feature is off.)
- Address (required field)


