For WooCommerce users, you can now choose to have your jobs from your WooCommerce account entered into Detrack automatically by setting up the Zapier connection (one time setup) to achieve this automation.
Link to Zapier Template
Once you have the above, you are ready to start on the steps below.
Steps
- Create a WooCommerce account.
-
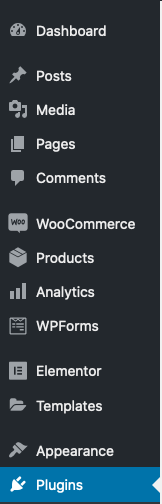
Navigate to Pluins.

-
Click on Add New.

- Look up WooCommerce Zapier Integration any other suitable plug-ins e.g. WooZap. This tutorial will demonstrate the use of WooCommerce Zapier Integration plug-in.
- Install the plug-in.
-
In your Zapier account, create a new Zap.

-
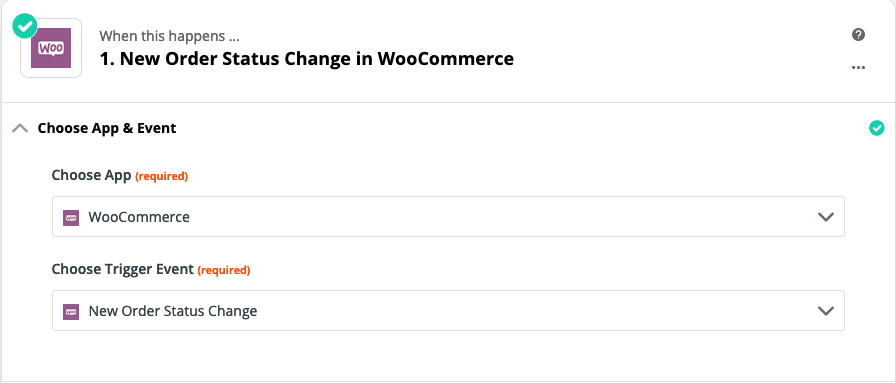
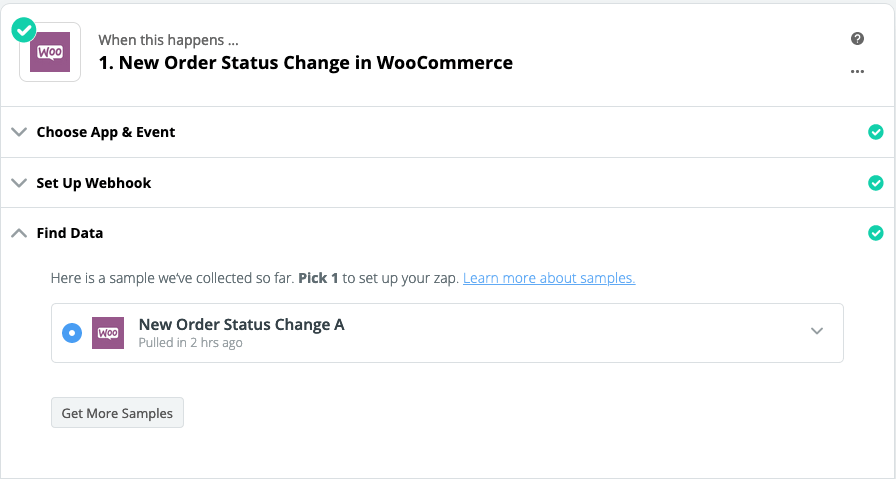
Select WooCommerce for Choose App; and New Order Status Change for Choose Trigger Event.

- Click Continue.
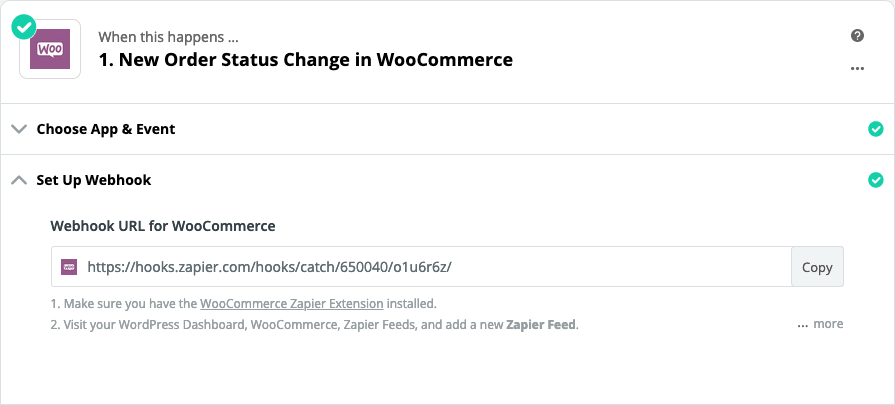
-
A webhook URL will be created. Copy that webhook URL out.

-
Return back to the WooCommerce Zapier Integration plugin.

-
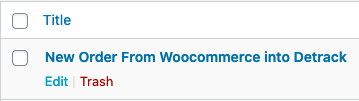
Click on Settings.

- Click on Edit.
-
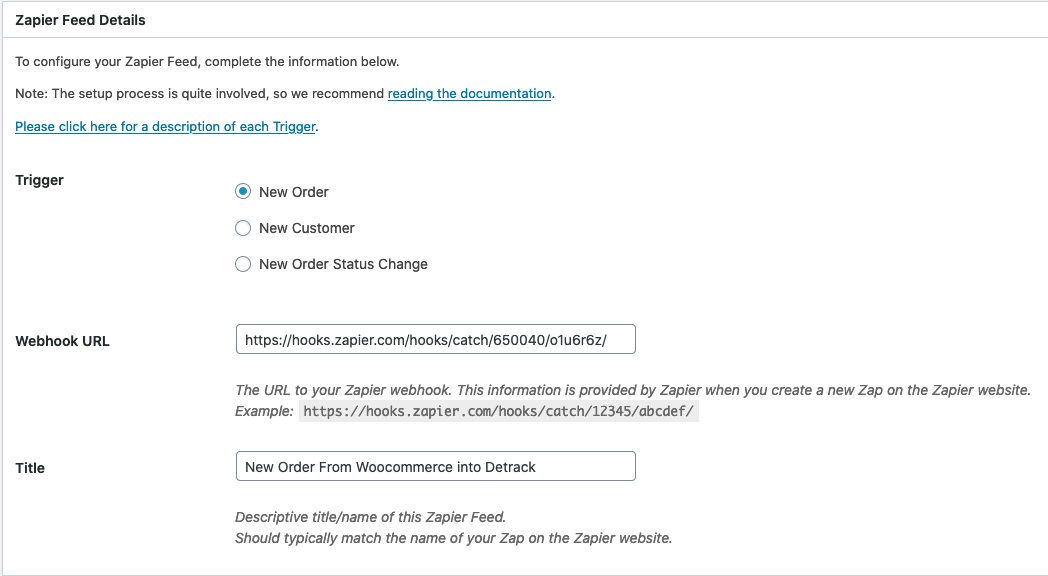
Enter the copied Zapier hook into the Webhook URL field; and provide a name for it, e.g. New Order From WooCommerce into Detrack.

- Click Update to save the information.
- To test, you may proceed to create an order in your WooCommerce account.
- Navigate back to your Zap.
-
If the order is successfully created, there will be a record in the Zap.

-
Click the +.

-
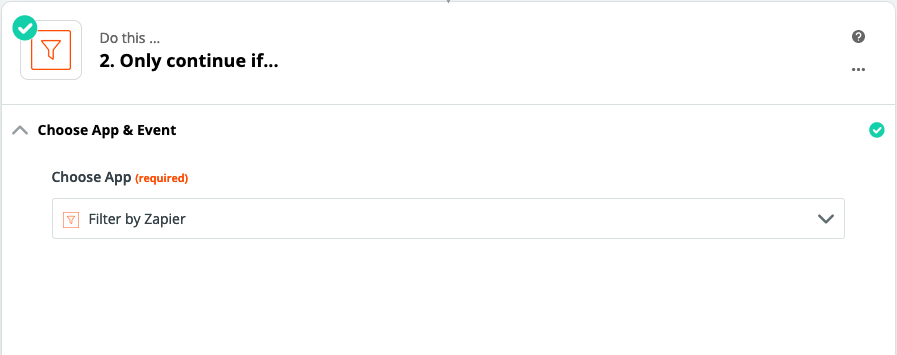
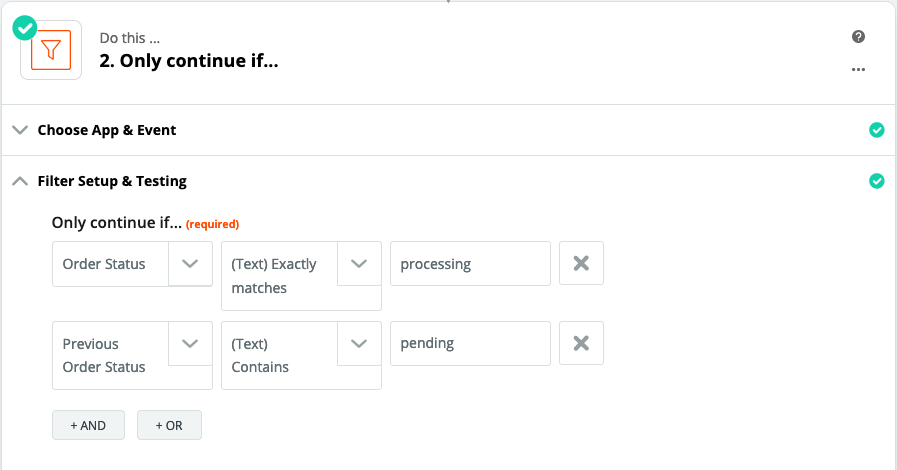
(Optional) If you have custom conditions prior to creating the jobs in Detrack. You may set it up here. Otherwise, skip ahead to Step 24. Select Filter by Zapier for Choose App.

- Click Continue.
-
You may set various custom conditions here.For example:

- Click Continue.
-
Click the +.
-
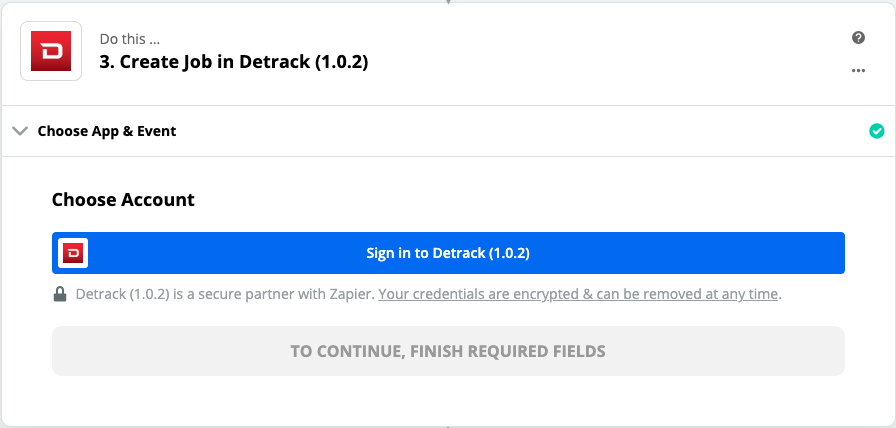
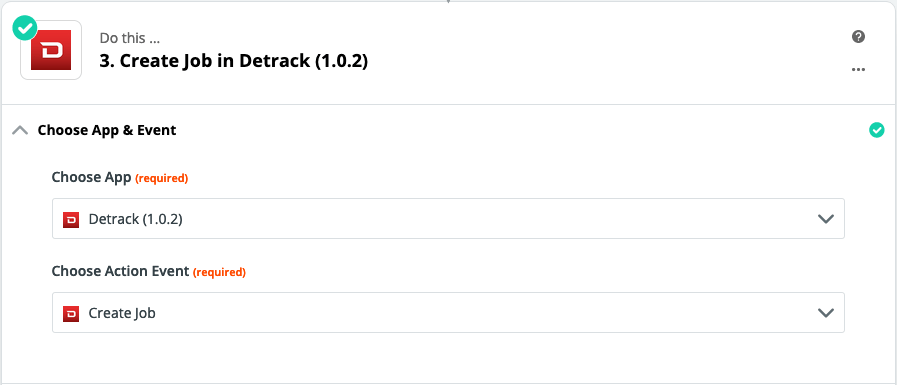
Select Detrack for Choose App. Kindly use the latest version.

- Click Sign in to Detrack.
-
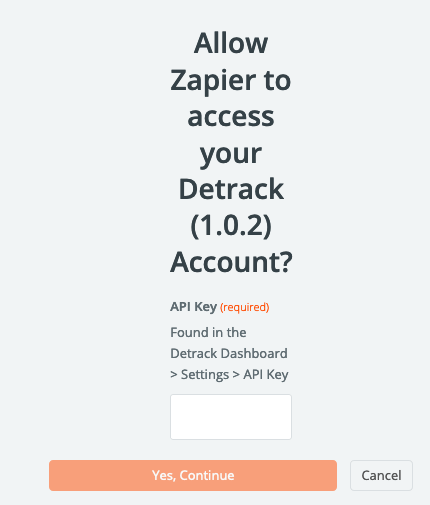
Enter your Detrack API Key. In your Detrack account, navigate to Settings > API Key.

- Click Yes. Continue when done.
- Return back to the Zap.
-
Select Create Job for the action.

- Click Continue.
-
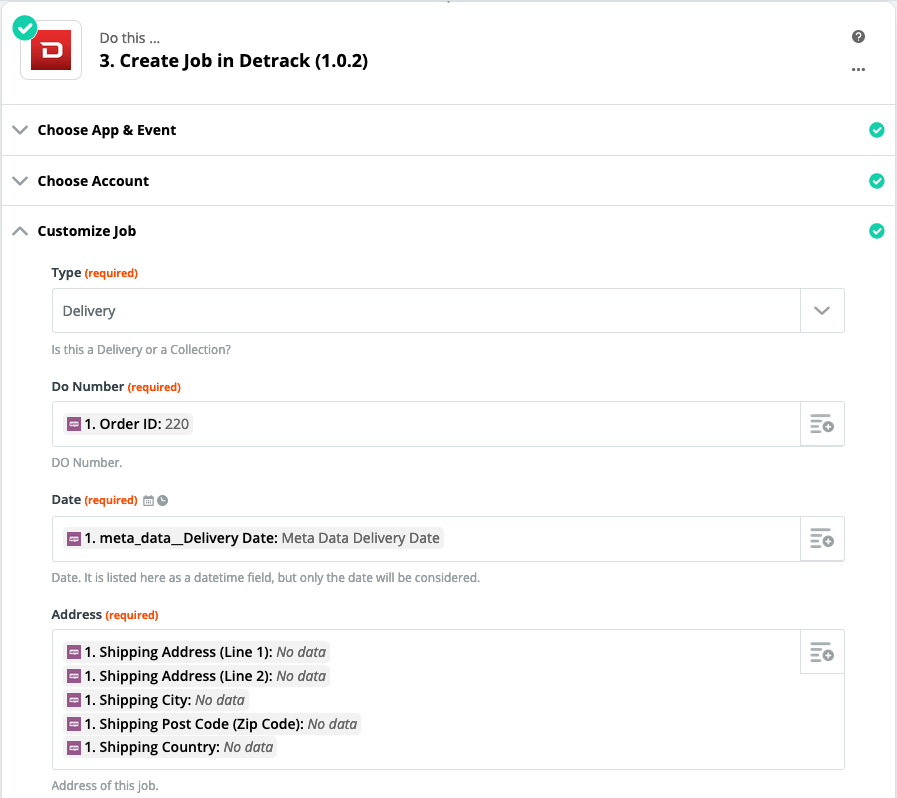
Select and map your WooCommerce fields into Detrack. For example:

-
If you happen to have additional information for sending over to your Detrack account, select Yes for Show All Data Fields.

-
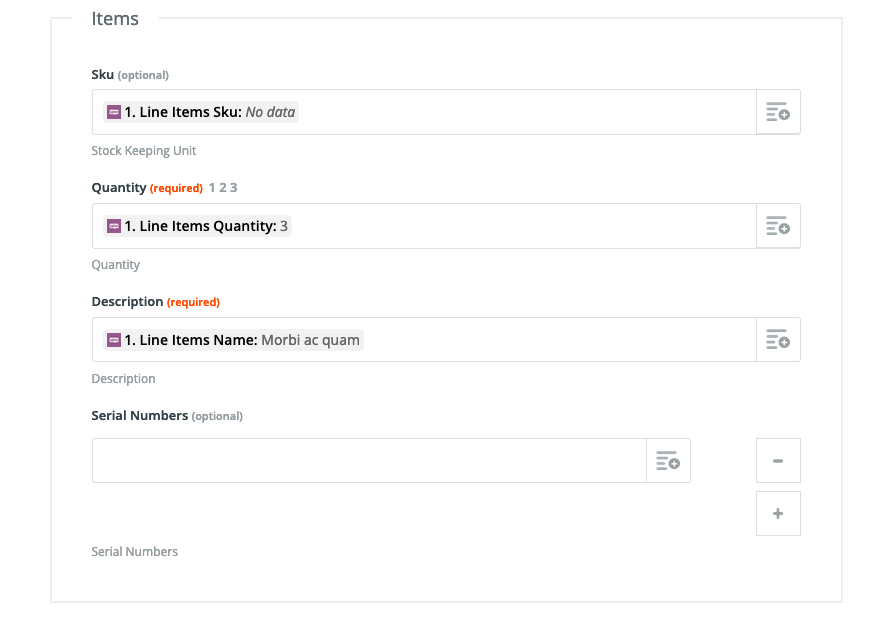
For sending of the items information, you may enter them in the Items section.

-
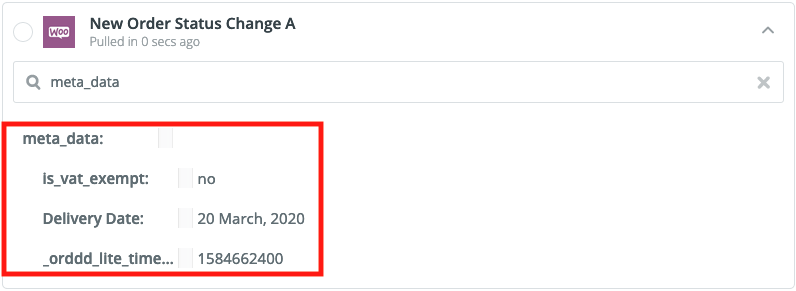
If you happen to be using other third-party plug-ins for sending information from WooCommerce, you may find them under the meta_data key.

-
If you happen to have additional information for sending over to your Detrack account, select Yes for Show All Data Fields.
- Click Continue.
-
You may create a test job.

-
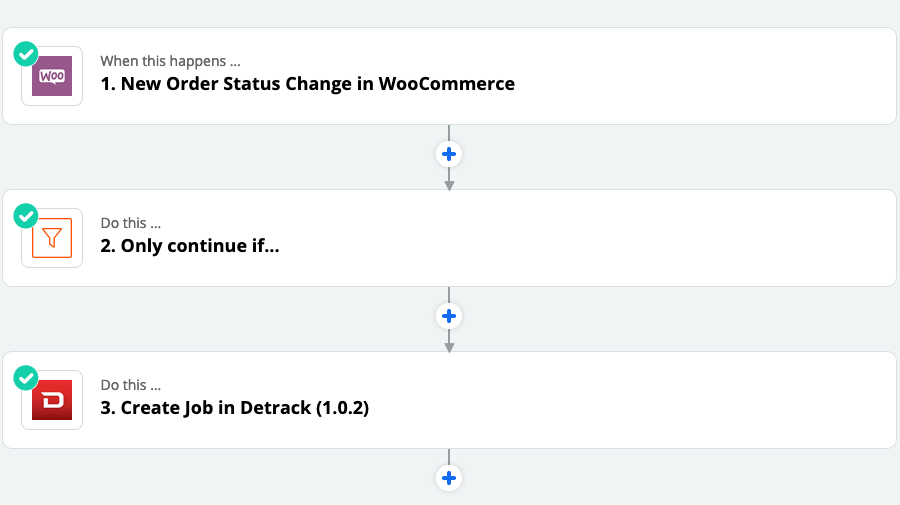
Workflow of Zap.

-
Provide a name for the Zap.

- Switch On the Zap.


