This article is regarding the import of jobs (for different dates) in a single CSV / Excel file.
Steps
To import jobs across different dates:
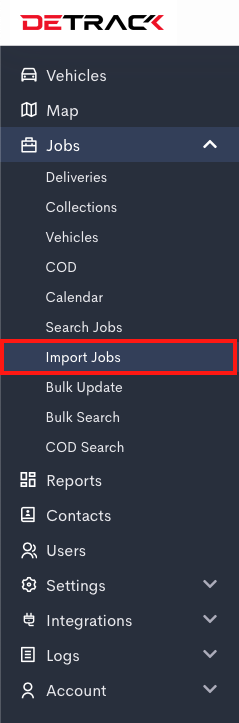
- Click on Jobs > Import Jobs.

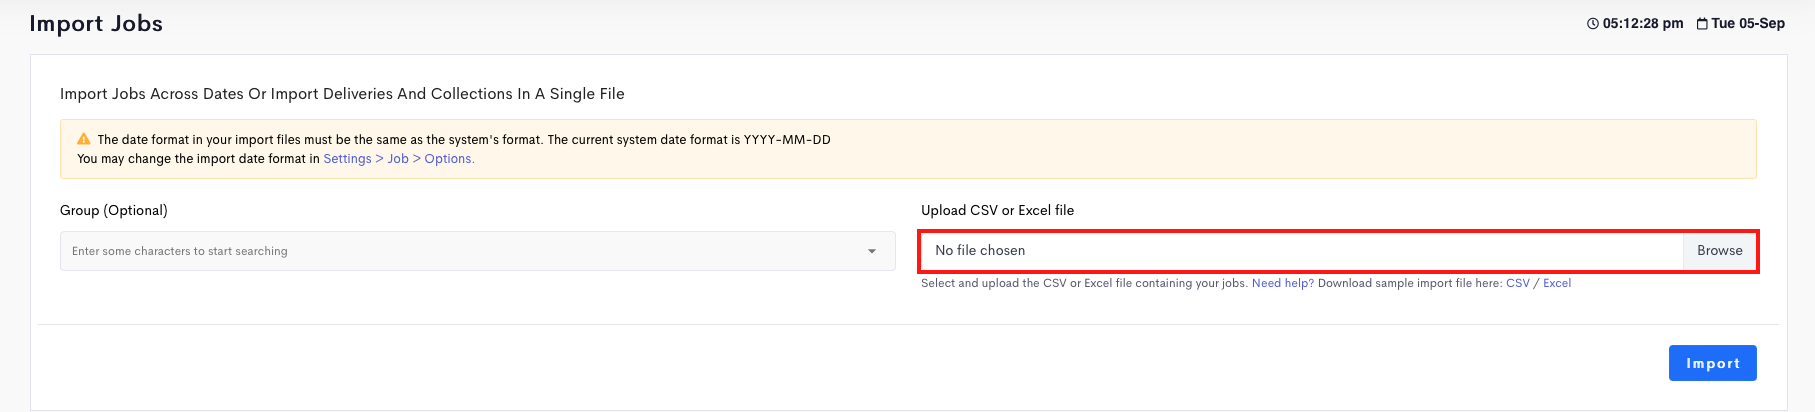
- Select your file for import.

- Click Import.
- The results will appear in the Import Results section.
Notes
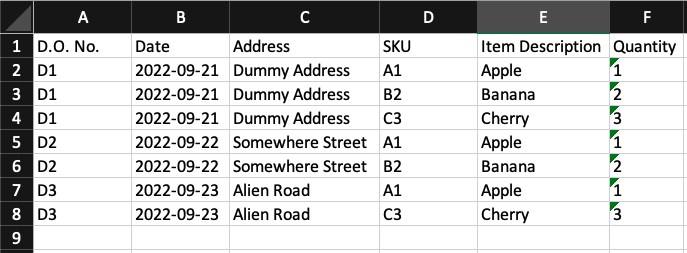
- The first row must be a header row specifying which field the column represents.
The mandatory fields corresponding to D.O. No., Date, and Address must all be present. (Case sensitive).Field Description Detrack Job Type Either Delivery or Collection Date Date to perform the job D.O. No. Unique identifier for the job Address Location to perform the job - If your job/s has multiple items, simply repeat the row with the same D.O. No. with different SKU, Item Description and Quantity.
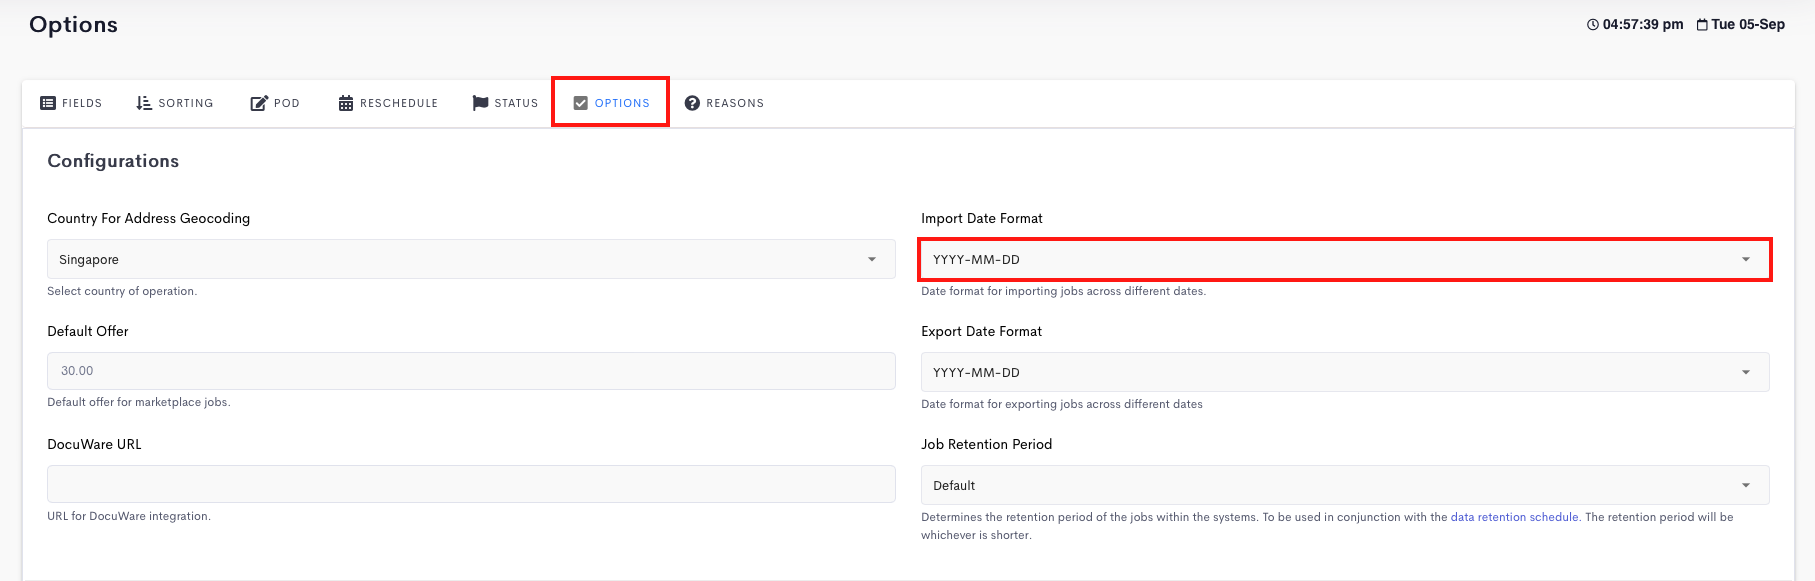
Date Format
The default date format is YYYY-MM-DD.
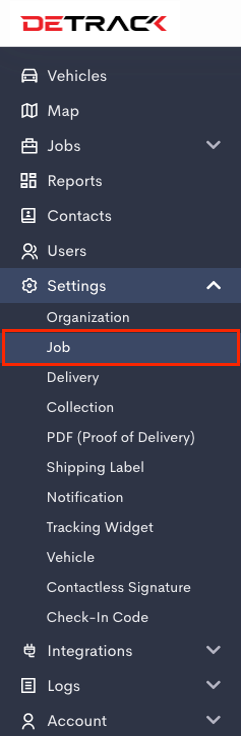
To select other formats, navigate to Settings > Job Options > Import Date Format.
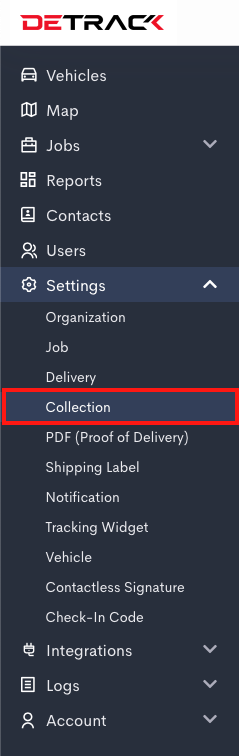
Use Of Collection Headers
By default, the headers settings will take reference from your Delivery settings for importing. If you wish for the systems to separately take the Delivery and Collection headers for importing your file, navigate to Settings > Collection > Switch on Use collection headers for cross date import > Save.
Thereafter, when the Detrack Job Type (either Delivery or Collection) is being specified, it will take reference from the Delivery or Collection headers respectively.


