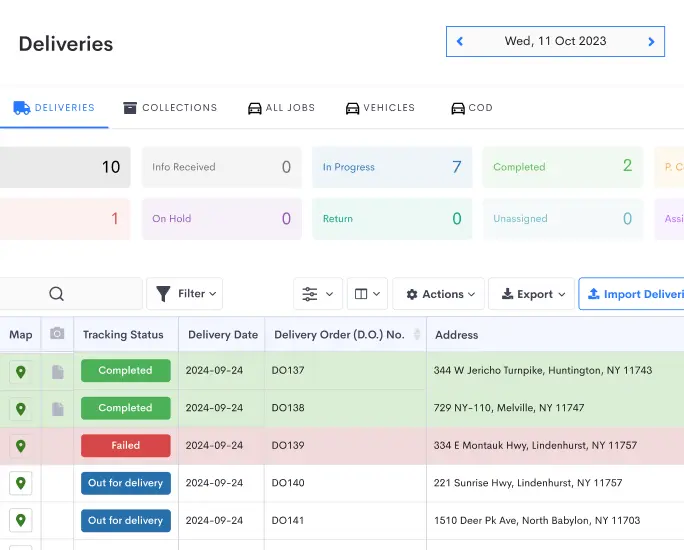
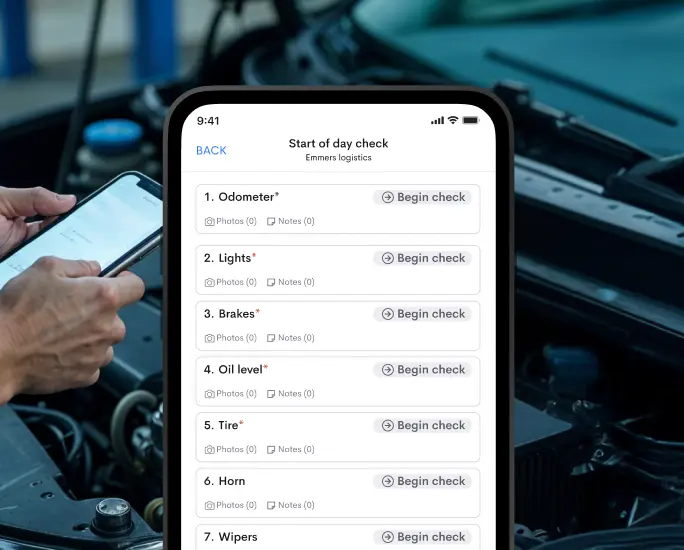
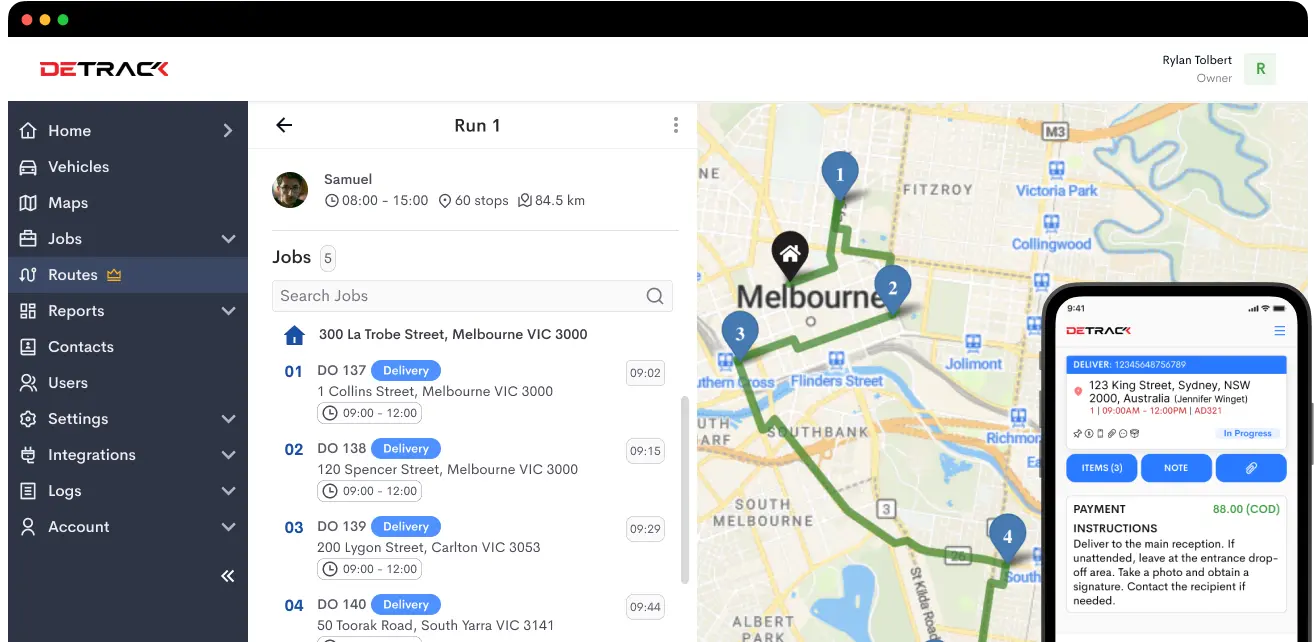
We are excited to announce our newest update – Detrack Dashboard V4! This update offers a simpler and more efficient way to manage your deliveries.
With a redesigned layout and faster performance, you’ll be able to get the information you need faster and easier than ever before. Check out all of the new features below!
Here are the 4 main improvements of the Dashboard V4:
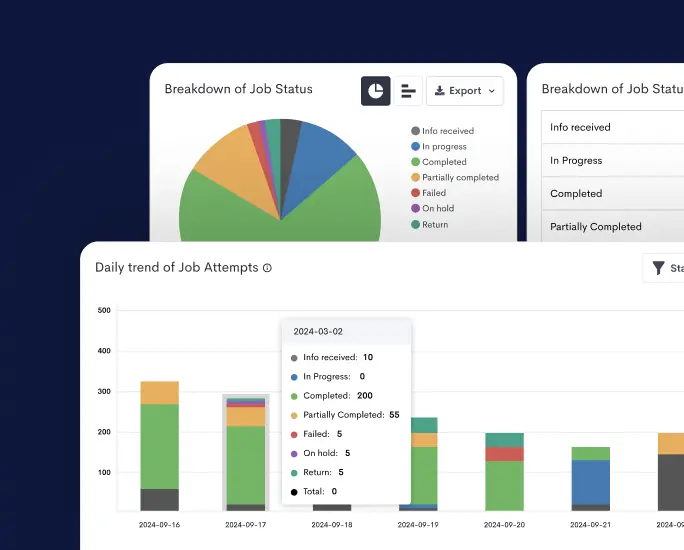
1. New reports
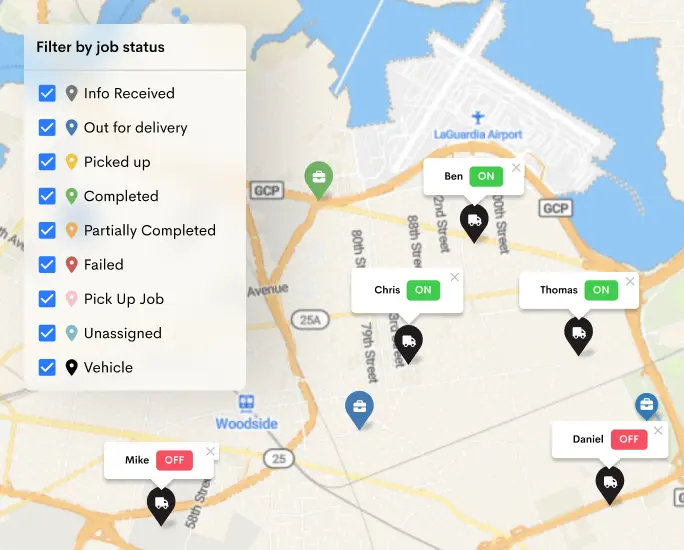
Get better overviews of how your business is doing. At a glance, you will be able to get a gauge of your drivers’ performance, Cash-on-Delivery (CoD) and late delivery. Understanding where you are doing well and where you need to improve is key to a thriving business.
2. Live support integration
Live support can now be integrated right into your workflow. No longer do you need to hunt down a special contact page or dig up an email address; you know exactly where to go when you need help.
3. Automatic upgrade to any new features and optimization released
Here at Detrack, we are constantly building, testing, and pushing our product to make it easier to manage your delivery business. To ensure that you are making the most of the platform, all new upgrades will be made available to you immediately.
4. A modern and user-friendly interface
The Dashboard V4 has a simpler & better user interface with increased performance & load speeds.
Besides these features, let’s take a closer look at the other Dashboard V4 features:
Add Vehicles in Two Ways
You can add vehicles in two ways – using your Detrack ID or QR scan.
To add a vehicle using your Detrack ID, simply click on the “Add Vehicle” icon on the top right corner of the screen.
You will then be prompted to enter your Detrack ID. Once you’ve entered your ID, click on the “Add” button and your vehicle will be added to your account.
To add a vehicle using a QR scan, click on the “Add Vehicle” icon and select “Scan QR”.
Once you’ve scanned the QR code, your vehicle will be added to your account.
When adding a vehicle, don’t forget to name it, enter the speed and stationary limit, and more!
Add New Jobs in Two Ways
Now, you can add jobs in two ways – directly on the dashboard and through CSV/ excel imports. When adding jobs directly from the dashboard, you can either click on the “Add Job” icon and select “Calendar.”
You will then be prompted to select the delivery date, followed by the deliveries tab. After that, fill in the delivery form and click on the “Add” button.
Your job will then be added to the calendar. You can also add jobs through CSV/excel imports. To do this, click on the “Add Job” icon and select “Import.”
You will then be prompted to select the CSV/excel file that you want to import. Once you’ve selected the file, click on the “Open” button and your jobs will be imported into your account.
When adding a job, don’t forget to assign it to a vehicle, enter the delivery details, and more!
Customize Your PODs
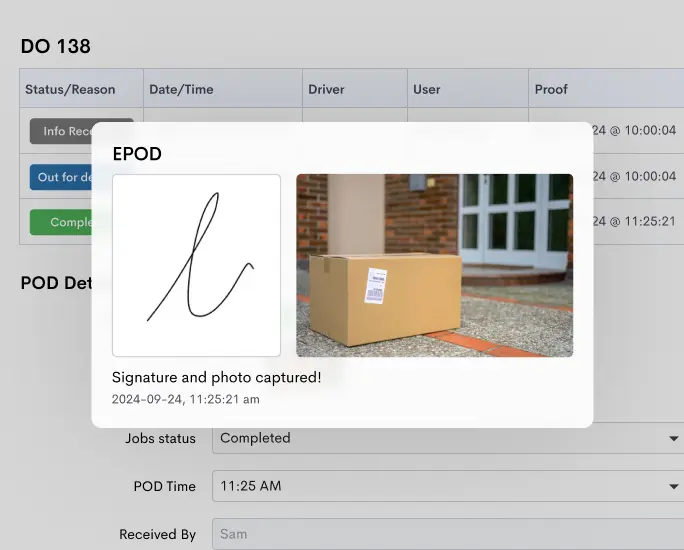
You can maintain your order records and showcase your brand to your customers at the same time.
To customize your PODs, click on the “Settings” icon on the top right corner of the screen and select “PDF.”
Here are the things you can customize from here:
- Title For Delivery / Collection
- Company Address
- Append D.O. No to PDF File name
- Include pick-up photos
- Hide POD Geolocation
- Print Serial no. barcode
- Include pick-up signature
- Hide POD address
- Use customized headers
- Hide driver details for internal POD (6)
- Display driver details for customer’s POD (7)
- Don’t forget to click on the “Save” button after making changes!
That’s it! These are just some of the new features that you’ll find on the Dashboard V4. We hope you enjoy using it! If you have any questions or feedback, feel free to reach out to us.

