Sections
Introduction
A Vehicle Inspection Checklist is used to assess the condition and safety of vehicles.
It includes a series of checks to inspect various components, systems, and safety features of the vehicle.
Regular vehicle inspections can assist in identifying potential problems to improve safety and road worthiness of a vehicle.
Dashboard
-
Setting Up The Checklist
This section is regarding the setup of the checklist template for your drivers.Steps
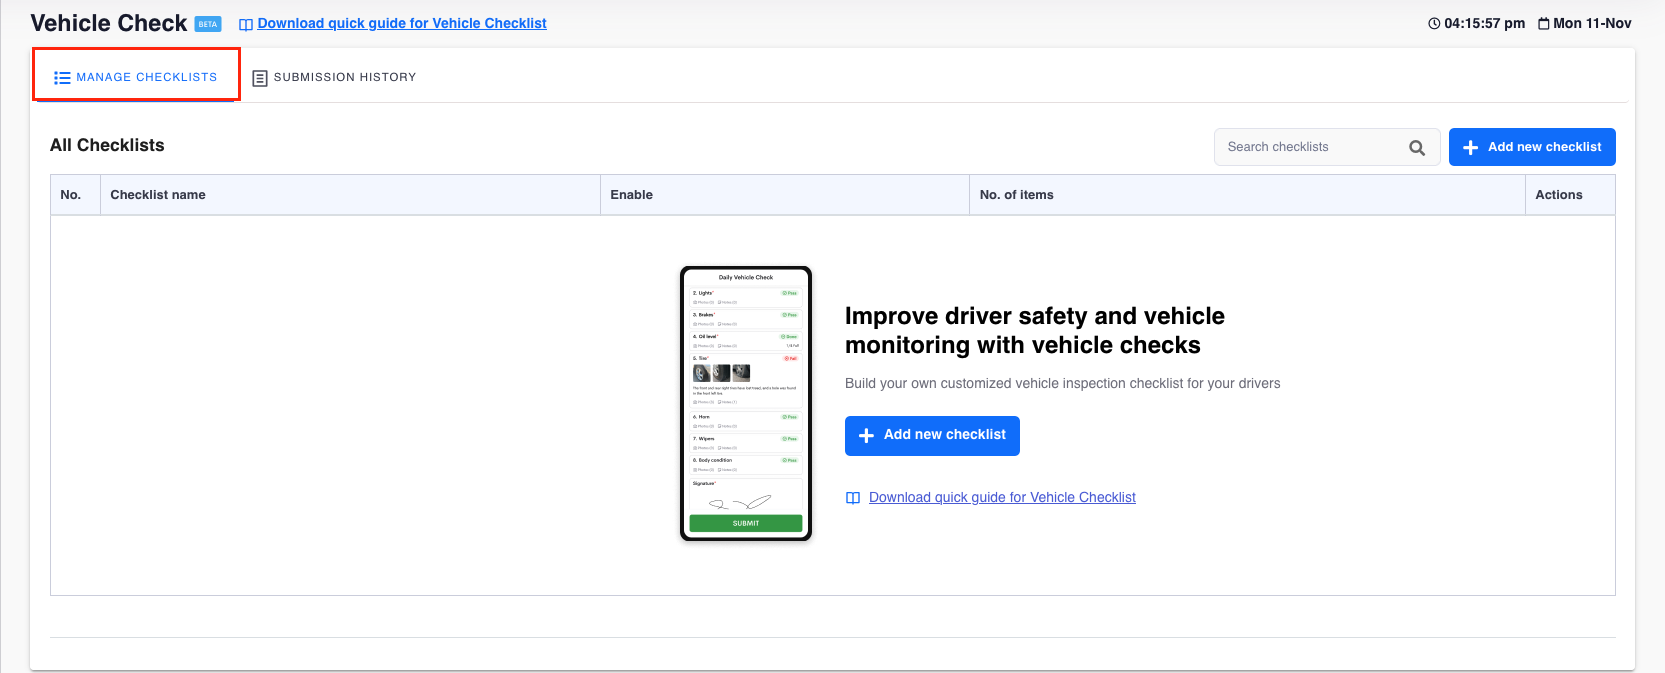
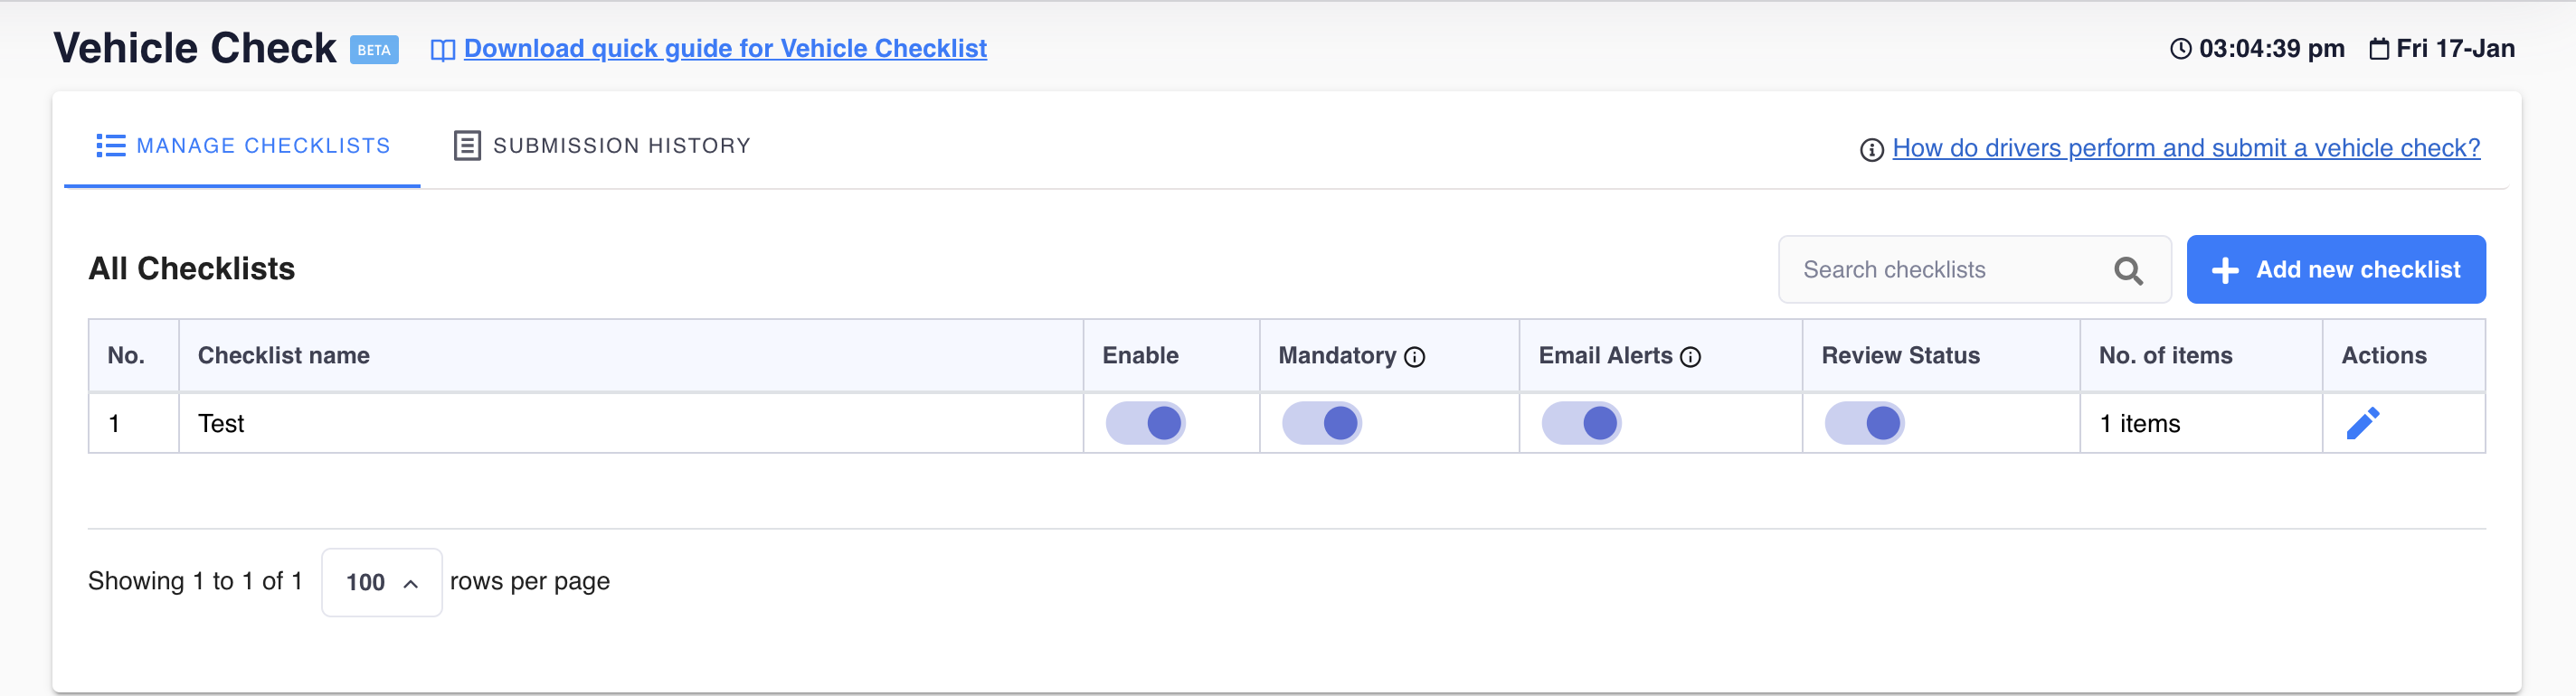
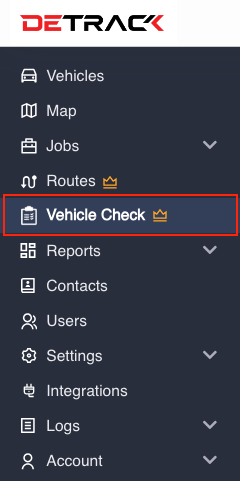
- Navigate to Vehicle Check.

- Navigate to Manage Checklist.
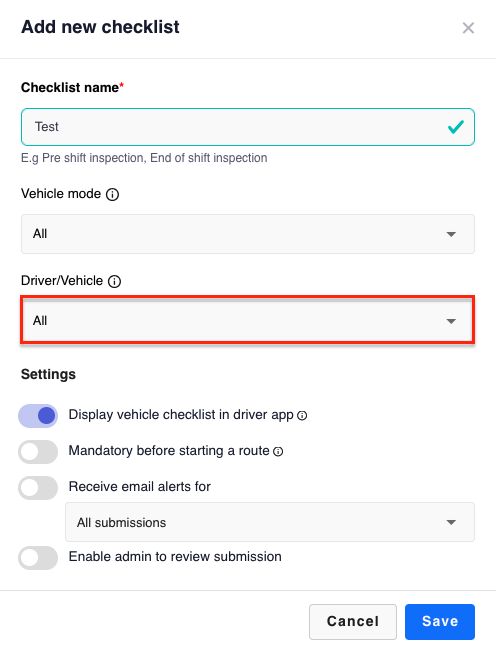
- Click the Add new checklist > A form will appear.
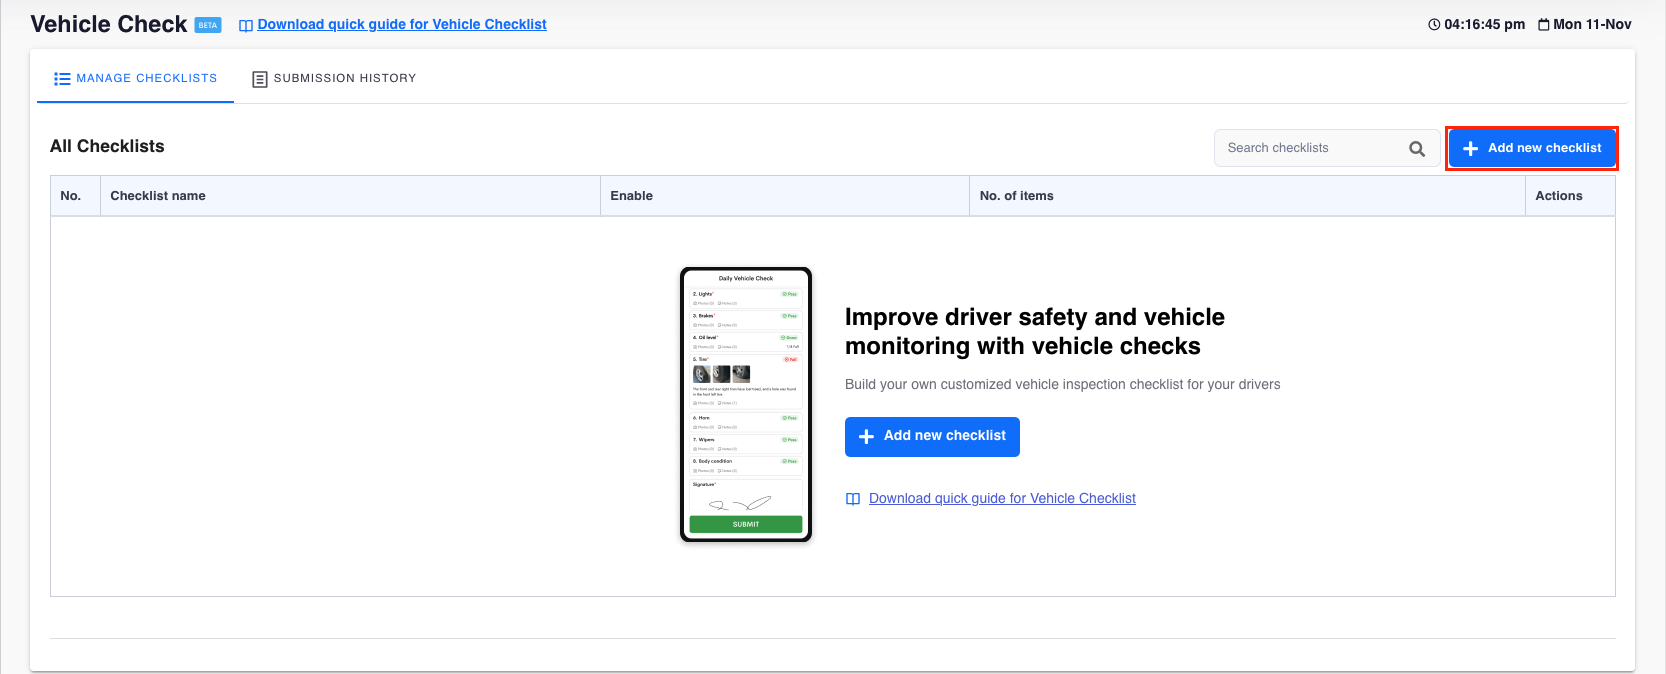
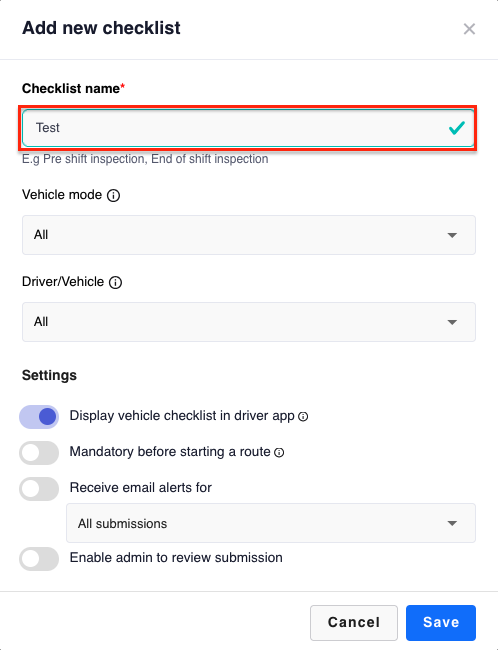
- In the ensuing form,
-
Provide a name to the checklist.
-
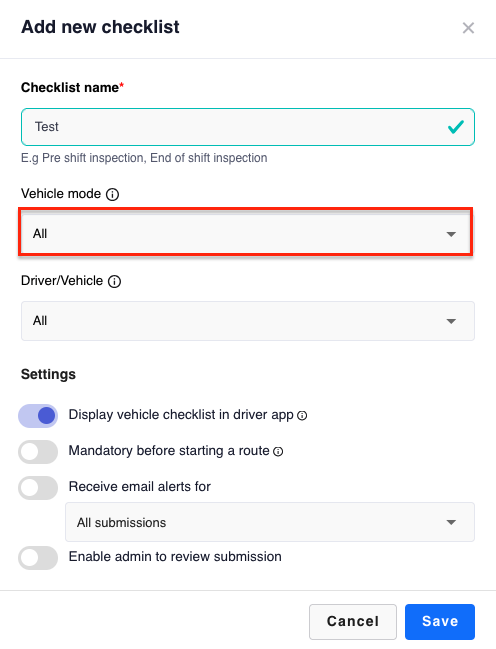
Vehicle Mode (Optional) => Vehicle with the corresponding Vehicle Mode will receive this Vehicle Checklist.
-
Driver/Vehicle (Optional) => Vehicle with the corresponding Vehicle Name will receive this Vehicle Checklist.
-
Settings (Optional)
- Display vehicle checklist in Driver App => For enabling / disabling this Vehicle Checklist.
- Mandatory before starting a route => Requires driver to submit this Vehicle Checklist before accessing the Job/s for the day in the Driver App.
-
Receive email alerts for:
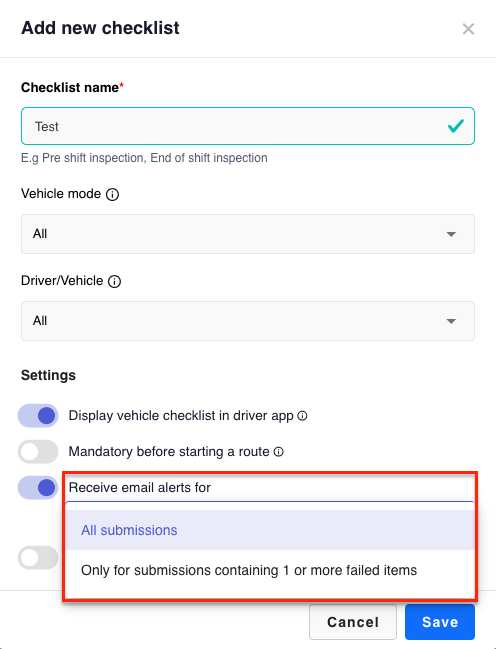
Selection Description All submissions Email will be sent whenever a vehicle check is submitted. Only for submissions containing 1 or more failed items Email will only be sent when there is 1 more more failed items. Note:
Email will be sent to the Owner and Sub-user accounts with Manage Checklist permission.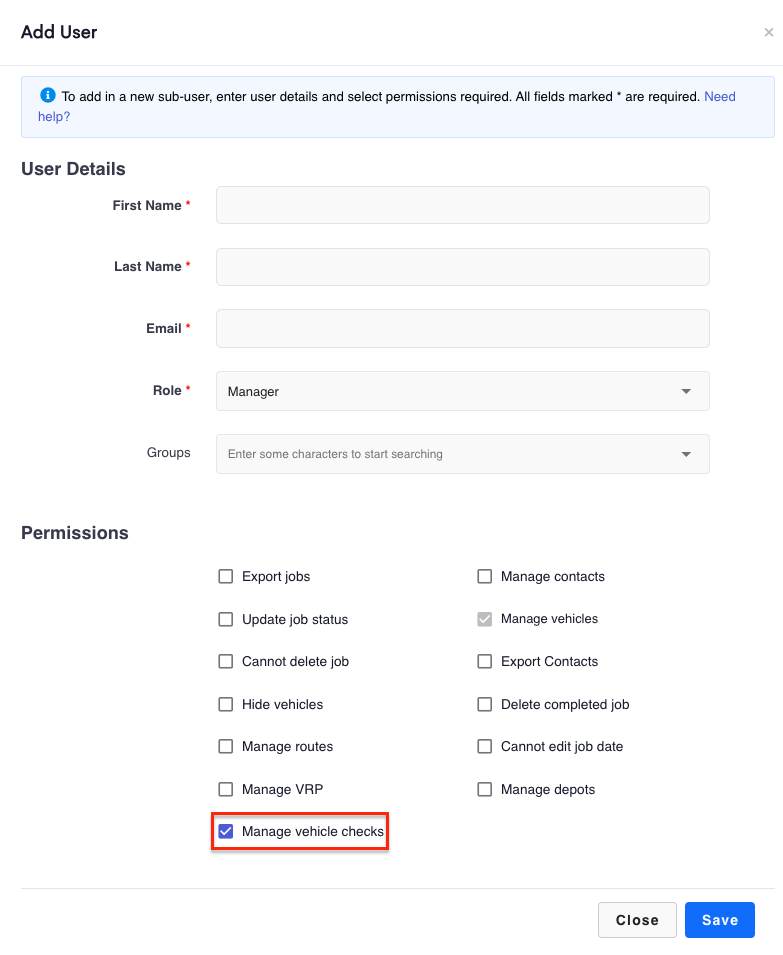 Example email:

- Require admin to review submission. => Admin (Either Owner or Manager) can review the vehicle checklist submission.
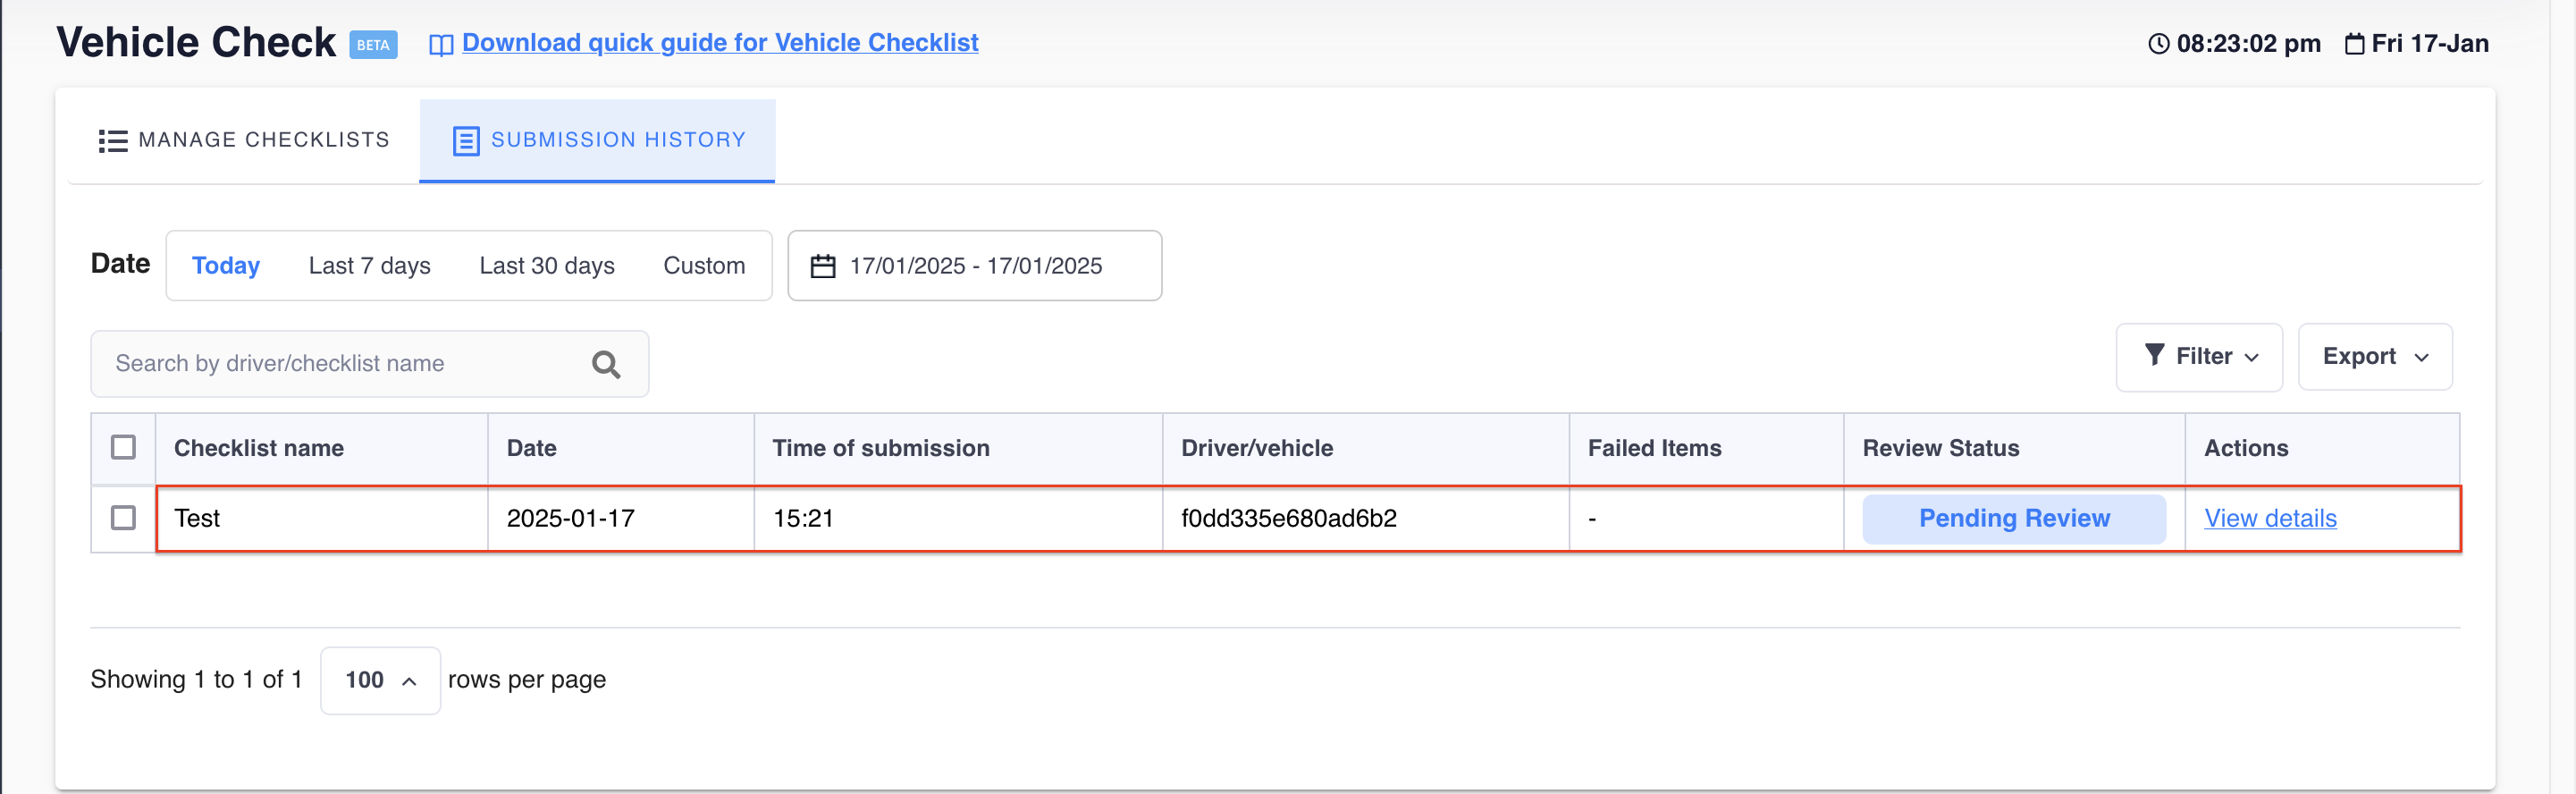
Checklist Submission Review
-
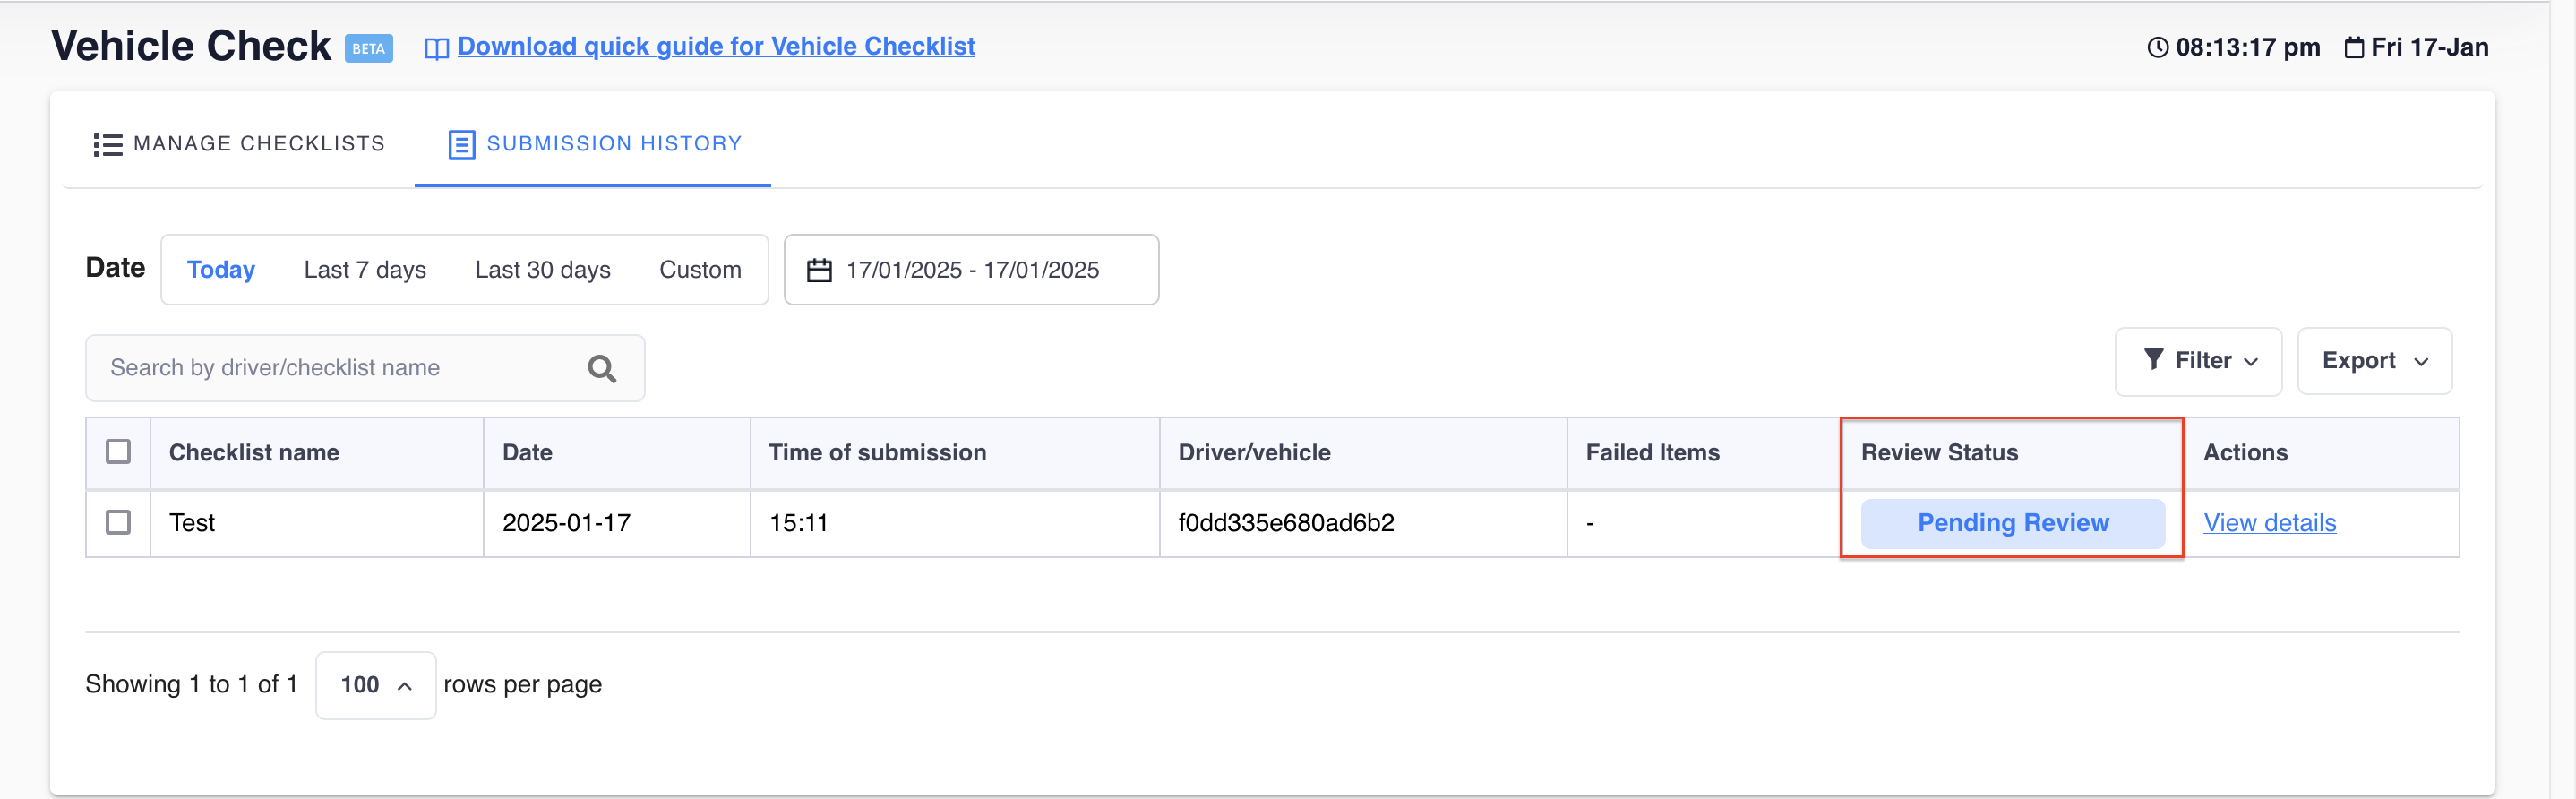
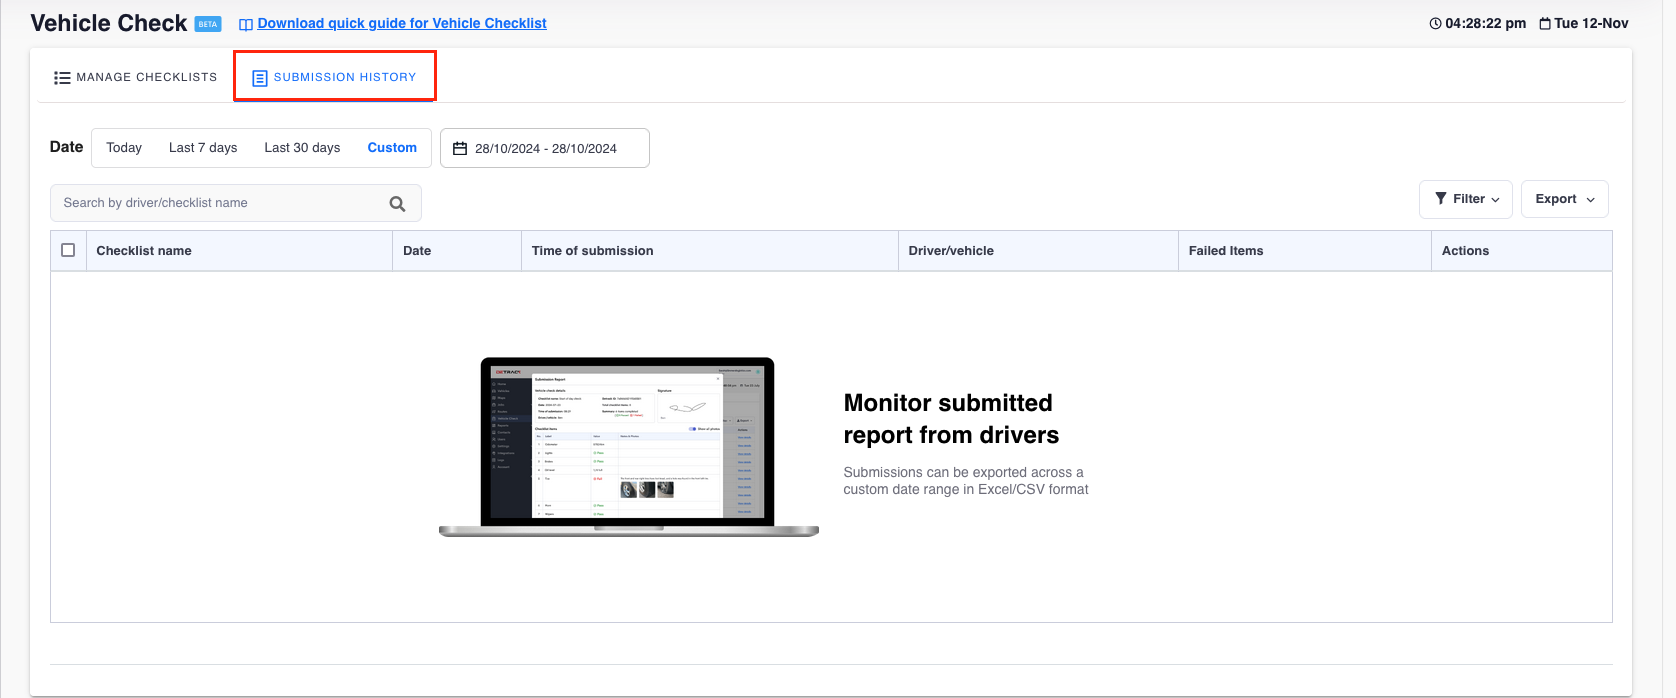
Navigate to the Submission History tab.
-
Click on the row corresponding to the vehicle checklist submission
-
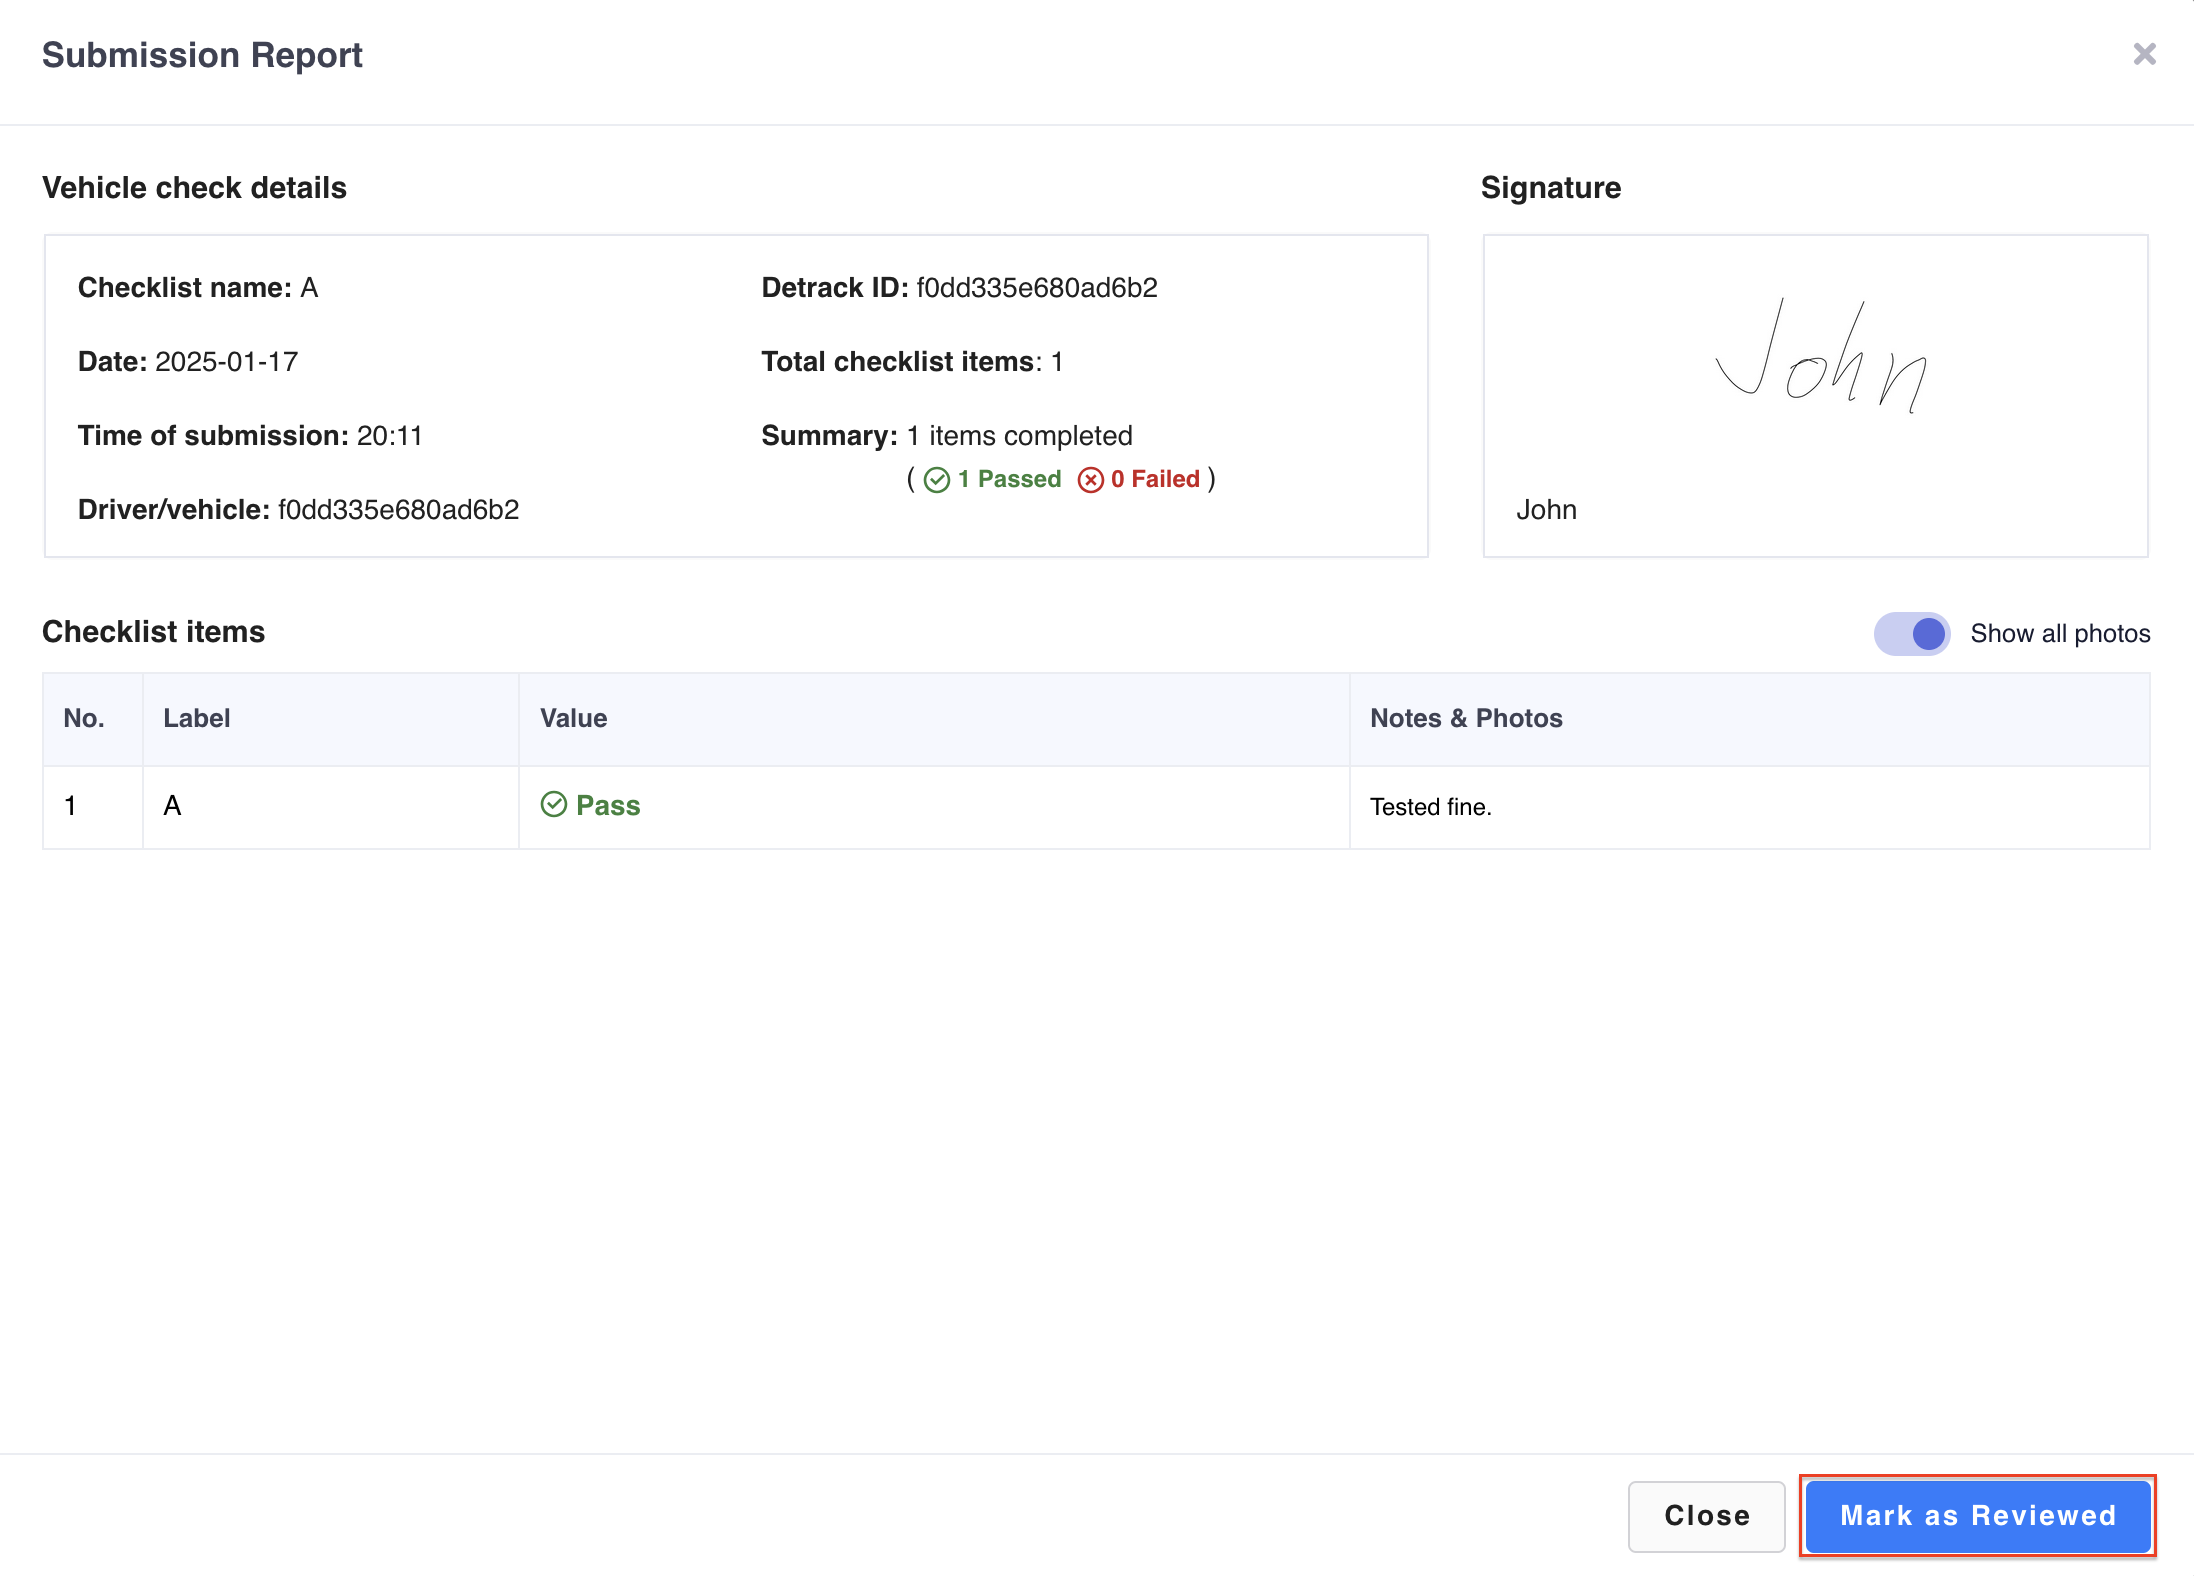
A form will appear. The admin can click on the Mark as Reviewed
button.
-
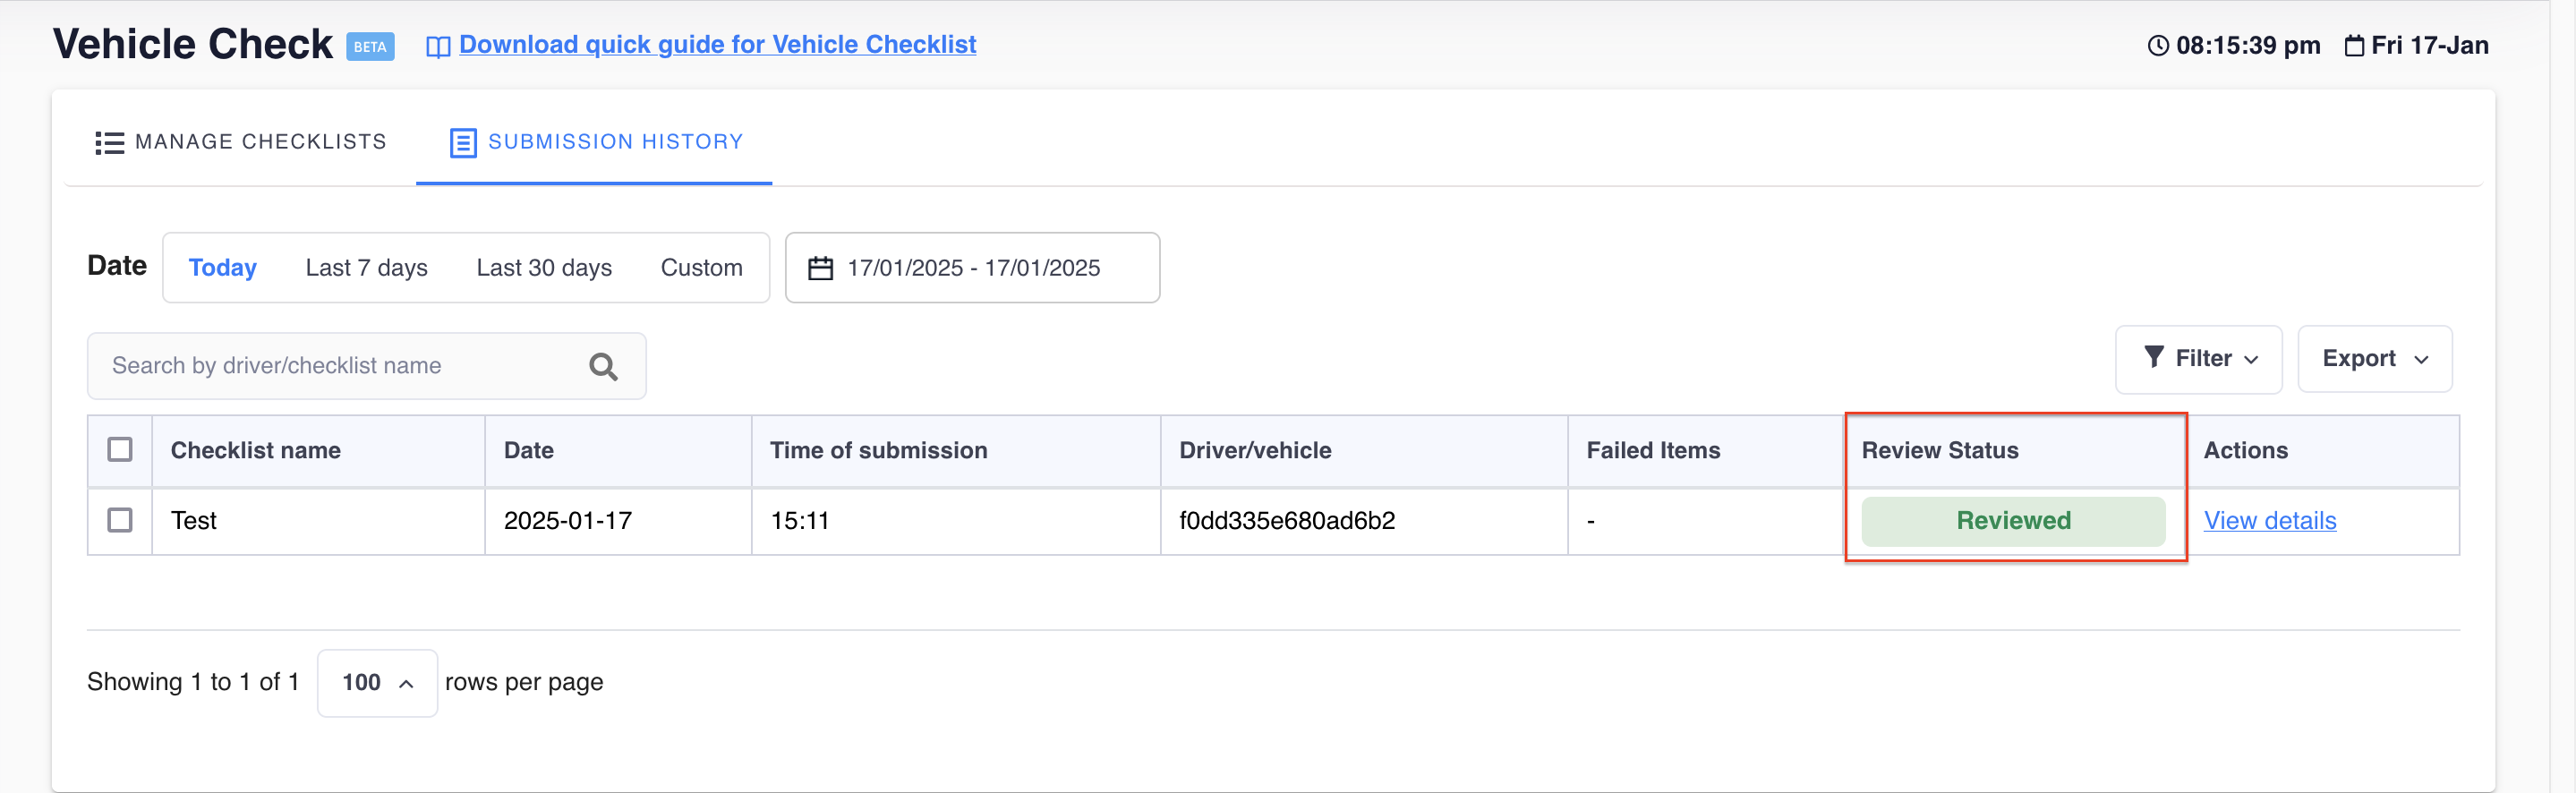
The Review Status will change to Reviewed.
-
Navigate to the Submission History tab.
-
Provide a name to the checklist.
-
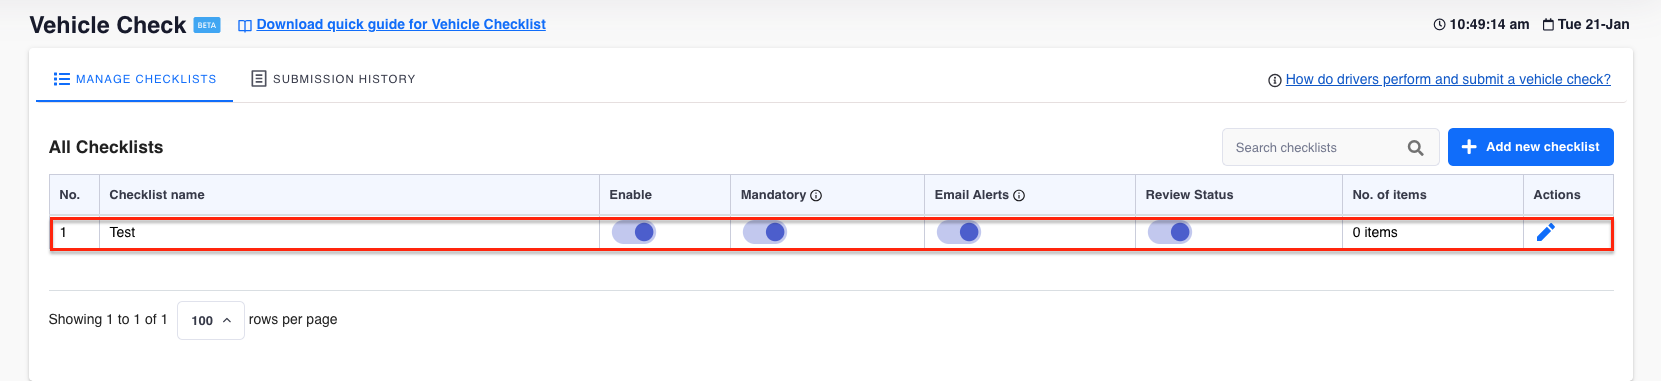
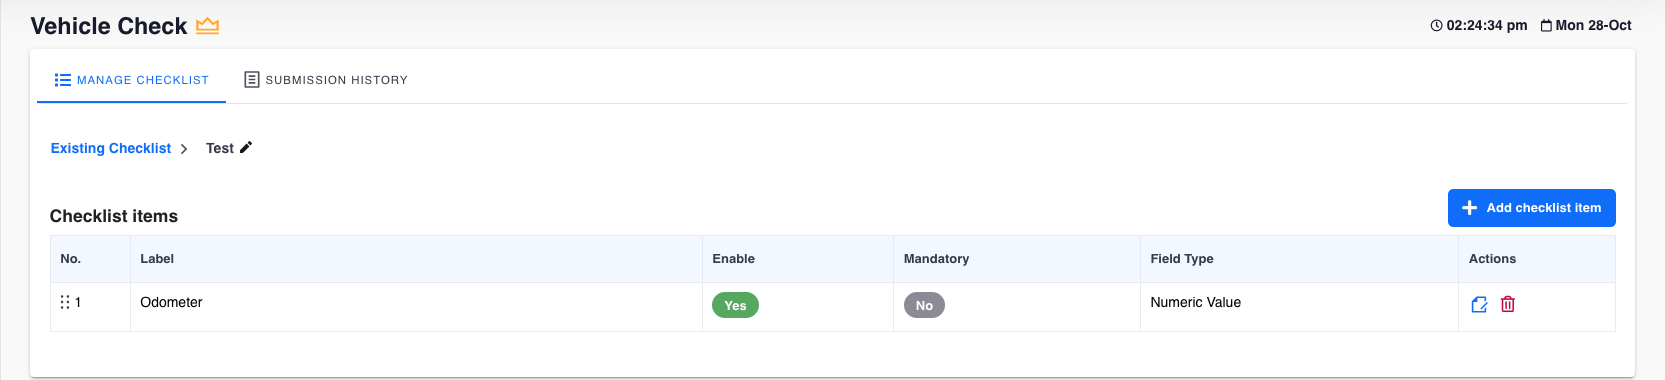
Click Save, and the checklist item will appear in the table.
-
Click the corresponding row to generate the items for this checklist.
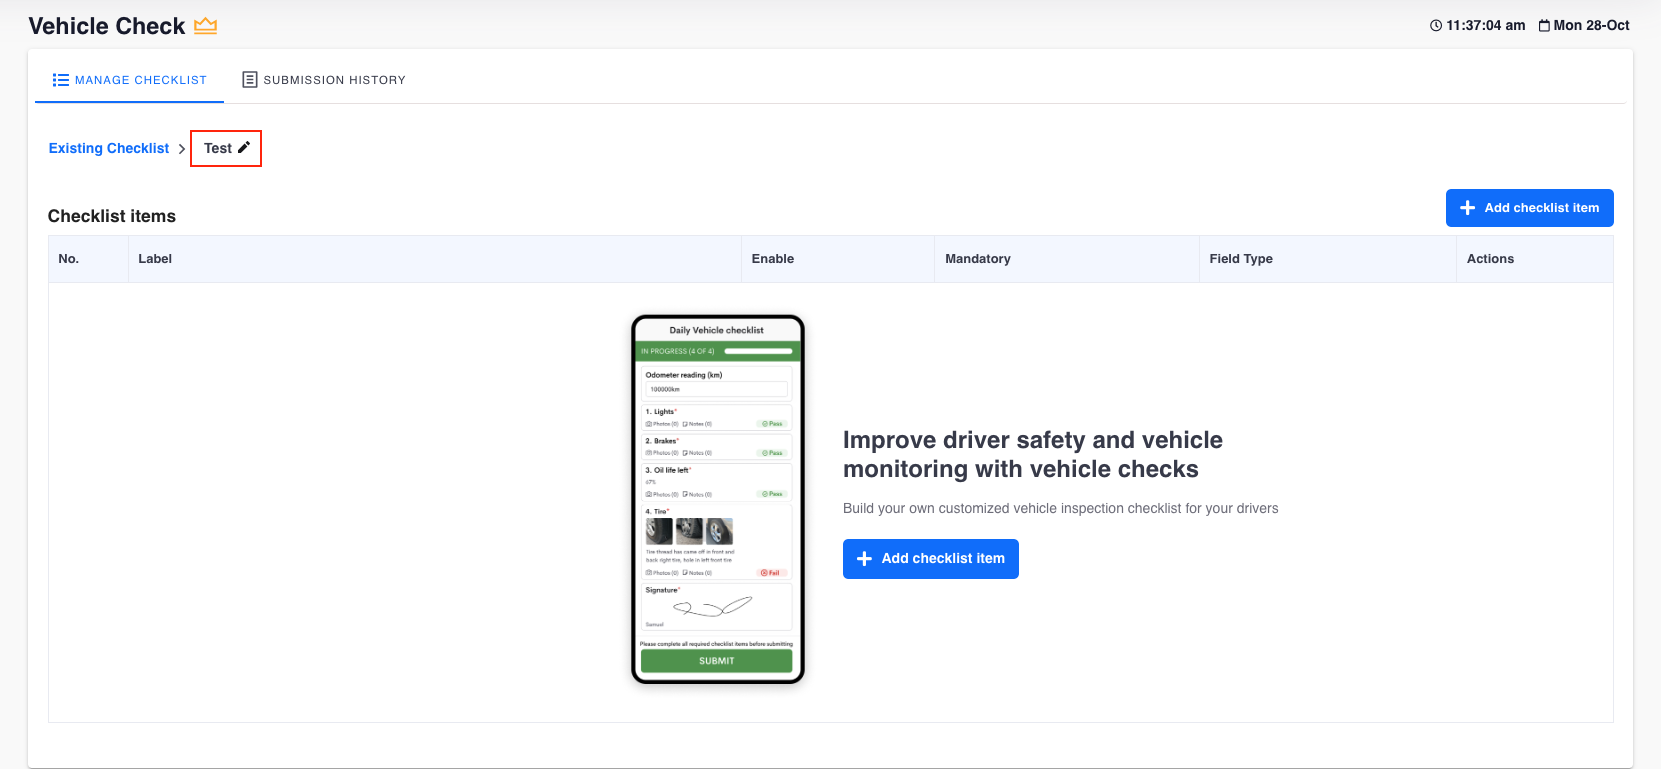
- In the ensuing tab,

- To rename the checklist > Click on the name of the checklist. (Optional).
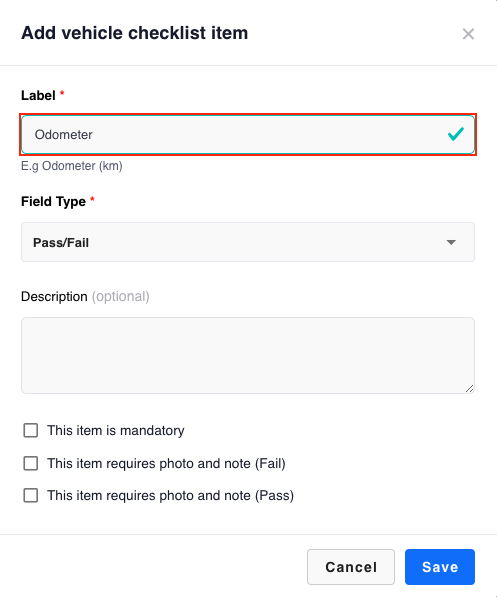
- Click the Add checklist item to add the checklist item.
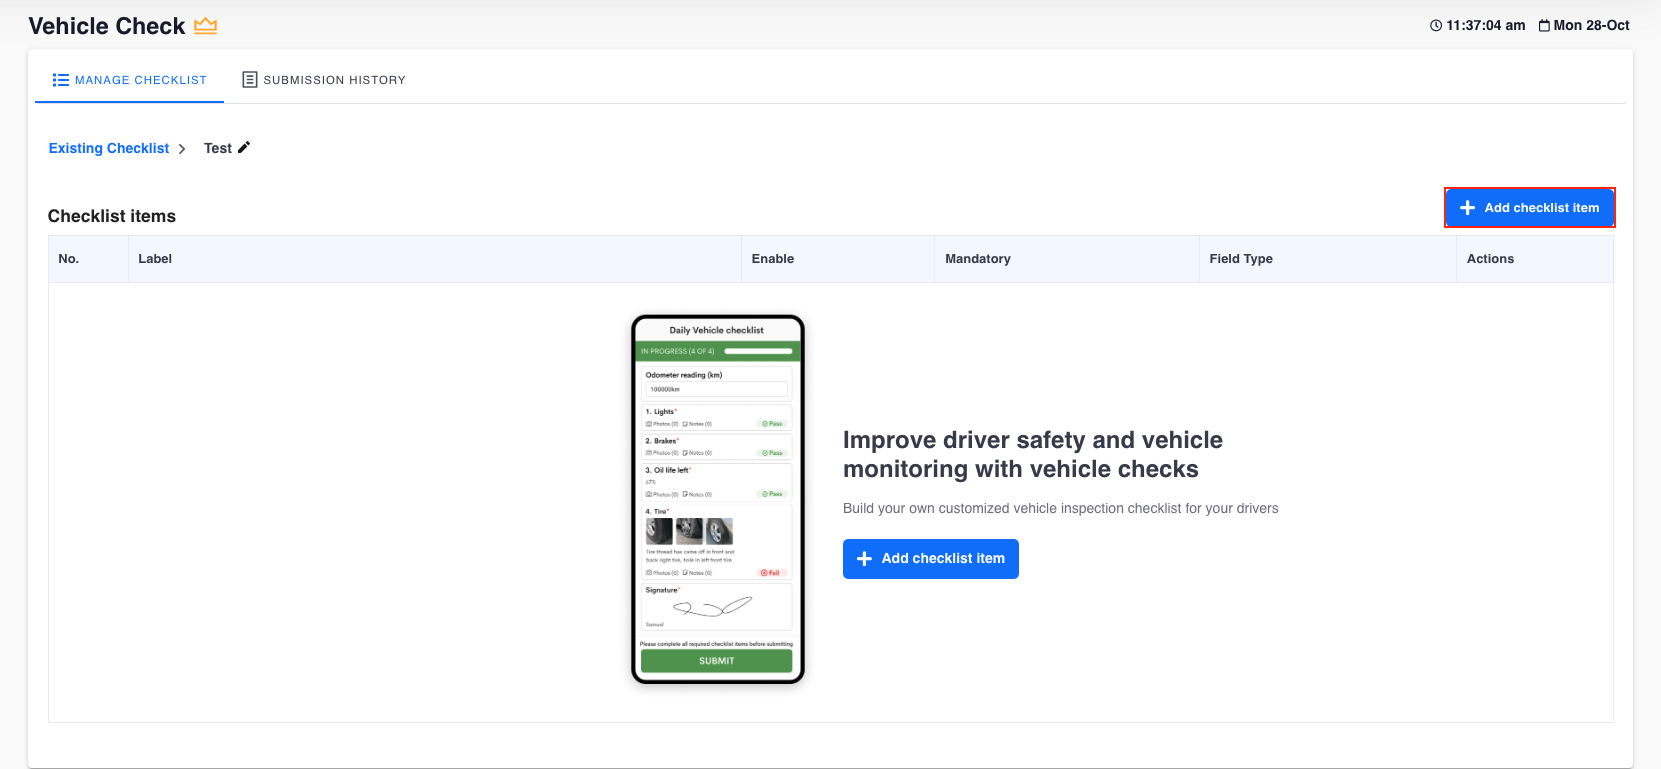
- A form will appear.
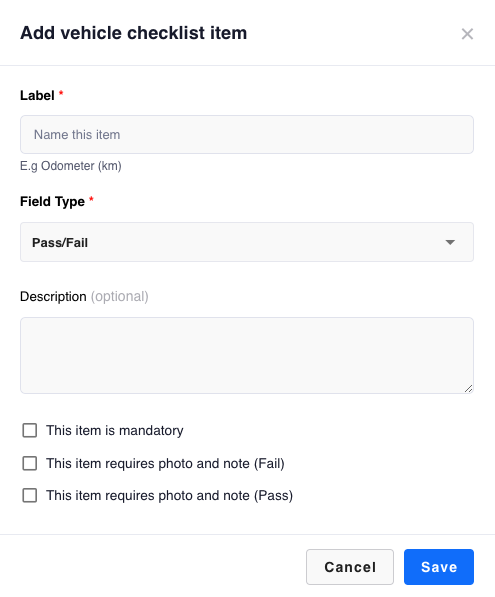
- Provide a name to this check.
- Select the Field Type (data type) for this check.
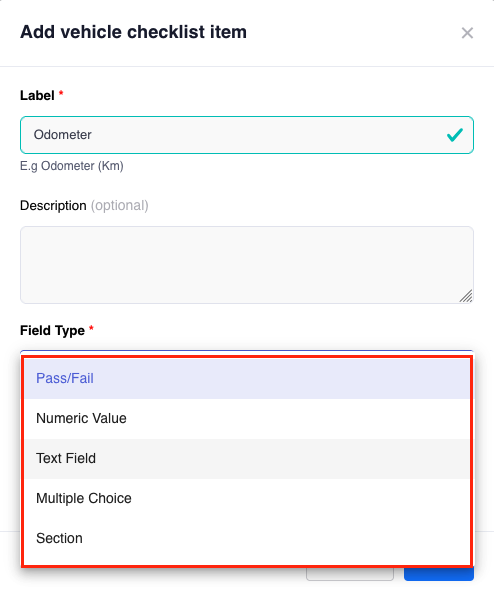 There are 5 Field Types:
Type Description Pass/Fail For simple checks that requires a Pass/Fail check. Numeric Value For entering a number value. E.g. checking of odometer. Text Field For entering a text value. E.g. capturing of generic comments. Multiple Choice Generate a dropdown (option) for driver to select in the Driver App. (Maximum of 10 choices.) Section Horizontal divider for separating the checklist item. Does not appear in the Driver App. - Provide a Description (Optional)
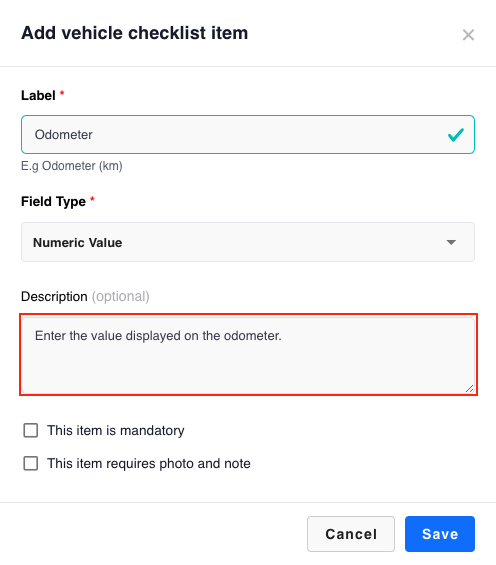
- Check the necessary section.
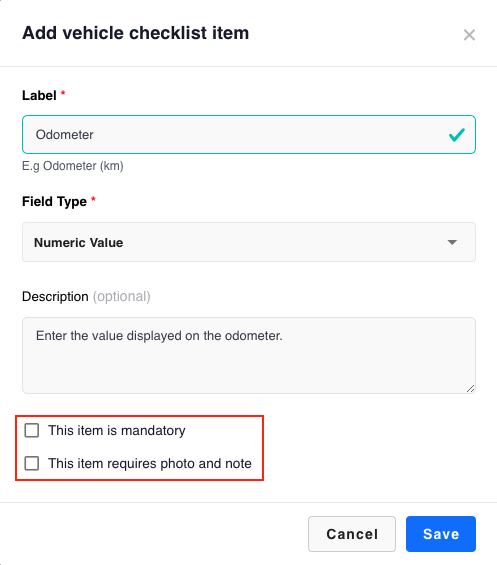
- This item is mandatory => This checklist item must be filled up prior to submission in the Driver App.
-
This item requires photo and note => This checklist item requires the driver to capture a photo and note prior to submission in
the Driver App.
Note: Maximum of 4 photos per checklist item.
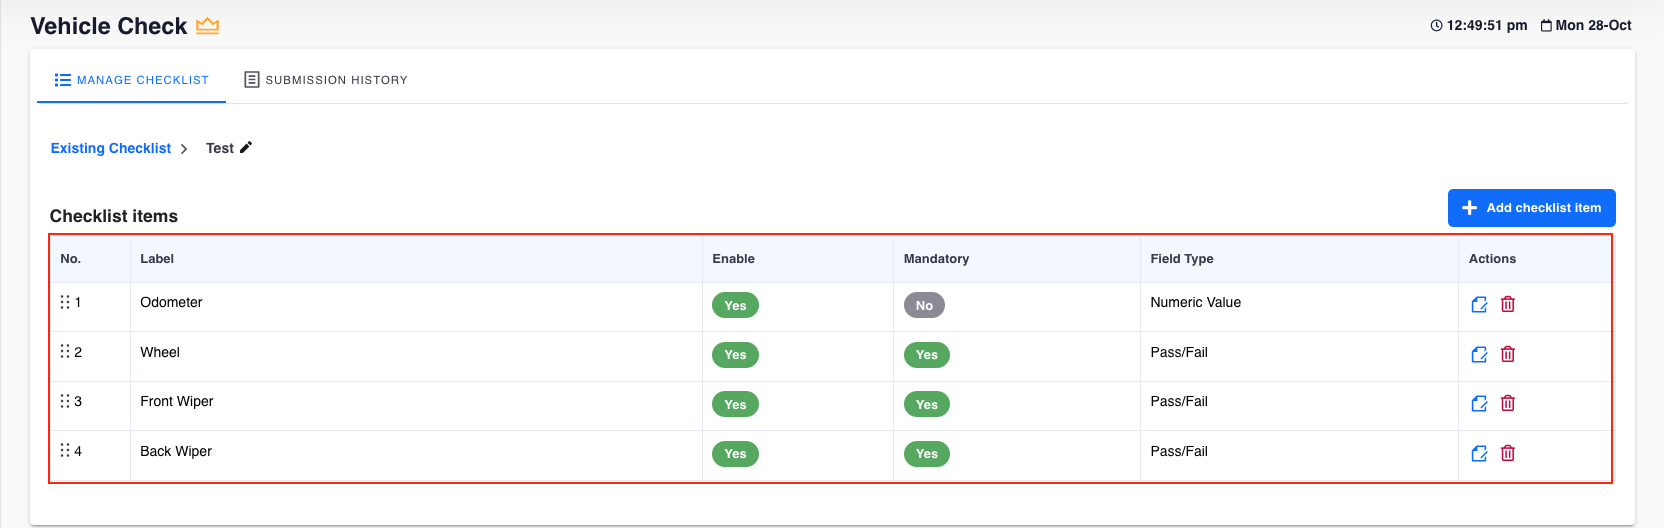
- Click Save when done, and the entry will appear in the Checklist
Items table.
- Repeat this process to generate more Checklist Items for this
Checklist.
- Provide a name to this check.
- (Optional) If necessary, you may reorder the Checklist Item through a
drag-and-drop.
This will affect the order of the Checklist in the Driver App.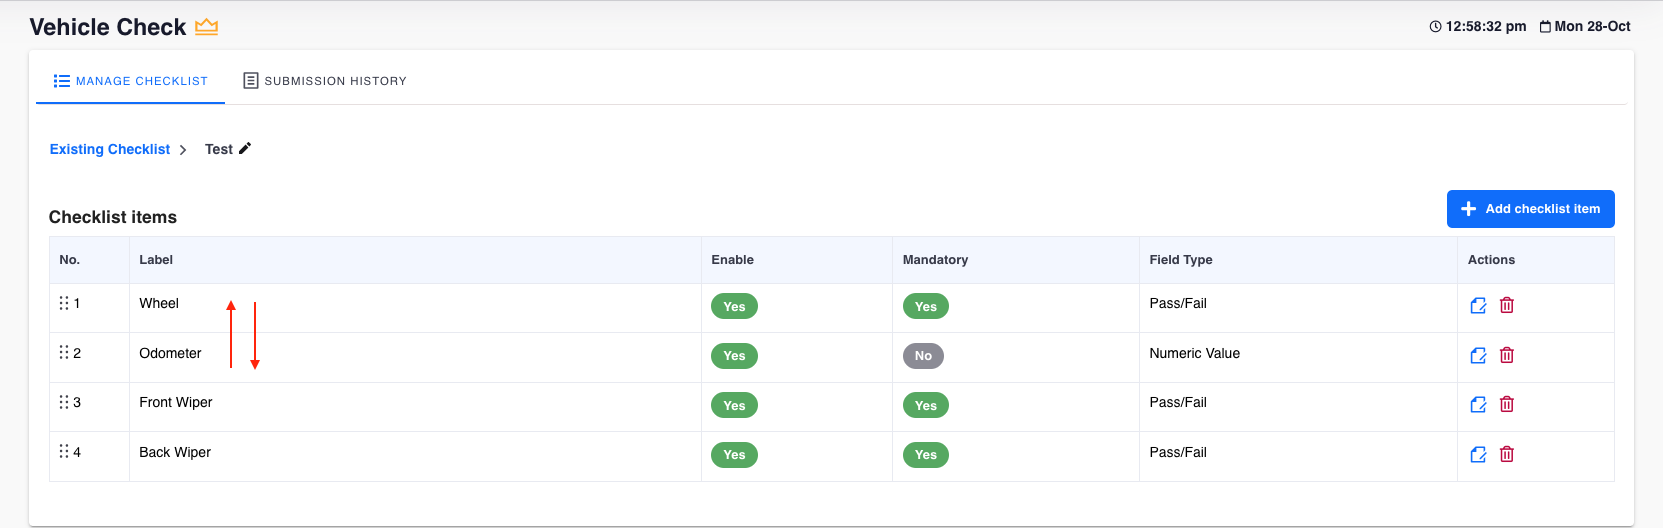
- To rename the checklist > Click on the name of the checklist. (Optional).
- Navigate to Vehicle Check.
-
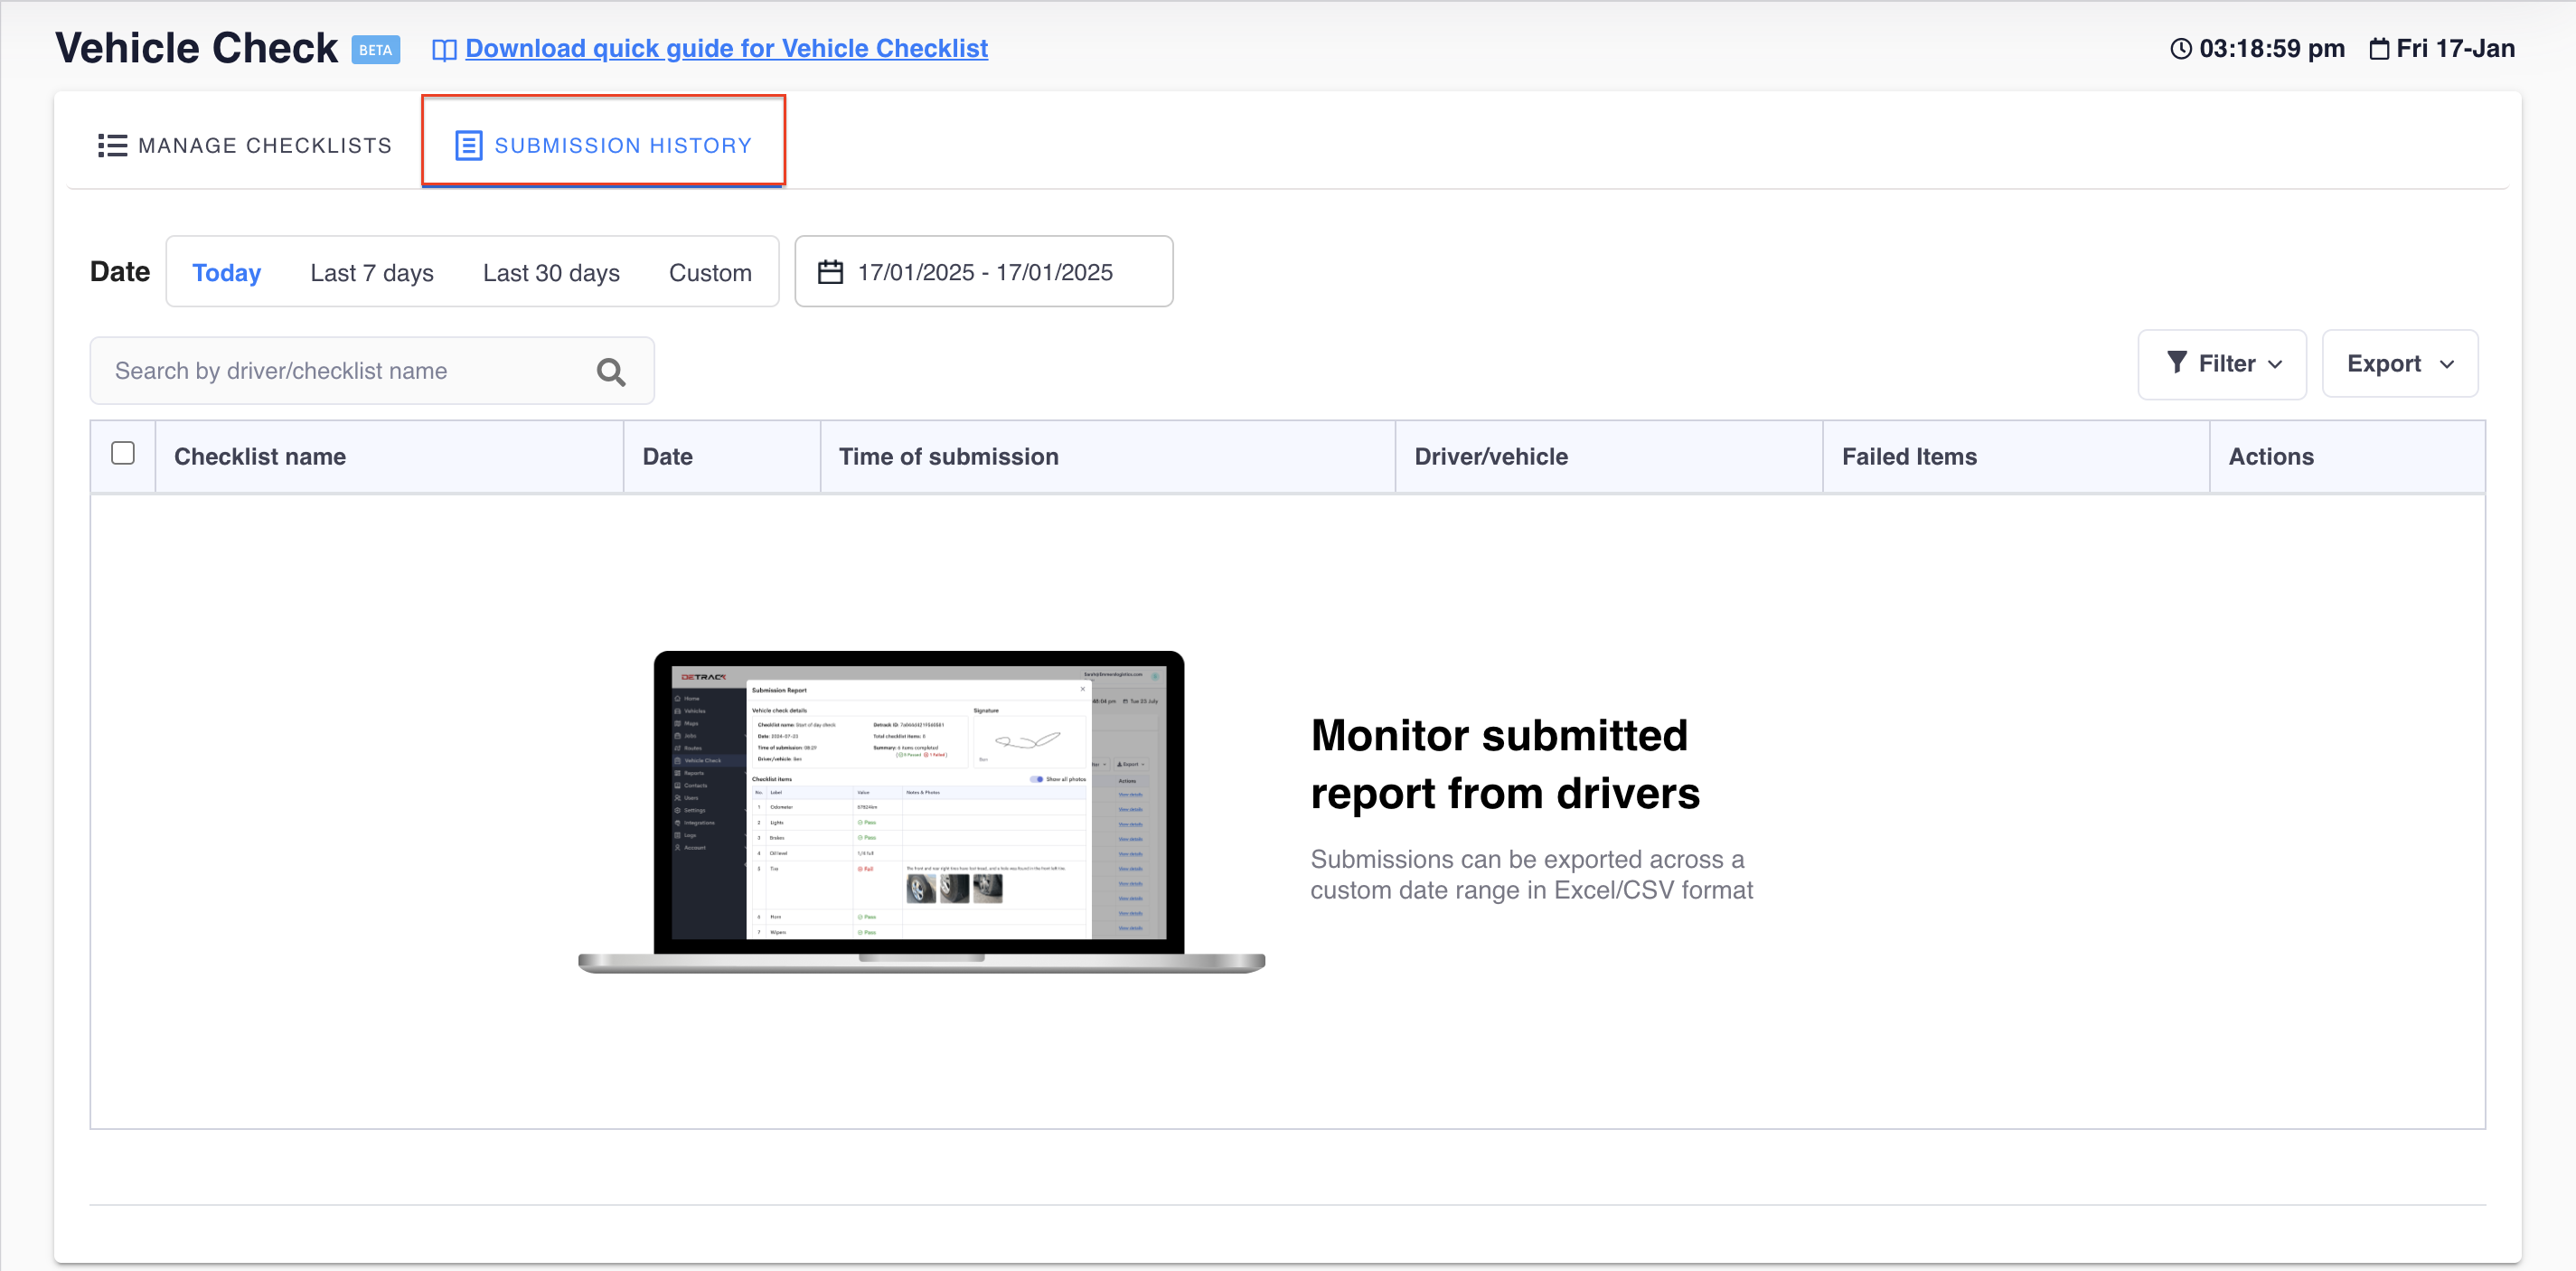
Viewing the Submitted Checklist
This section is for the admin to view the submitted checklist by the drivers.Steps
- Navigate to Vehicle Check.
- Click Submission History.
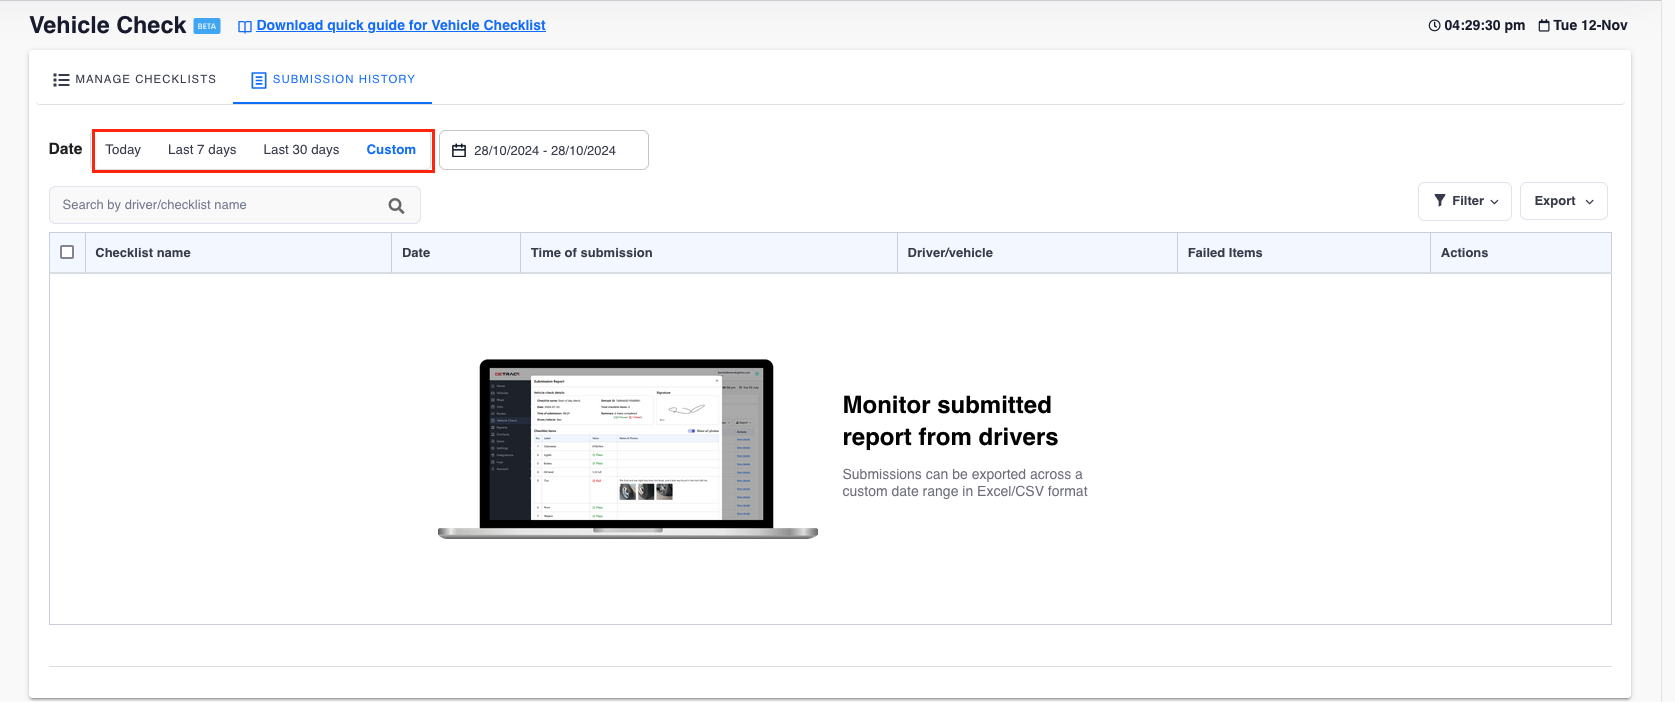
- Select a date or date range to retrieve the list of submissions.
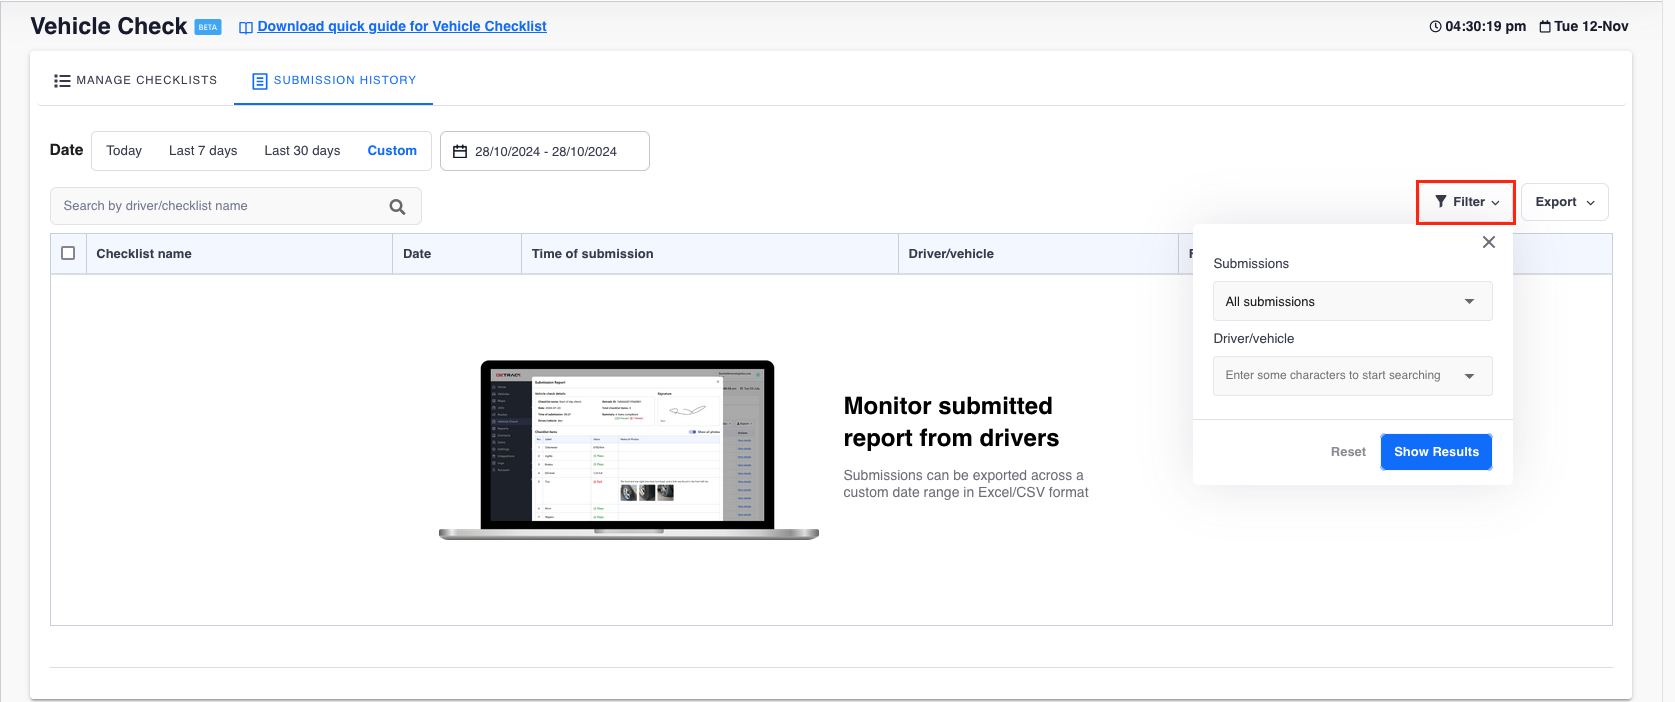
- (Optional.) You may perform a Search or perform a Filter to refine the search.
- To export the reports, select the jobs > Click Export > Select either Excel
or CSV. (The submissions must be from the same Vehicle Checklist.)
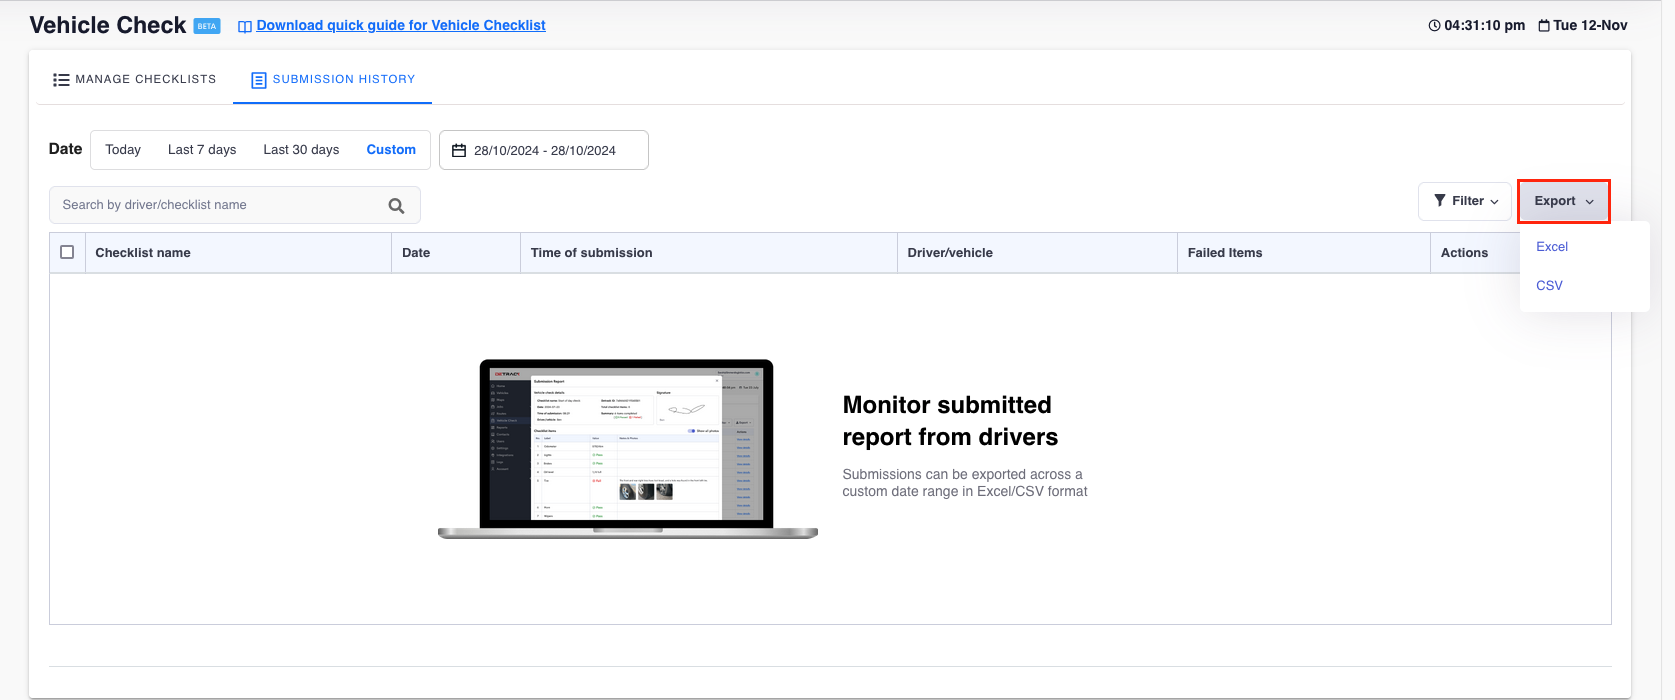 Note: The Excel / CSV will need to be from the same Checklist.
- Navigate to Vehicle Check.
Driver App
-
Performing the Check
Steps
- Start the Driver App.
- Tap on the menu at the top right hand corner.
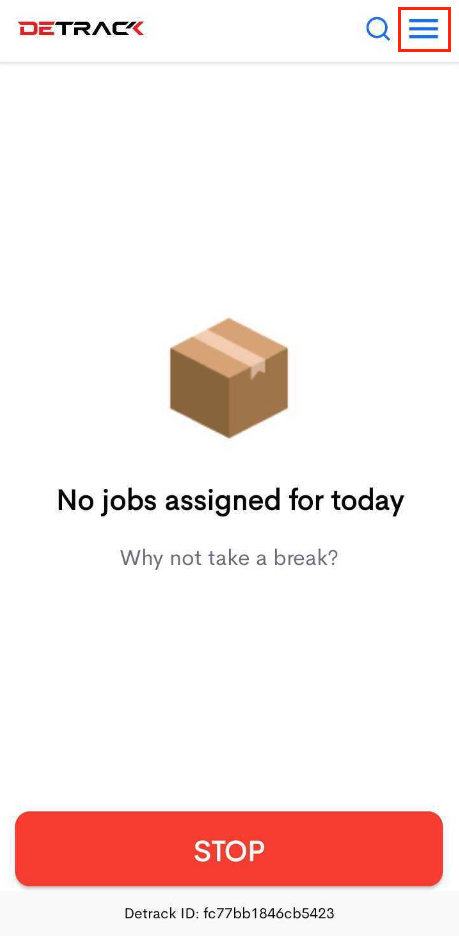
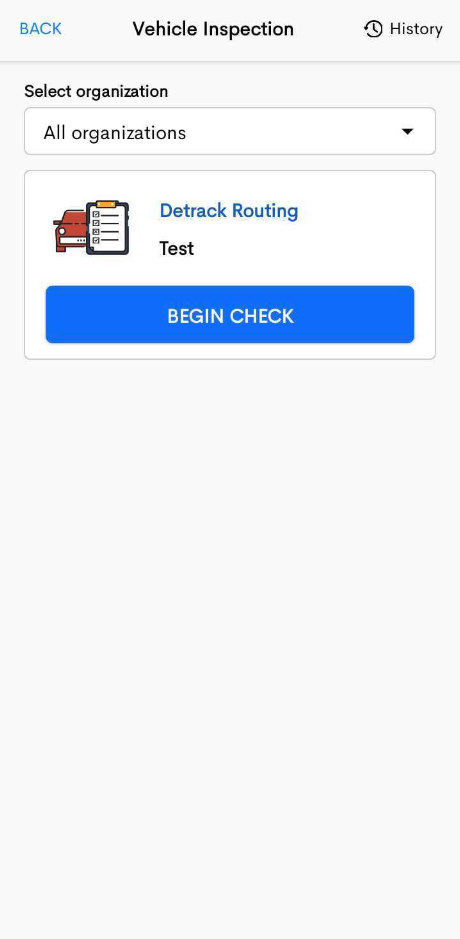
- Select Vehicle Inspection.

- A checklist will appear.
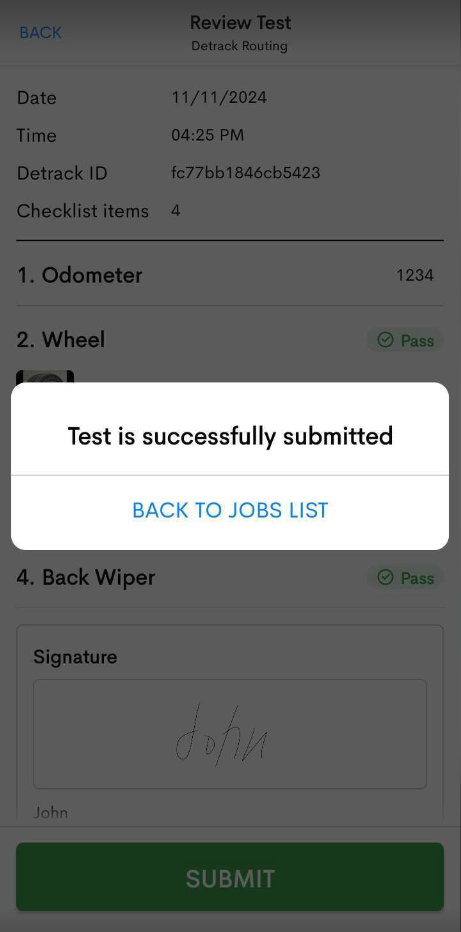
- Perform the check accordingly.
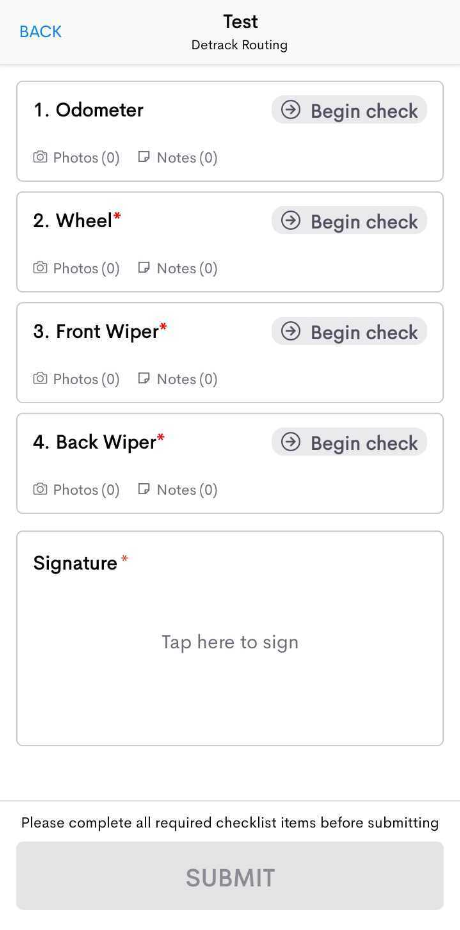
- Submit when done.
-
Checking the submission
Steps
- Click on the menu at the top right hand corner. > Tap Vehicle Checklist > Tap History.
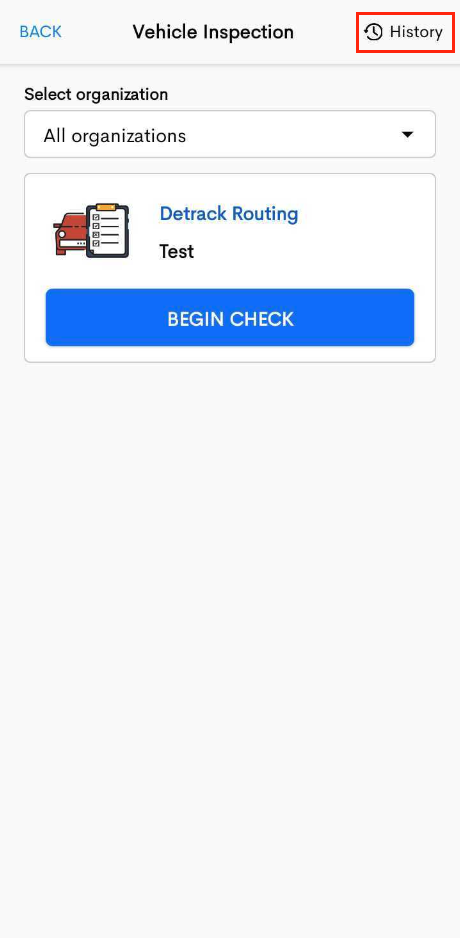
- There would be a submission history.
Note: Only the submission/s done during the current date will be displayed.
- Click on the menu at the top right hand corner. > Tap Vehicle Checklist > Tap History.