If you’re managing deliveries, you already know how chaotic things can get—missed deliveries, impatient customers, endless phone calls. That’s why finding a delivery management system that’s quick to set up and easy to use is a game-changer.
Enter Detrack—a powerful yet user-friendly solution designed to get your delivery operations up and running in minutes, not hours or days.
In this post, we’ll walk you through exactly how to set up Detrack in under 5 minutes, so you can start tracking deliveries, sending notifications, and delighting your customers without missing a beat.
Why Choose Detrack?
Before we jump into the setup, let’s quickly talk about why Detrack is worth your time:
- User-Friendly Interface: No steep learning curves or complicated processes.
- Real-Time Tracking: Get live updates on every delivery.
- Electronic Proof of Delivery (ePOD): Easily capture signatures and photos.
- Customer Notifications: Keep customers informed at every step through email or SMS.
- Affordable and Scalable: Whether you’re a small business or an enterprise, Detrack grows with you.
And best of all? You can start without needing a developer or a technical team.
What You’ll Need Before You Start
Setting up Detrack is lightning-fast, but here’s what you should have ready:
- A smartphone or tablet (iOS or Android)
- An internet connection
- An email address (to create your Detrack account)
- A few minutes to spare
That’s it! No complicated setups, no hardware installations.
How to Set Up Detrack
Step 1: Create Your Free Detrack Account
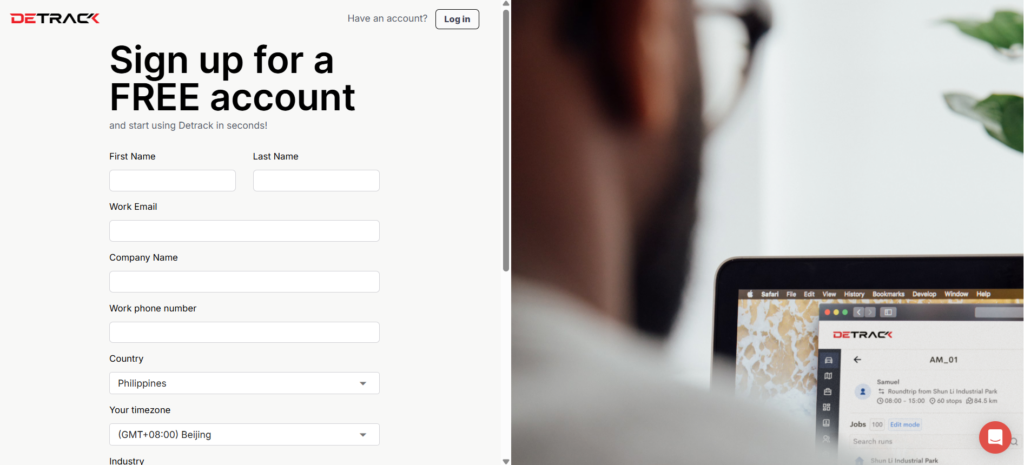
First things first—head over to the Detrack website and click on Sign Up.
The signup form is refreshingly simple. You’ll just need to enter:
- Your Name
- Your Company Name
- Your Email Address
- A Password
- …and a few more info
Hit Create Account, and boom—you’re in!
Pro Tip: Detrack offers a 14-day free trial with no credit card required. You can explore all features before committing.
Step 2: Download the Detrack App
Next, download the Detrack mobile app, which acts as your driver’s best friend for capturing ePODs and updating job statuses.
Here’s how:
- Go to the App Store (iOS) or Google Play (Android)
- Search for “Detrack Proof of Delivery POD“
- Download and install the app
Done! While the app is installing, you can proceed to the next step on your web dashboard.
Step 3: Add Your First Vehicle
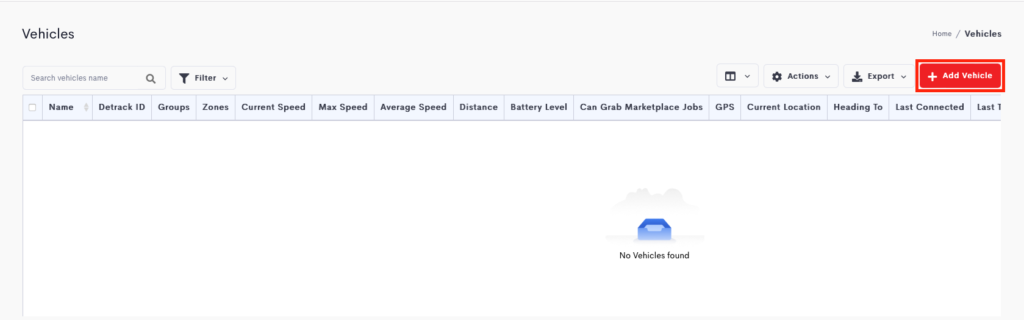
Now, let’s connect a vehicle (which can even be you if you’re testing things out).
In your Detrack dashboard:
- Navigate to the Vehicles tab.
- Click Add Vehicle.
- Scan the QR code to connect the driver app to the Detrack Dashboard
- Fill in the required details.
Save it, and you’re done!
Step 4: Add Your First Delivery Job
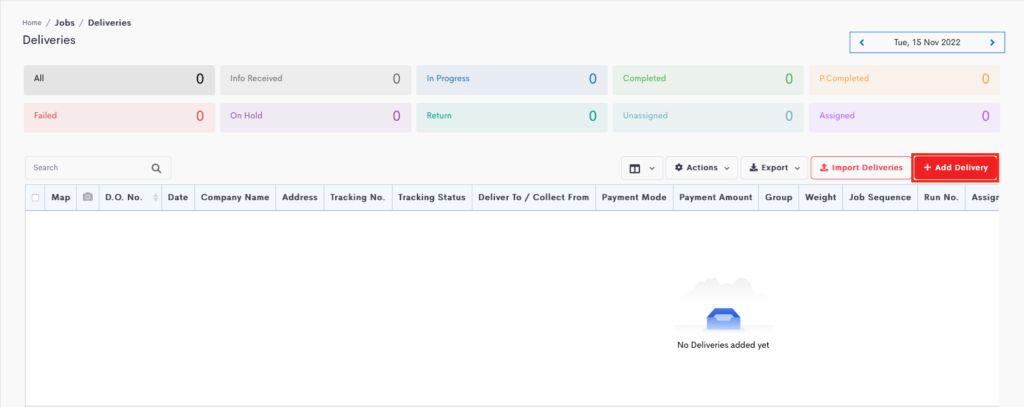
Now the fun part—adding your first delivery job!
In your Detrack dashboard:
- Navigate to the Deliveries tab.
- Click Add Delivery.
- Fill in the basics:
- Date (the day you want the delivery to happen)
- Delivery Order No.
- Delivery Address
- Customer Name
- Contact Number
- Driver (select the driver you just added)
You can add more details, such as delivery time windows, special instructions, or even the items being delivered, if you want—but these essentials are enough to keep it under 5 minutes.
Click Save, and your job is instantly assigned.
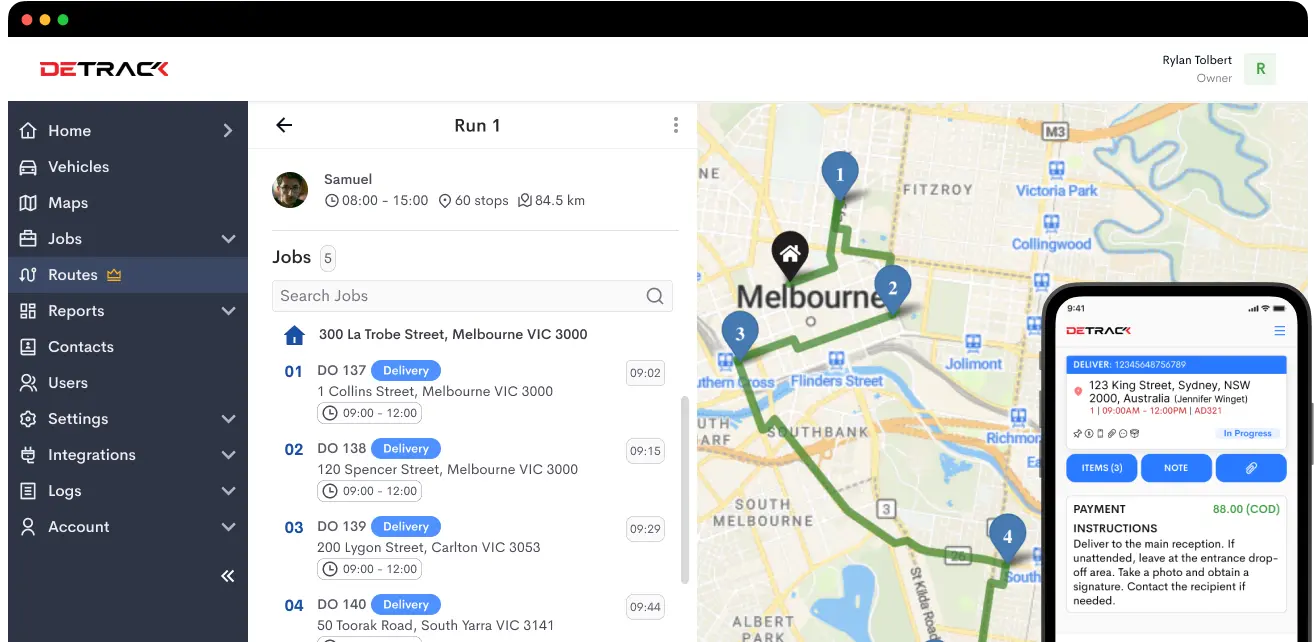
Step 5: Start Delivering and Tracking!
Now, hop onto the Detrack app on your mobile device.
- Log in with the driver credentials you created.
- You’ll immediately see the assigned job listed.
- Tap on the job, and you can:
- Start the delivery
- Take photos as proof of delivery
- Capture signatures
- Mark the job as completed
- Send real-time status updates automatically to your customers
Meanwhile, from the dashboard, you (the admin or dispatcher) can see:
- Real-time driver location
- Job statuses (Pending / In Progress / Completed)
- Proof of Delivery (POD) submitted by your driver
Congratulations! You’re officially set up with Detrack and ready to manage your deliveries like a pro.
Bonus: 5 Ways to Supercharge Your Detrack Setup
Got a few more minutes to spare? Here’s how you can maximize your Detrack experience even further:
1. Customize Your Notifications
Detrack lets you send branded SMS or Email notifications to customers for different delivery statuses—On The Way, Completed, Failed, etc.
Under Settings > Notifications, you can:
- Customize your message templates
- Insert dynamic fields like customer name, delivery time, etc.
- Add your logo for a polished look
2. Set Up Your Company Branding
Want your proof of delivery emails to feel like your company, not just a generic update?
In Settings > Company, you can:
- Upload your company logo
- Set your company name
- Customize your email footer
3. Explore the Map View
Under the Map tab, you’ll see your drivers and jobs plotted geographically.
You can even assign jobs via drag-and-drop if you’re feeling fancy.

4. Batch Upload Jobs
If you have lots of deliveries, you can bulk upload them using the Excel/CSV bulk import feature.
Simply download the sample job template, fill it with your delivery data, and upload it—all jobs will be created at once.
(If you have want to customize Detrack field names based on your preferred naming conventions , you can learn how to do so in this article)
5. Integrate with Other Apps
Detrack integrates with popular apps like:
- Xero , Quickbooks, MYOB (for accounting)
- Shopify, WooCommerce, Shopee, Qoo10 (for e-commerce)
- Twilio, Vonage,8×8, BurstSMS, and more for SMS notifications
- AfterShip (for order tracking)
- Zapier (for automation)
If you’re using a platform like WooCommerce or Shopify, integrations can make your life even easier!
Final Thoughts
Setting up Detrack truly lives up to its promise of simplicity and speed.
In under 5 minutes, you can transform chaotic, manual delivery processes into organized, transparent, and customer-friendly operations.
And remember—Detrack isn’t just about tracking vehicles or collecting signatures.
It’s about delivering experiences: keeping customers happy, minimizing missed deliveries, and giving you back control over your operations.
If you’re ready to elevate your delivery management, why wait?
Try Detrack today and see how easy modern delivery management can be!