For Shopify users, you can now choose to have your jobs from your Shopify account entered into Detrack automatically by setting up the Zapier connection (one time setup) to achieve this automation.
Link to Zapier template.
Once you have the above, you are ready to start on the steps below.
Steps
- In your Zapier account, create a new Zap.

- Select Shopify for Choose App, and New Paid Order for Choose Trigger Event.
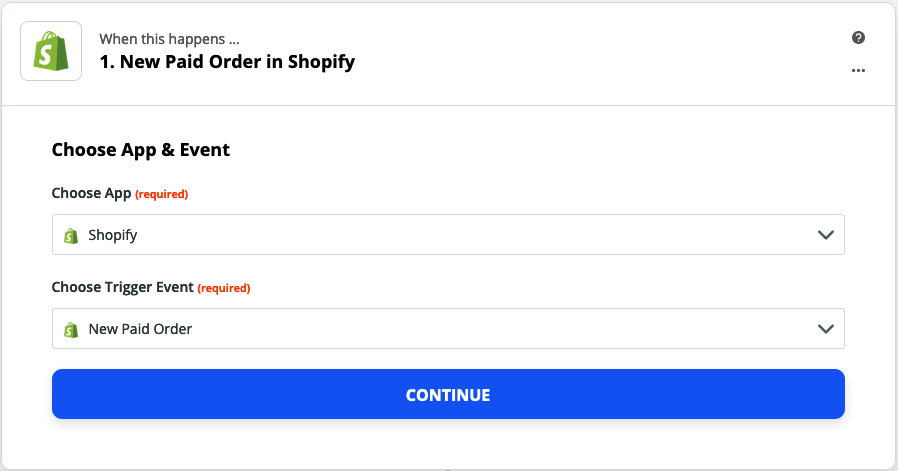
- Click Continue.
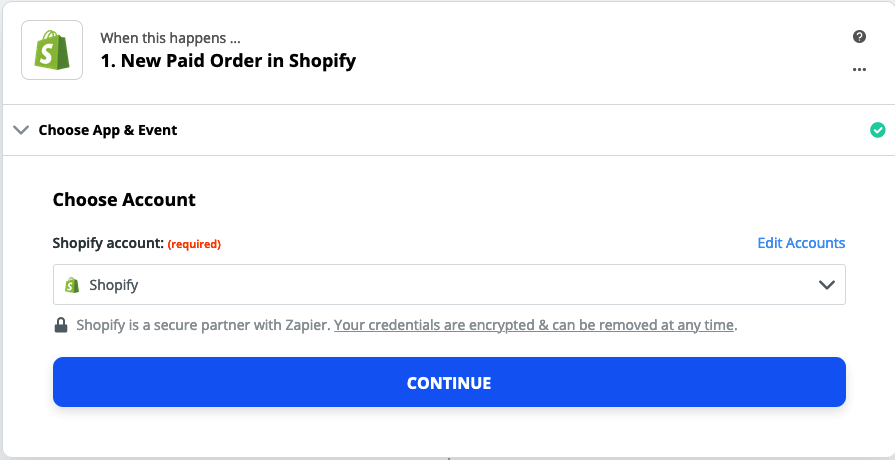
- Select and setup your Shopify account.
- Enter the domain of your Shopify account.

- Click Yes. Continue.
- Return back to the Zap.

- Click Continue.
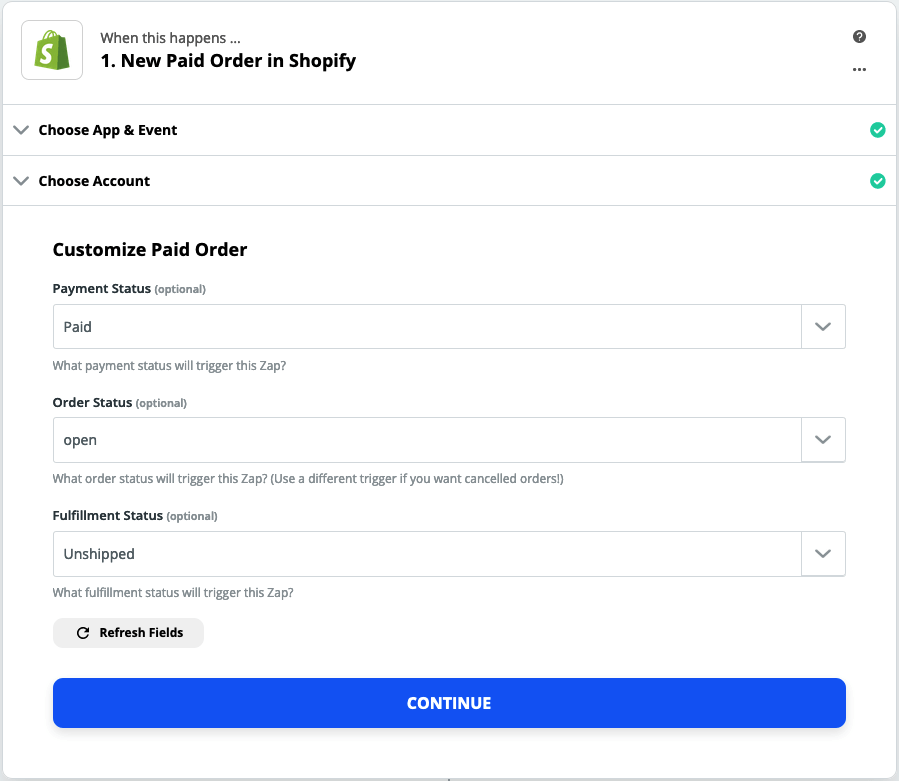
- Select the following:
- Paid for Payment Status
- open for Order Status
- Unshipped for Fulfilment Status
Note: You may change them according to your workflow.

- Click Continue.
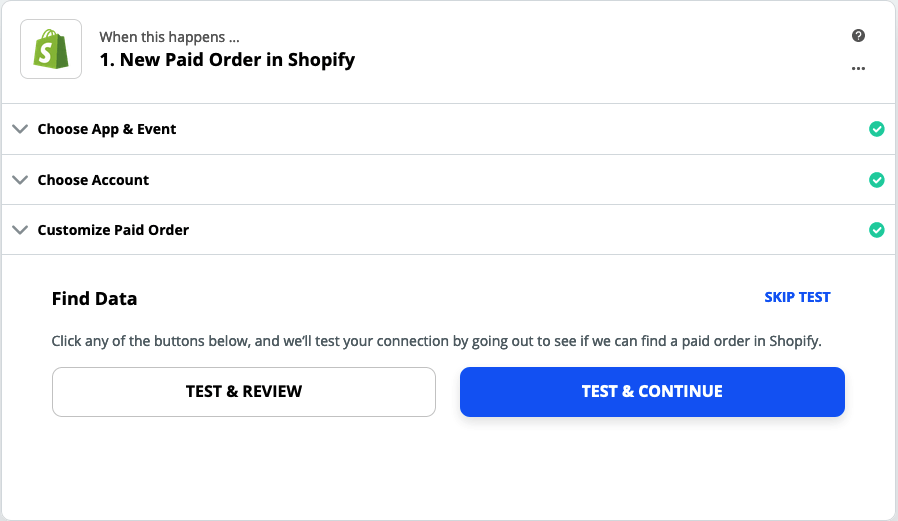
- You may click Test & Continue if you have existing data in your Shopify account.

- Click on the + button to create a new action.

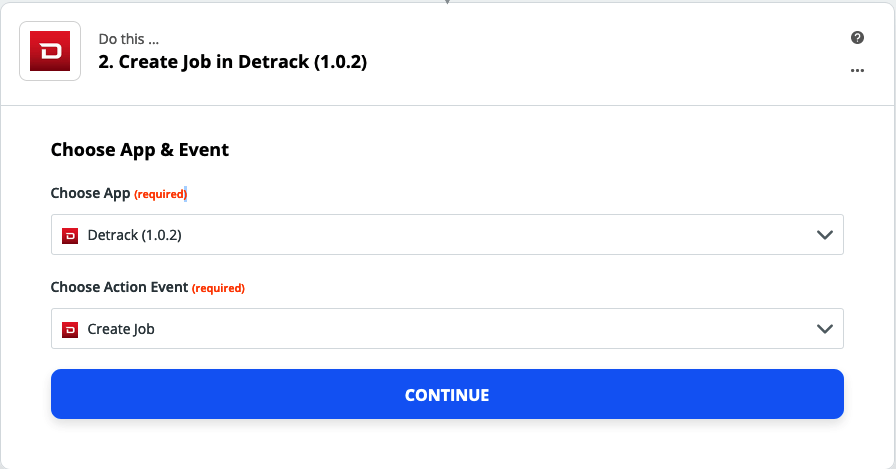
- Search for Detrack. Kindly use the latest version.
- Click Continue.
- Click Sign in to Detrack.

- Enter your Detrack API Key. (Settings > API Key)

- Click Yes. Continue when done.
- Return back to the Zap, and click Continue.
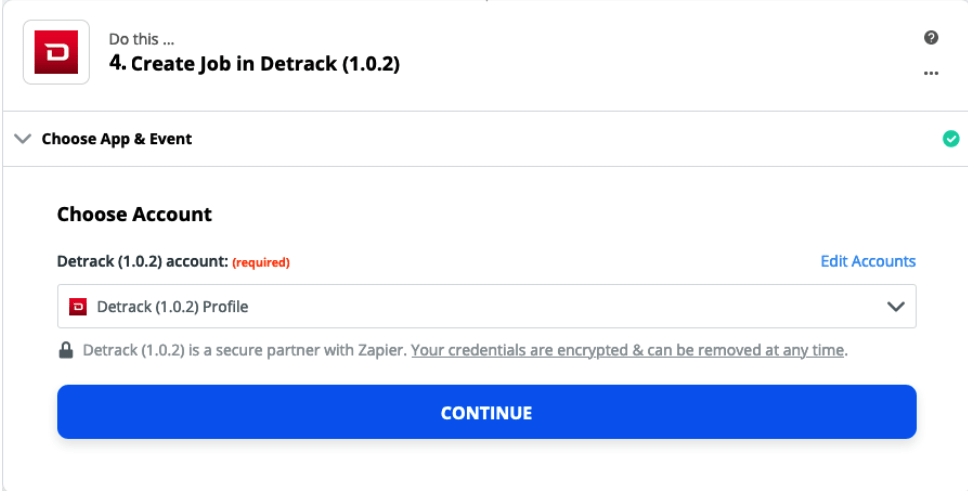
- If necessary, you may edit your Detrack account to Zapier account by clicking on the Edit Accounts.

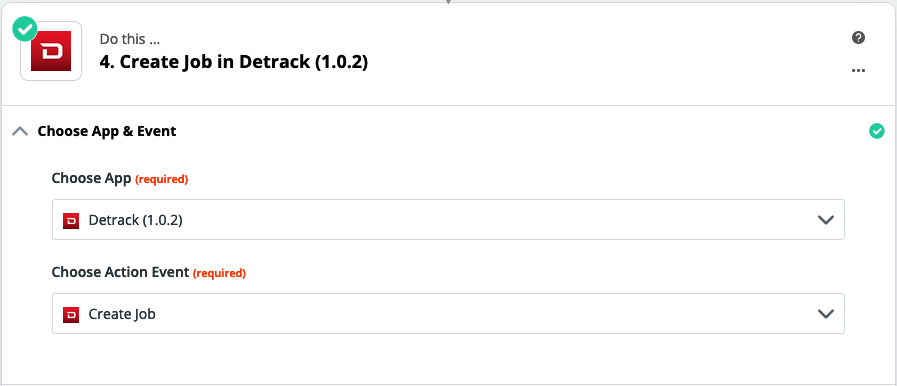
- Select Create Job for Action Event.

- Click Continue.
- Customize how the information from your Shopify account will be mapped to attributes in your Detrack account.
- The four required attributes are:
- Type
- DO Number
- Date
- Address
The value of these fields can either be constants, or reference columns in the result of the New Spreadsheet Row trigger you specified in Step 1.To reference columns, click on the button to the right of each input field.
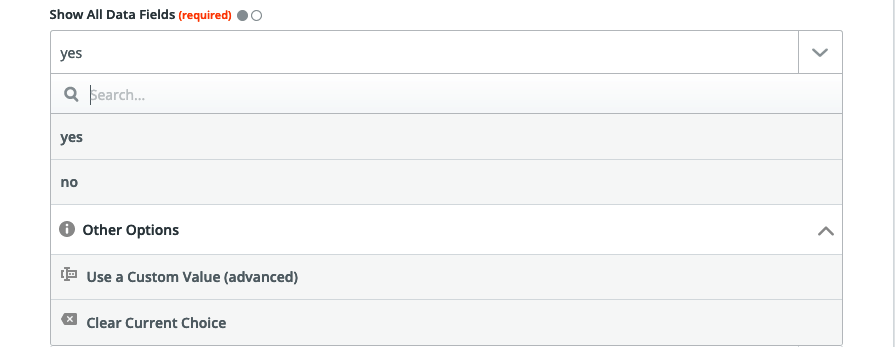
- For assigning values to other optional fields, you may select Yes under Show All Data Fields.

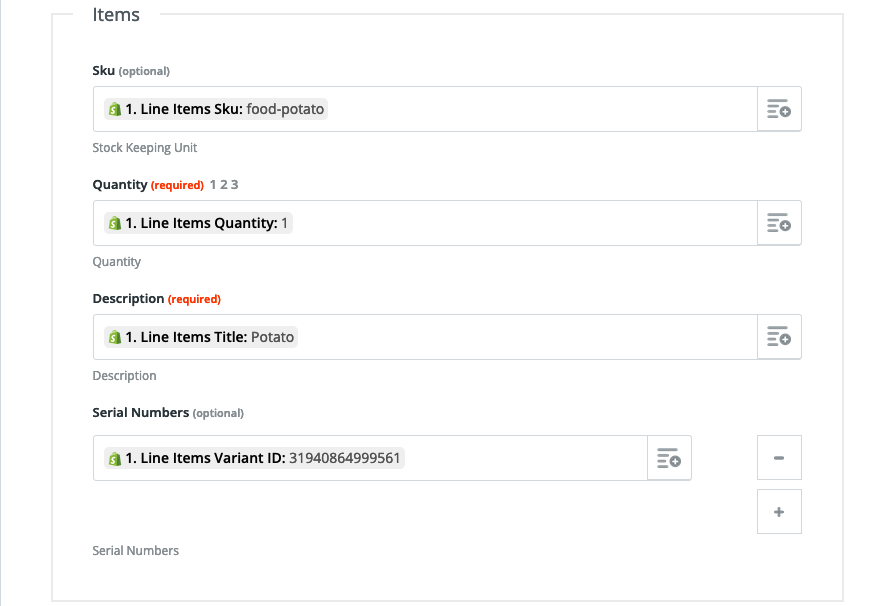
- If you have entries meant for the Item details, you may enter the values in the Items section.

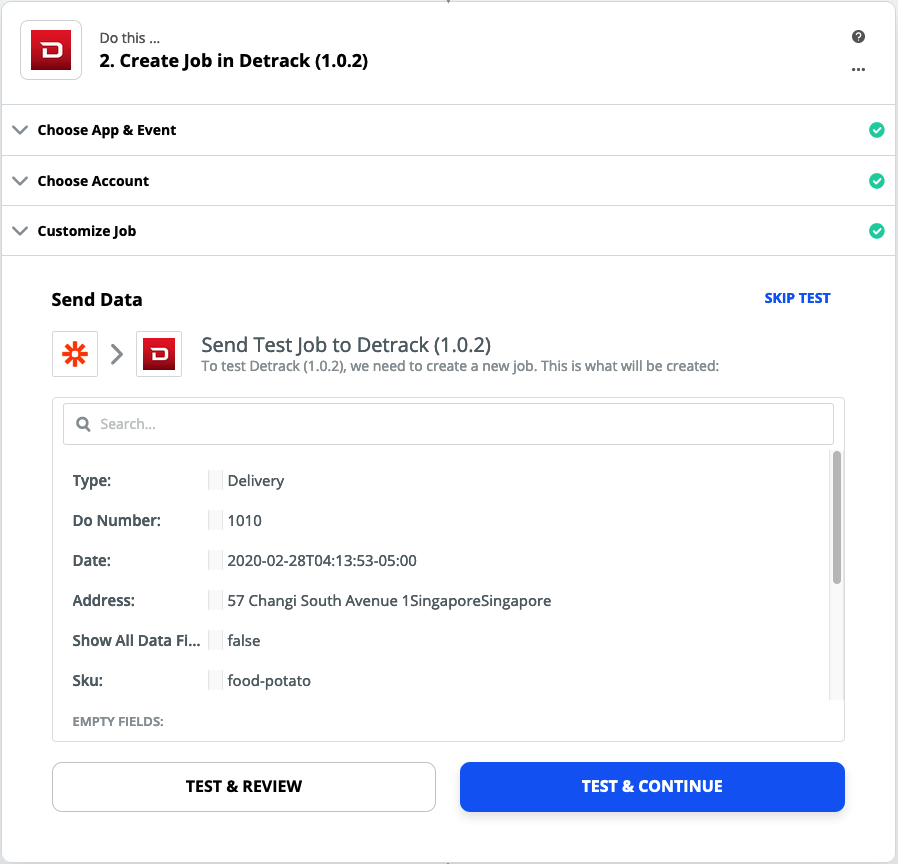
- Click Continue when done.
-

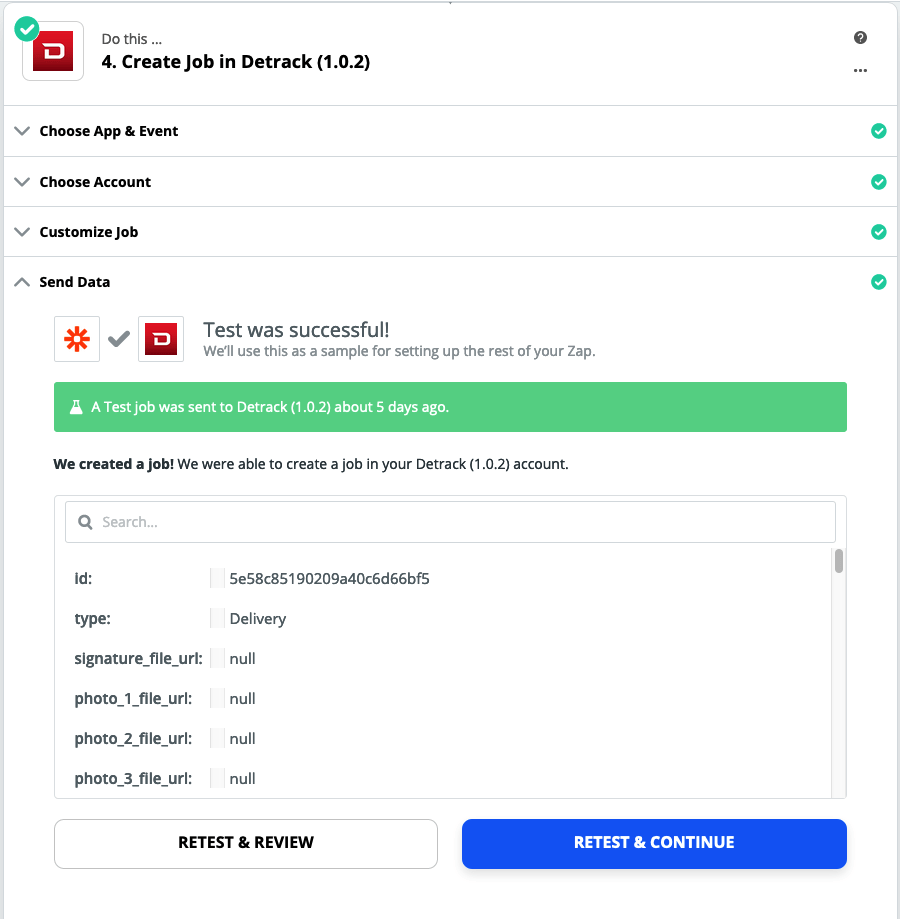
Note: If you had tested the zap before turning it on, a Job should have already been successfully created in your Detrack Dashboard on the specified sample Date.As this action does not allow duplicate jobs (with the same D.O. No.) to be created on the same date, and if you were to trigger the test again, you will get an error.This mechanism is to prevent extra updates from Shopify from overwriting Job data already present in your Detrack Dashboard.
- Navigate to Settings and provide a name to the Zap.

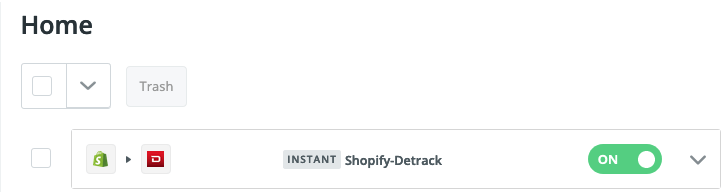
- Return back to Home and Switch On the Zap.


Using Custom Attributes
If you happen to be using some custom plug-ins on Shopify, you may create the additional step in your Zap to retrieve the information in the additional note from your Shopify account.
At the point of writing, Zapier recognizes these additional fields/attributes as a group of line items; and does not support the extracting of a specific line directly.
To overcome the constraint, additional actions and App (e.g. GoogleSheets) can be created in the Zap to process the and extract specific information for use.
Below is an example to obtain the Delivery date from your Shopify account for use in your Detrack account.
Steps
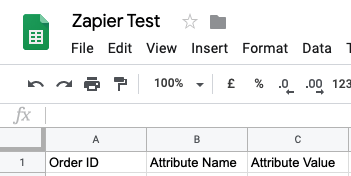
- Create a Google Sheet (e.g. Zapier Test), with the following 3 columns.
- Order ID
- Attribute Name
- Attribute Value
This Google Sheet will be used as a container to hold the information from your Shopify account.

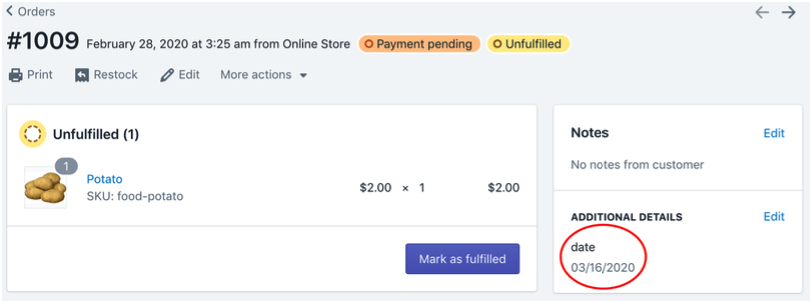
- As different plug-ins use different attribute names, create a test order on your Shopify order, and note down the custom attribute in the order details page.

For example, the name of the attribute is date with a value of 03/16/2020.
- Click on the + button to create a new step.
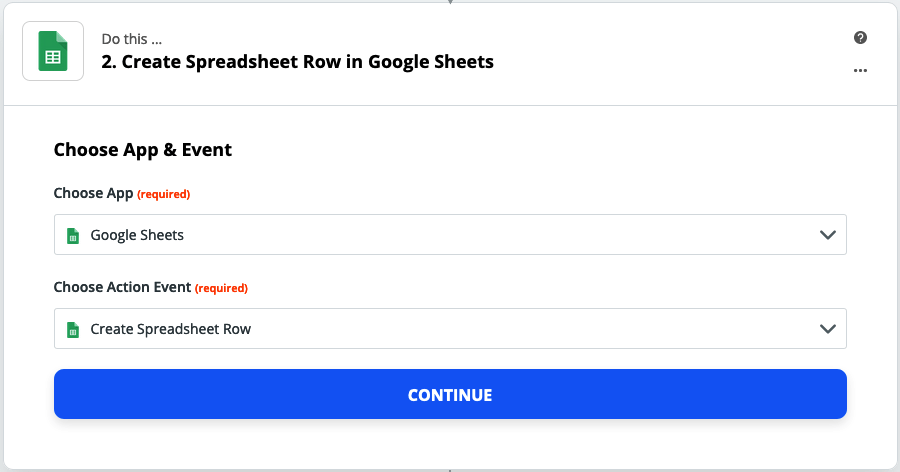
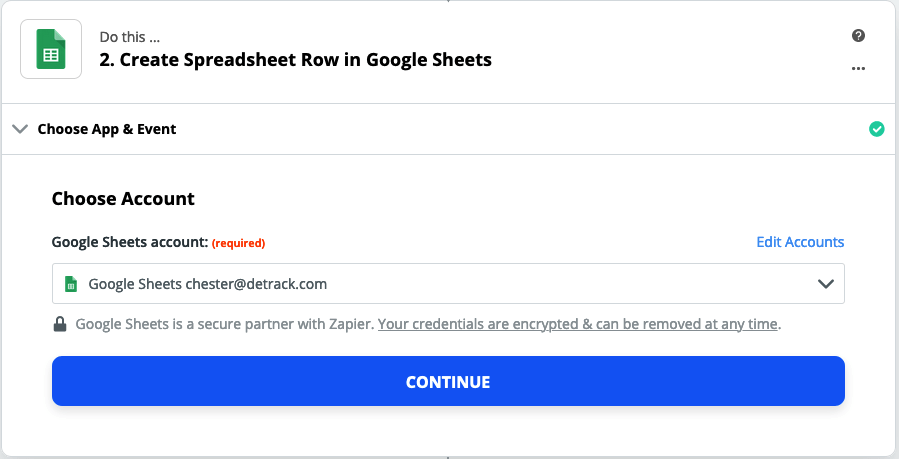
- Select Google Spreadsheet for Choose App; and Create Spreadsheet Row for Choose Action Event.

- Click Continue.
- Select your account.

- Click Continue.
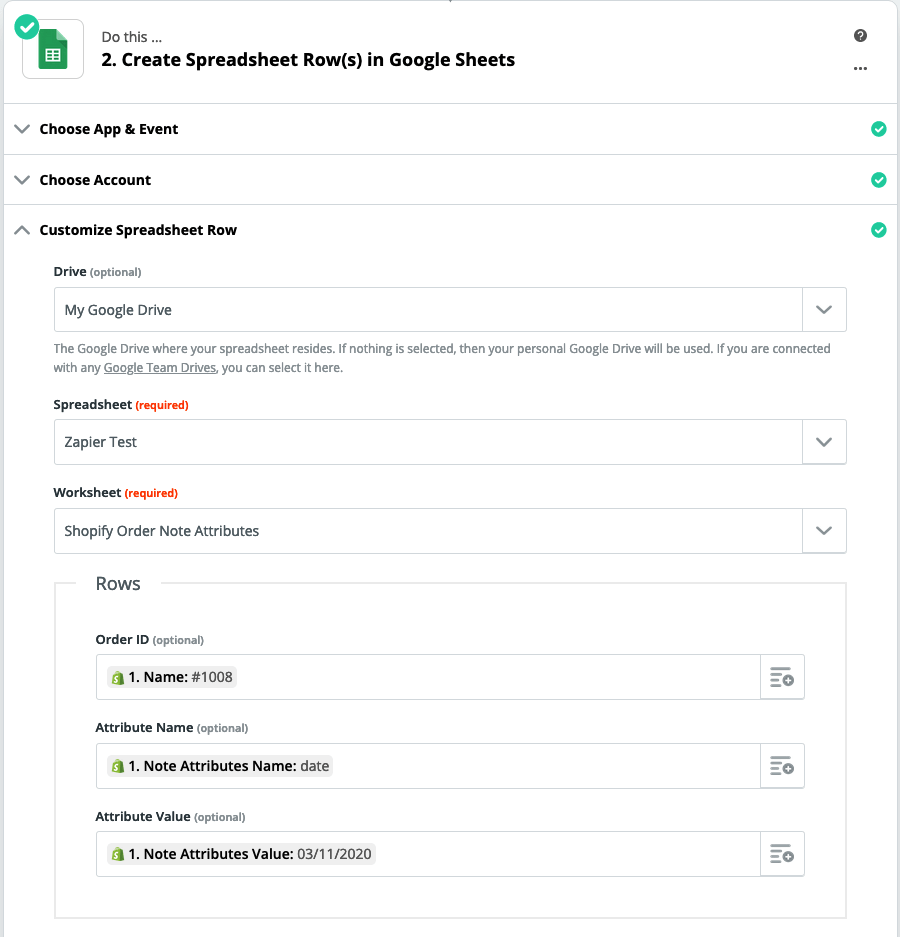
- Select the spreadsheet that was created in Step 1, and the related attributes to match the columns in the spreadsheet.For example:

- Click Continue.
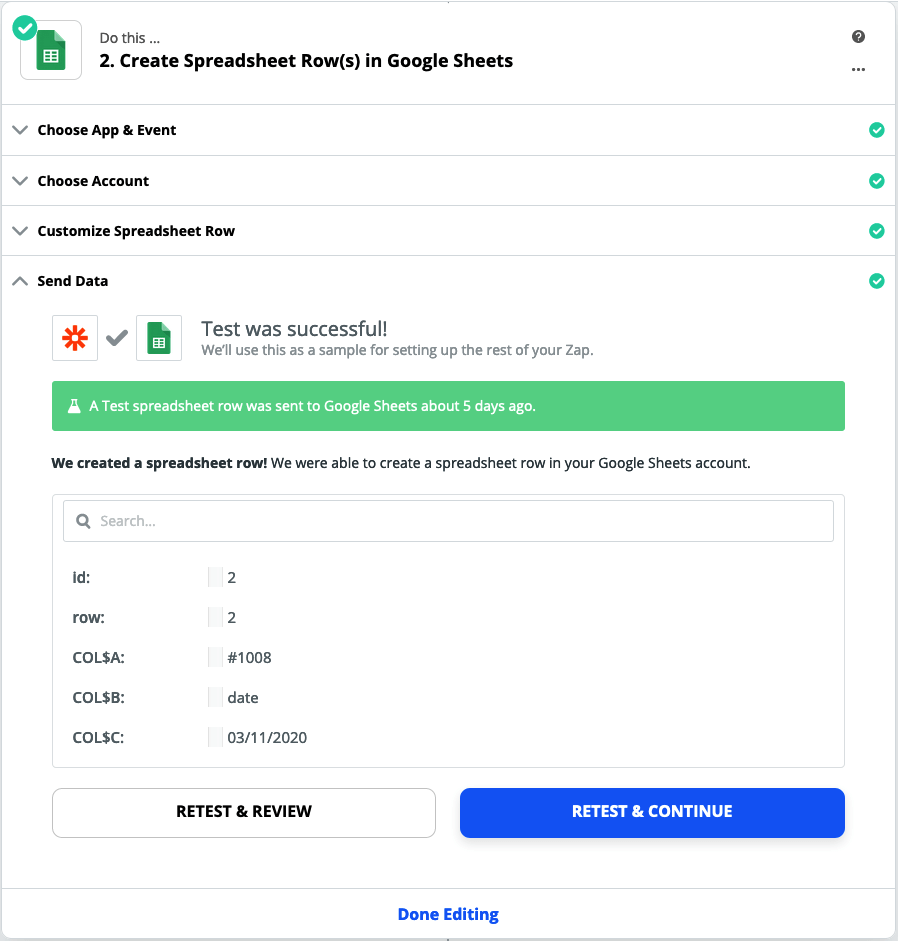
-

- Click Continue.
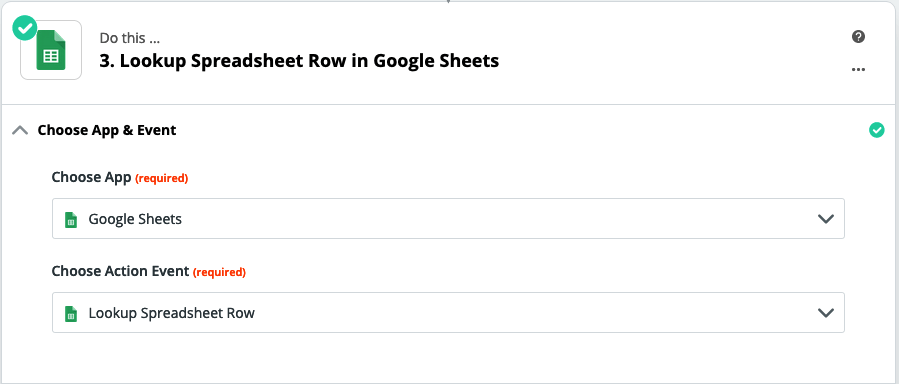
- Click on the + button to create a new step.
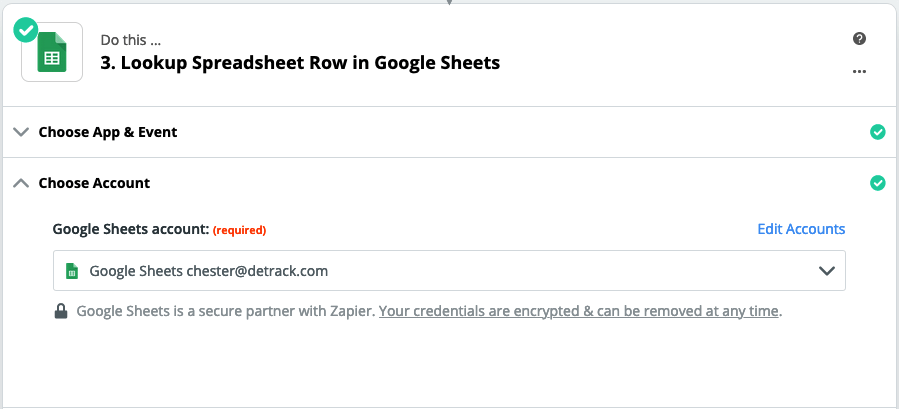
- Select Google Sheets for Choose App; and Lookup Spreadsheet Row for Choose Action Event.

- Click Continue.
- Select your account.

- Click Continue.
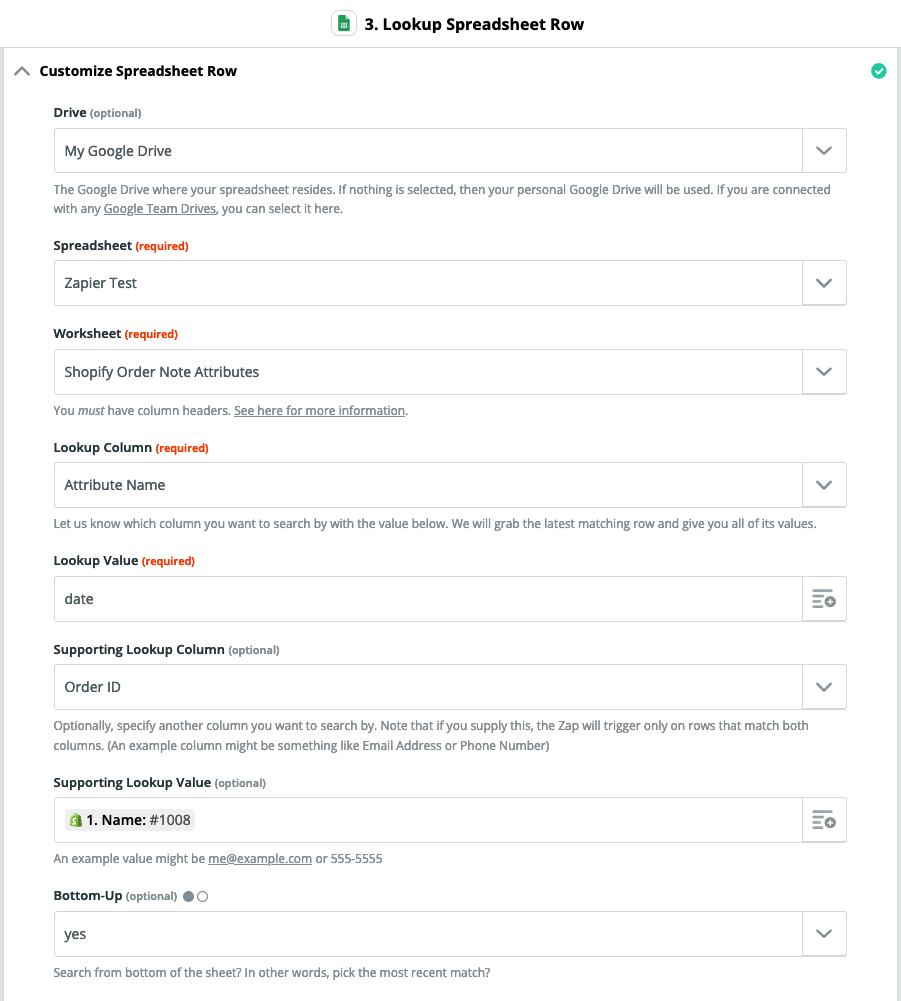
- Match for custom attributes to your columns in your Google Sheet.

- Click Continue.
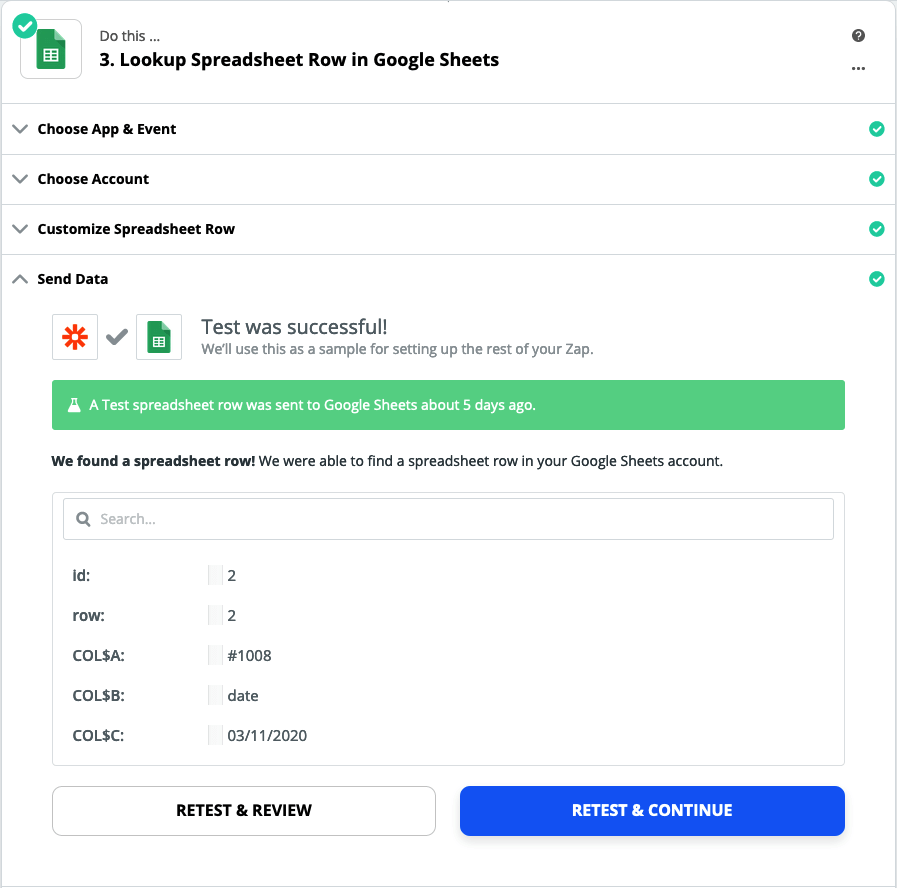
- You may perform a test.

- Click Continue.
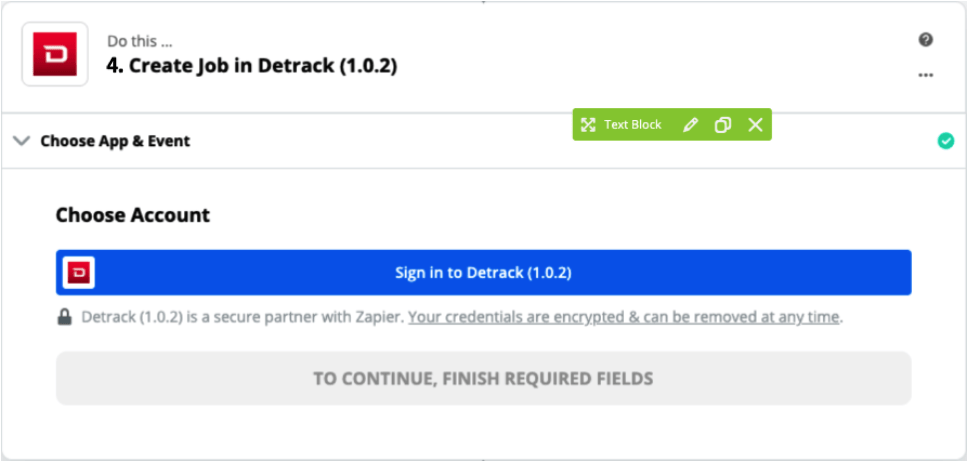
- Click on the + button to create a new step.
- Search for Detrack.
- Click Continue.
- Click Sign in to Detrack.

- Enter your Detrack API Key. (Settings > API Key)
- Click Yes. Continue when done.
- Return back to the Zap, and click Continue.
- If necessary, you may edit your Detrack account to Zapier account by clicking on the Edit Accounts.

- Select Create Job for Choose Action Event.

- Click Continue.
- Map the data to your Detrack account.For example, the Date was being mapped to the custom attribute.
- Click Continue.

-
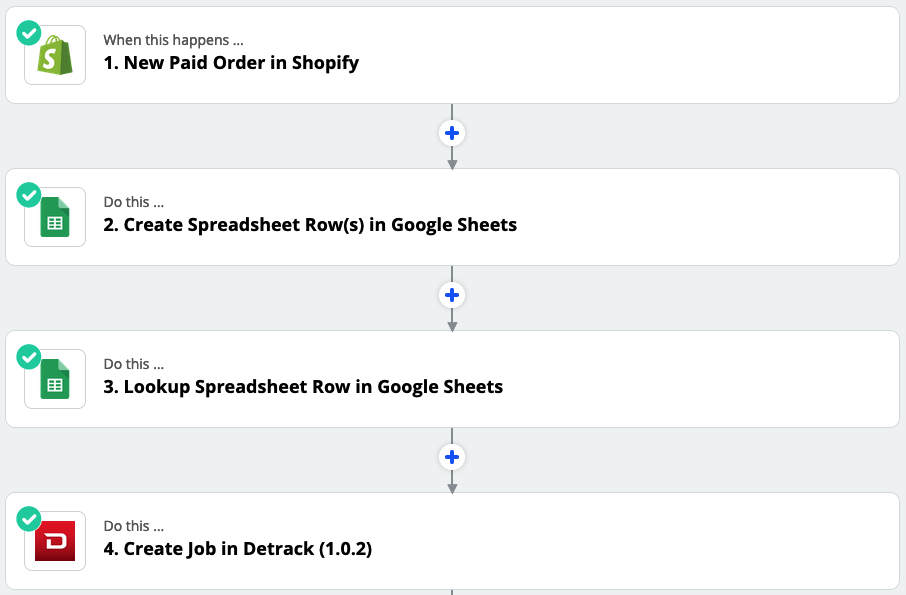
- Workflow of Zap.

- Switch On the Zap.
- You may try creating a test job from your Shopify account to test.


Note:
- A maximum of 10 item entries can be saved to a single job. (Limitation of Google Sheets Integration with Zapier Platform.)
- Every job must have at least one corresponding row in the Job Items worksheet, and Zapier will stop the workflow if there is an absent of row in the Find Many Spreadsheet Rows action.
- Using this method, every single Job must have at least one corresponding row in the items worksheet, as Zapier will stop the workflow if no rows are found in the Find Many Spreadsheet Rows Action.At point of writing, Zapier does not offer optional or failable actions.You might need to create an additional yes/no column in the Jobs worksheet, then use branching in Zapier to either use a variant of the Create Job Action with no column references to the Items Worksheet to create a Job with no items, or a variant of the Create Job Action with references to the Items Worksheet to create a Job with items.


