If you are currently using Google Sheets to manage your deliveries, you can consider automating the transfer of information from your Google Sheets into Detrack automatically, with the use of an easy Zapier integration (one time setup).
To begin, you will need to have a Zapier account.
Once you have the above, you are ready to start on the steps below.
Steps
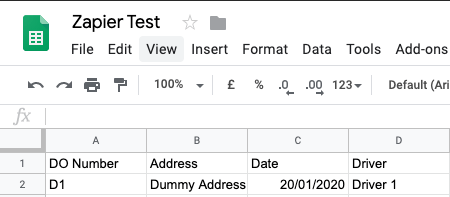
- Create a new spreadsheet in Google Sheets, and give it a recognizable name (e.g. Zapier Test).

- At the bottom left of the screen, provide a name to the worksheet (e.g. Jobs).

- In your Zapier account, create a new Zap.

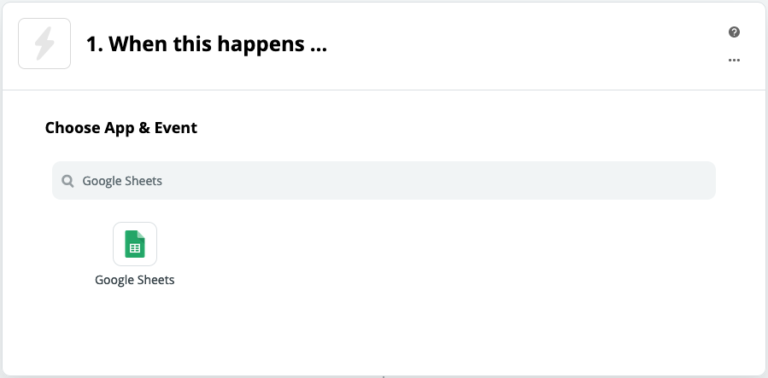
- Select Google Sheets.

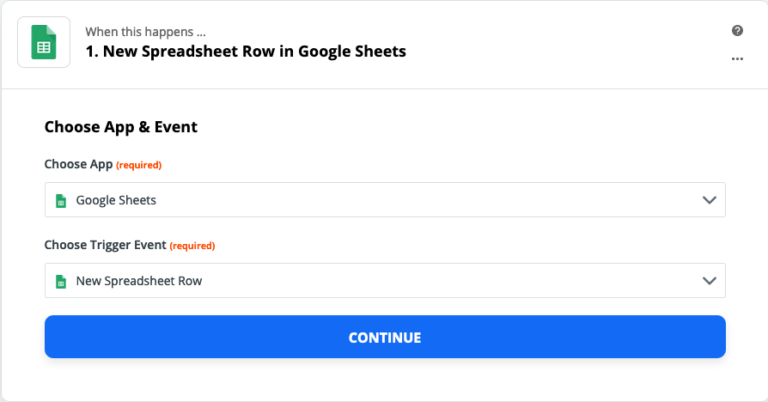
- Select New Spreadsheet Row for the Trigger Event.

- Click Continue.
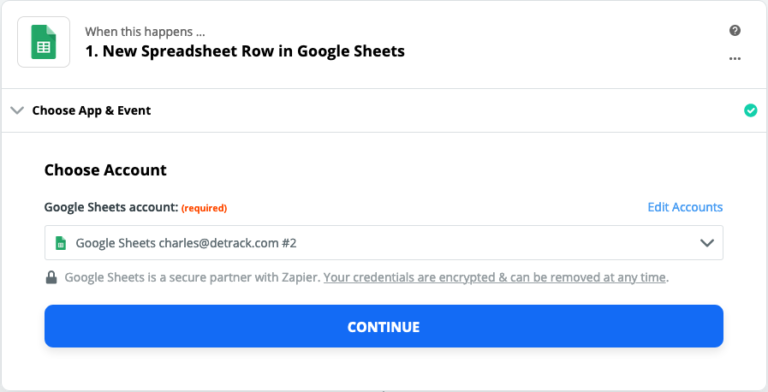
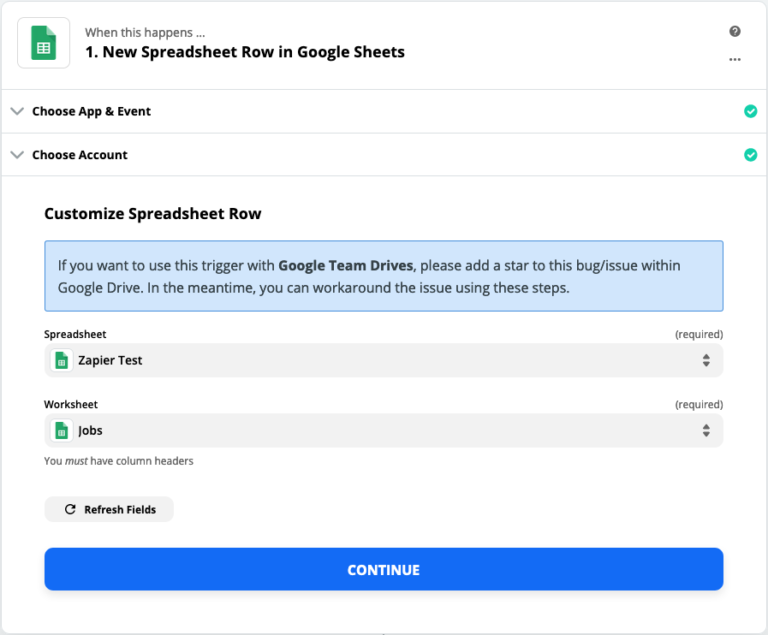
- Choose the linked account where your spreadsheet is located, and find the spreadsheet/worksheet under Customize Spreadsheet Row.

- Select the Spreadsheet (e.g. Zapier Test) and Worksheet (e.g. Jobs) (from Steps 1 and 2).

- Click Continue.
- Click on the blue + button.

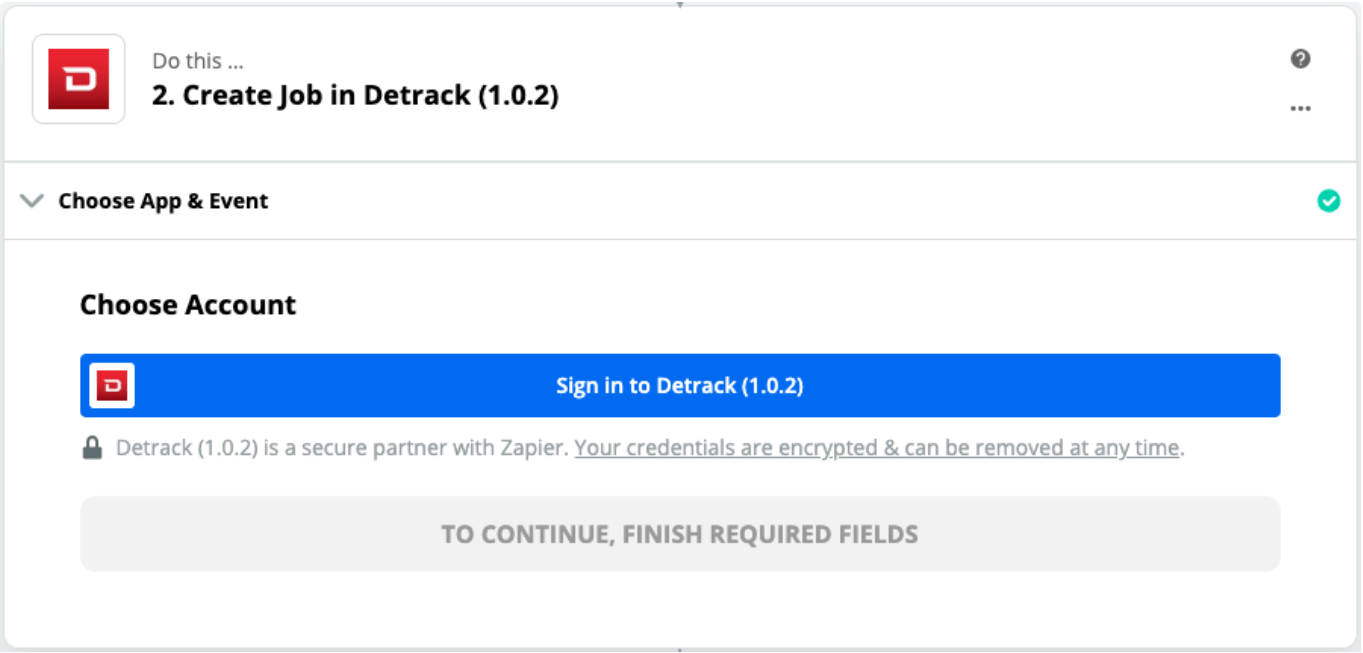
- Search for Detrack. Kindly use the latest version.
- Click Continue.
- Click Sign in to Detrack.

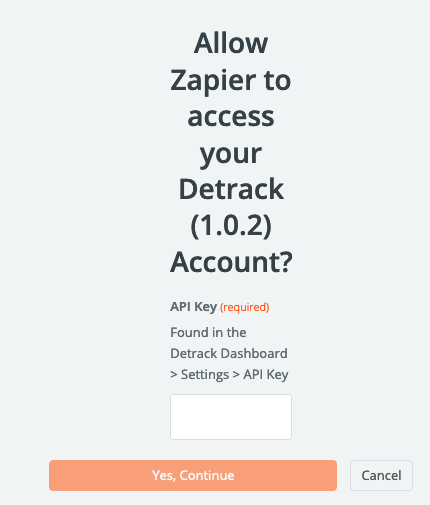
- Enter your Detrack API Key.

- Click Yes. Continue when done.
- Return back to the Zap, and click Continue.
- If necessary, you may edit your Detrack account to Zapier account by clicking on the Edit Accounts.

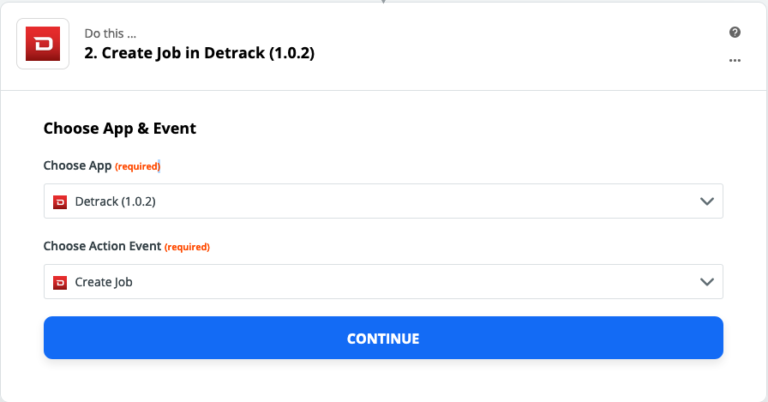
- Select Create Job for Action Event.
- Click Continue.
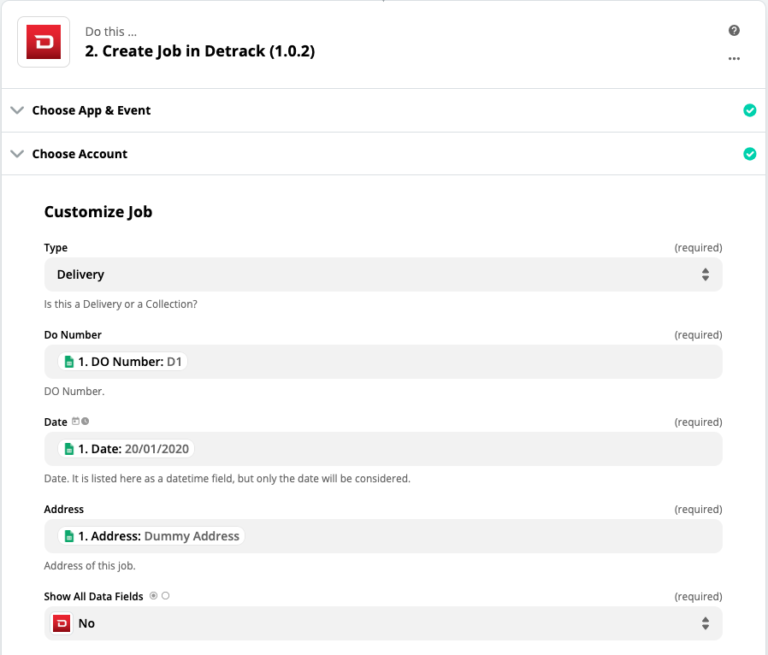
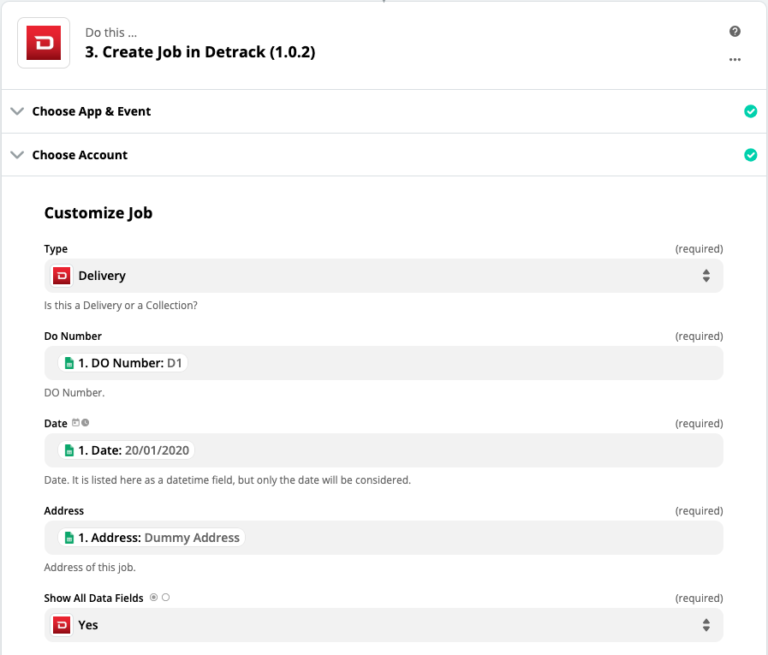
- Customize how the columns in the Google Sheets spreadsheets will be mapped to attributes of the Zapier Zap.The value of these fields can either be constants, or reference columns in the result of the New Spreadsheet Row trigger you specified in Step 1.To reference columns, click on the button to the right of each input field.

- The four required attributes are:
- Type
- DO Number
- Date
- Address
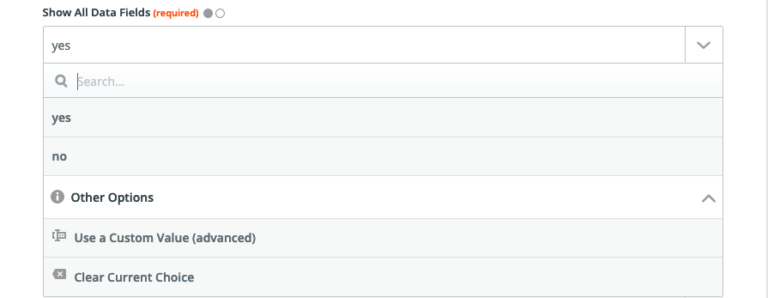
- For assigning values to other optional fields, you may select Yes under Show All Data Fields.

- Click Continue when done.
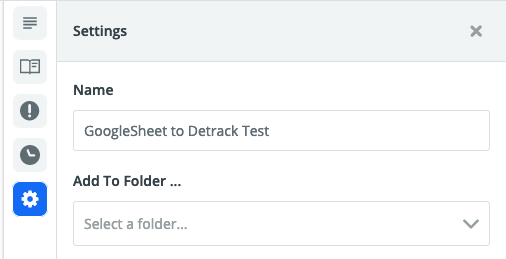
- Navigate to Settings and provide a name to the Zap.

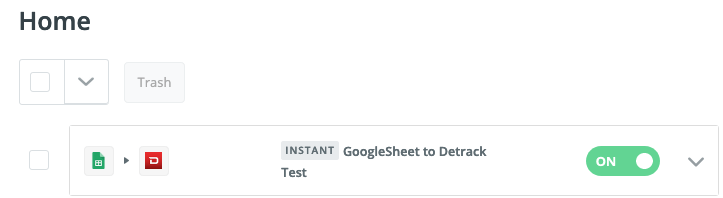
- Return back to Home and Switch On the Zap.

- To test, navigate back to your Google Sheets and enter a row of job.If setup correctly, the zap should trigger, with the new Job on being created in your Detrack Dashboard on the specified date.


Steps
- In your GoogleSheet, create another worksheet (e.g. Job Items).This worksheet will be used to contain the entries for the Item Details.

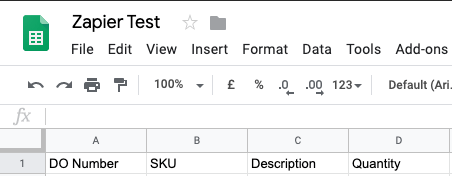
- In the newly created Job Items worksheet, create the following columns:

- DO Number – This column will be used to reference the DO number created in the Jobs spreadsheet.
- SKU
- Description
- Quantity
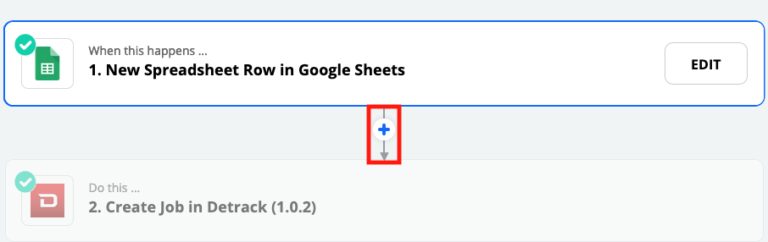
- To create entries in the Item Details section, click on the + button.

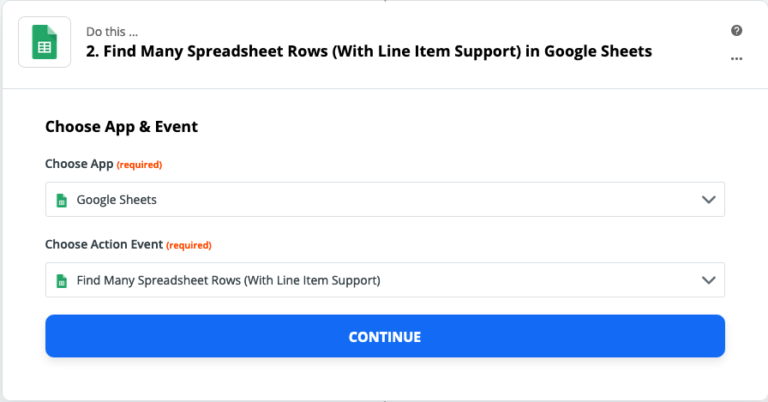
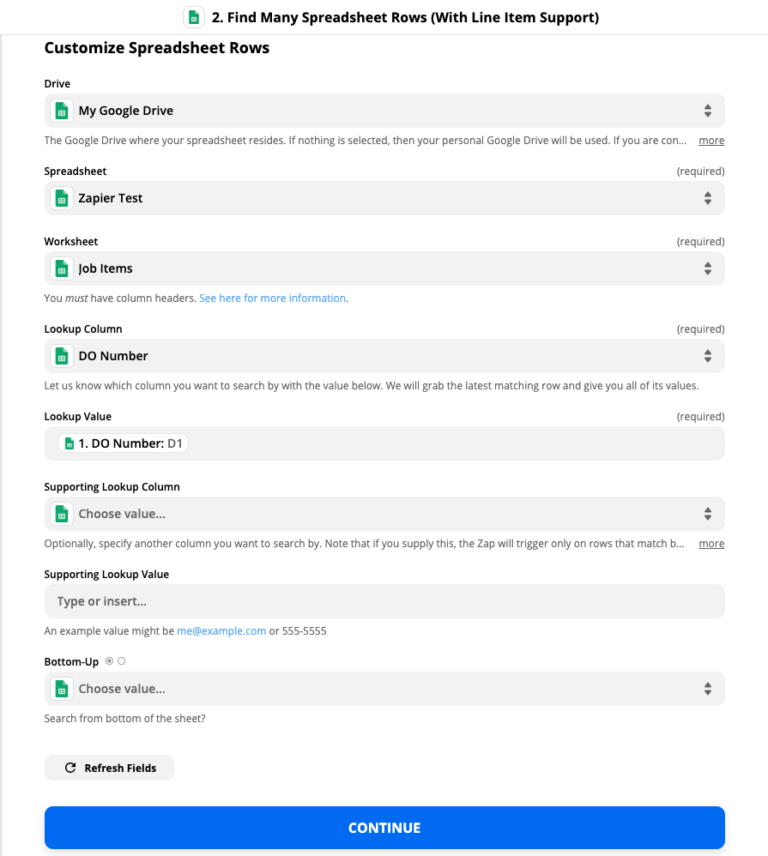
- Select Google Sheets for the App, and Find Many Spreadsheet Rows (With Line Item Support).
- Click Continue to proceed to the next step.
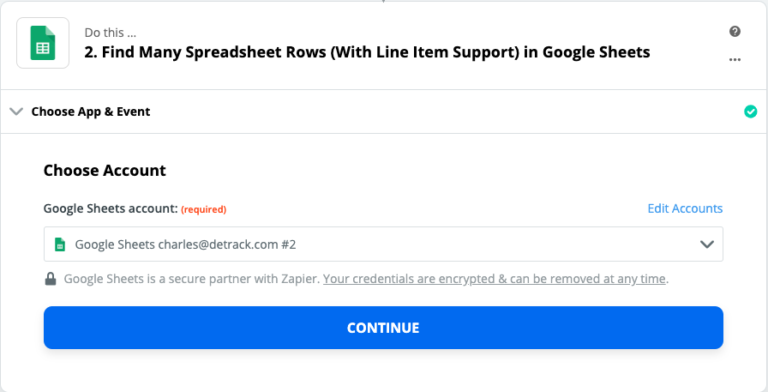
- Select your account.
- Click Continue to proceed to the next step.
- This step involves linking and referencing the information created in the Job Items worksheet to the information in the Jobs worksheet through the DO Number column.

- Click Continue when done.
- Navigate to the following Step in the Zap.
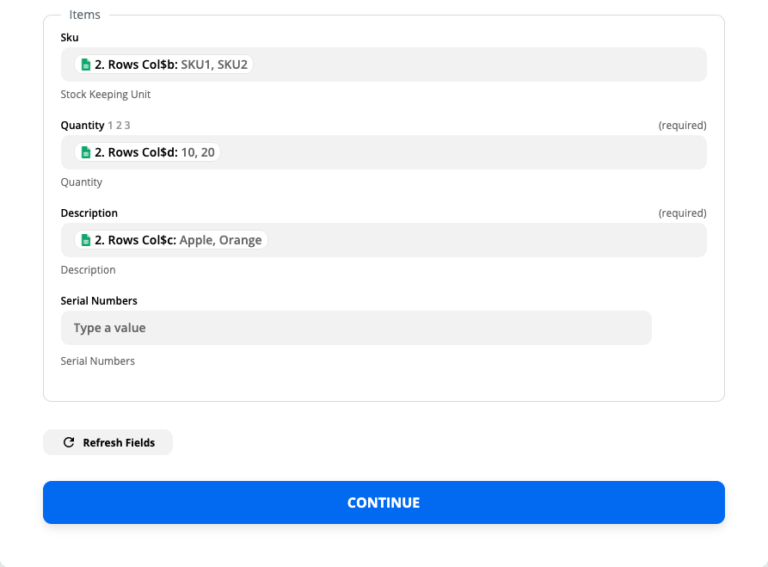
- Scroll down to the Item section.Select the data from the Find Many Spreadsheet Rows (With Line Item Support) section.

- Click Continue when done.
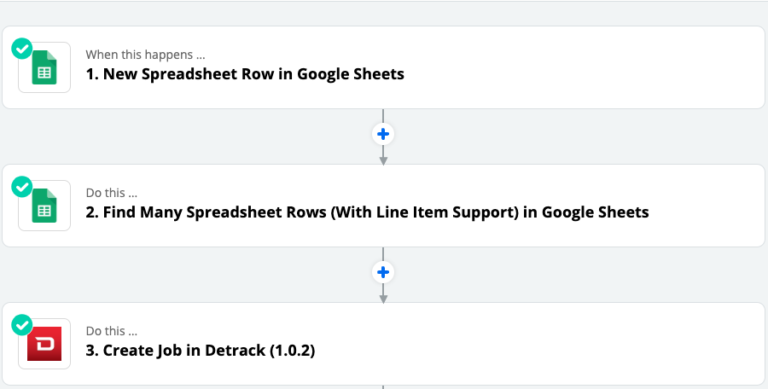
- Final view of the Zap.

- Switch On the Zap.
- To test, create a job in the Job spreadsheet with its respective item entries in the Job Items spreadsheet.
Note:
- A maximum of 10 item entries can be saved to a single job. (Limitation of Google Sheets Integration with Zapier Platform.)
- Every job must have at least one corresponding row in the Job Items worksheet, and Zapier will stop the workflow if there is an absent of row in the Find Many Spreadsheet Rows action.
- Using this method, every single Job must have at least one corresponding row in the items worksheet, as Zapier will stop the workflow if no rows are found in the Find Many Spreadsheet Rows Action.At point of writing, Zapier does not offer optional or failable actions.You might need to create an additional yes/no column in the Jobs worksheet, then use branching in Zapier to either use a variant of the Create Job Action with no column references to the Items Worksheet to create a Job with no items, or a variant of the Create Job Action with references to the Items Worksheet to create a Job with items.


