You can add multiple groups and assign any person who can benefit from the data fed to the group.
This feature is useful for 3rd party logistics (3PL) who would be performing deliveries for different customers, and that their respective data are not to be shared amongst them.
For example:
Assuming that you are serving 2 different customers – Customer A and Customer B.
2 separate Groups – Group A and Group B can be created.
Subsequently, assign the users and jobs to their respective groups.
The customer will only have access to the jobs that are assigned the same group as them.
Steps
- Enable the Group field in Settings
- Add Groups (Group A and Group B)
- Assign users to the group (Customer A to Group A)
- Assign jobs to the group
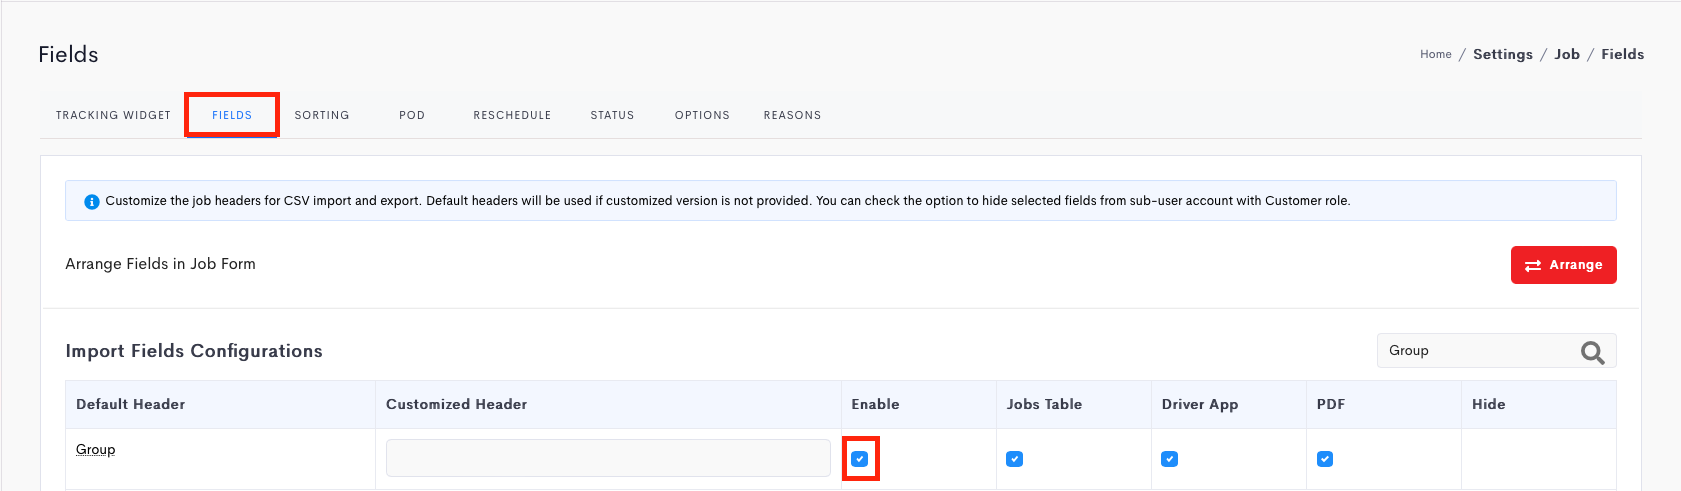
Enable the Group Field
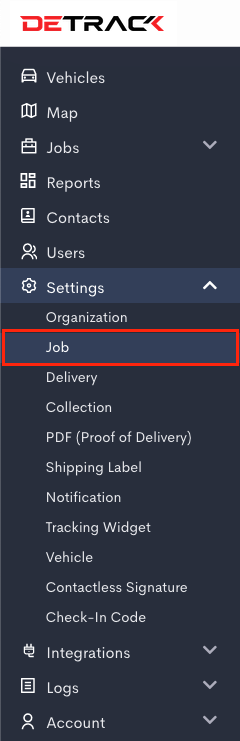
- Go to Settings > Job > Fields.

- Enable the Group > Save.

How To Add Groups
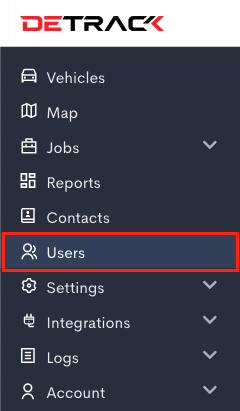
In your admin dashboard,
- Click on Users.

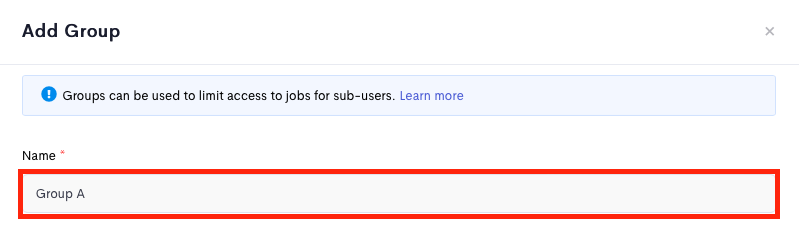
- Click on Group tab and click on Add Group.

- Type the name of the group and click Save.

How To Assign A User To A Group
In your admin dashboard,
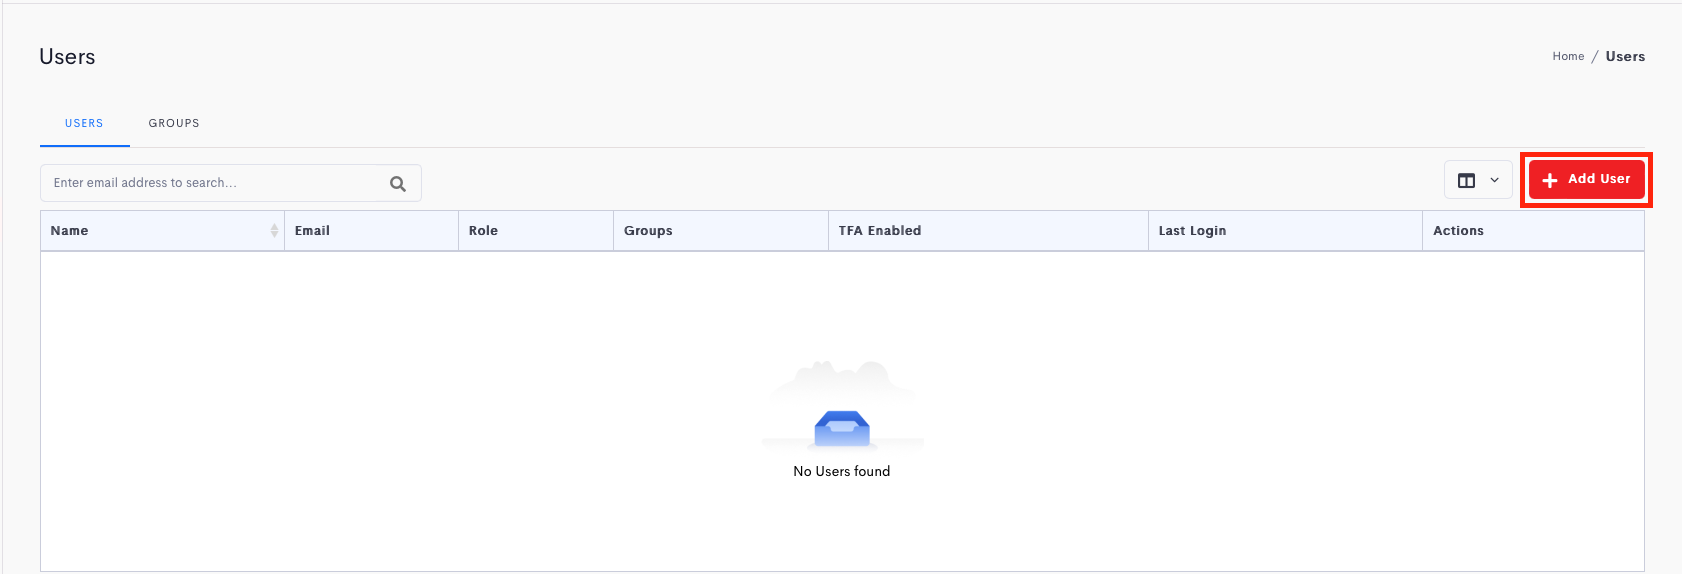
- Click on Users and click on Users tab.
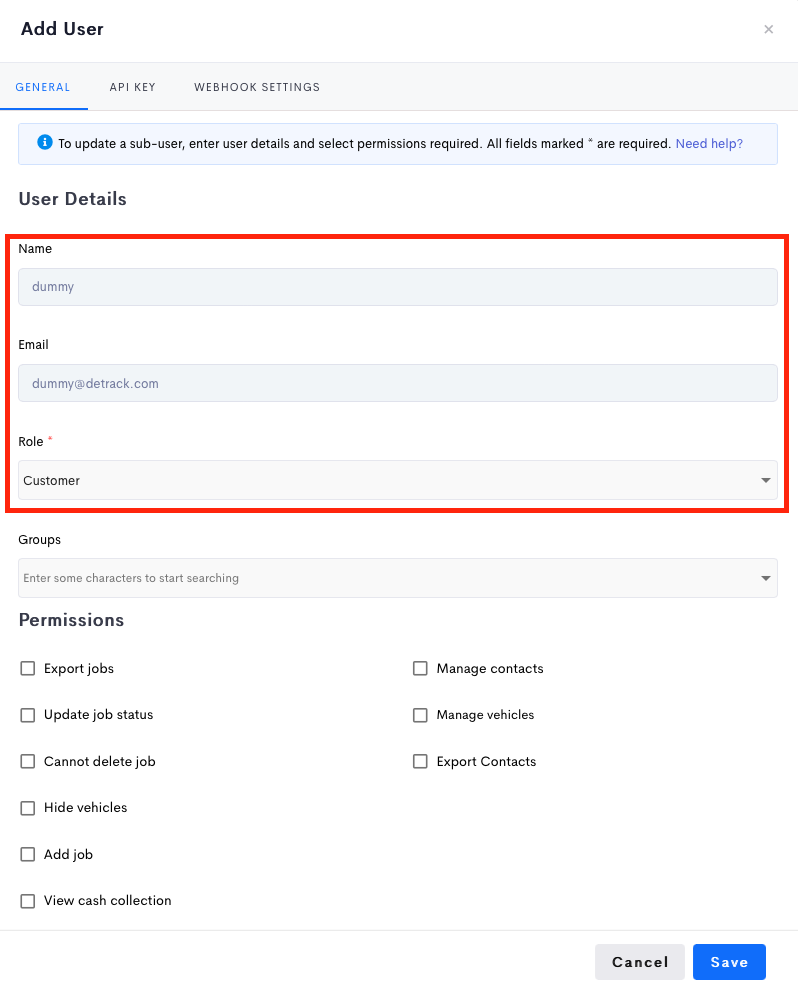
- Click Add User and fill in the name, email and role.


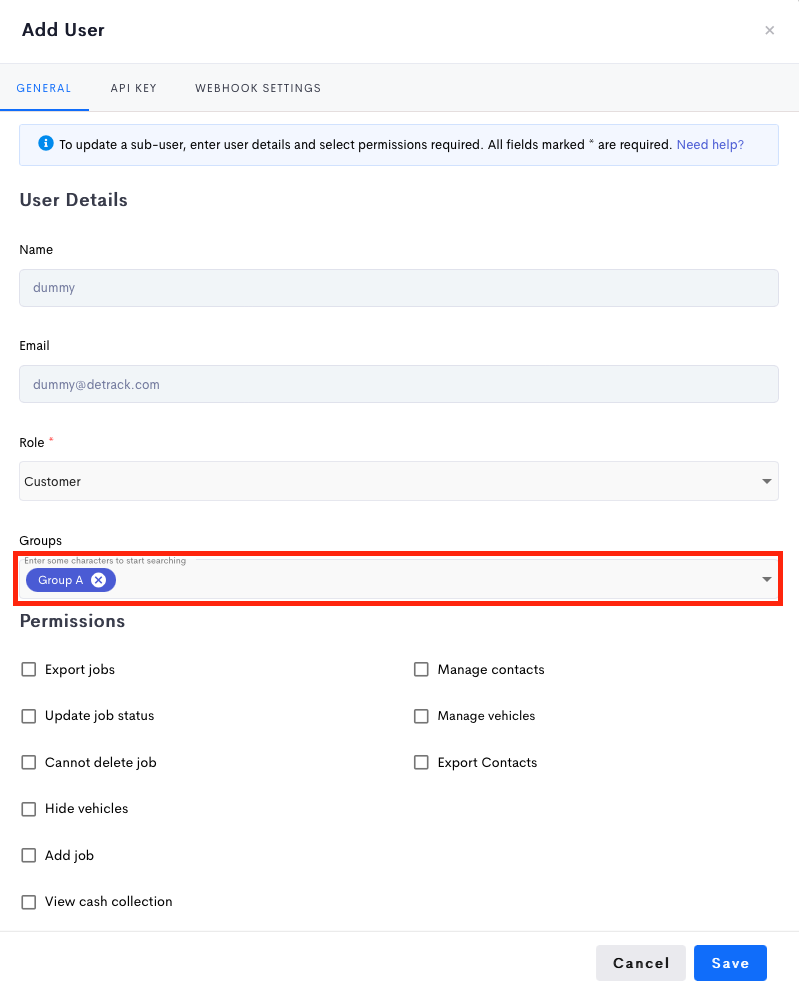
- Click on the Group drop down box, select the group and click Save.


How To Assign A Job To A Group
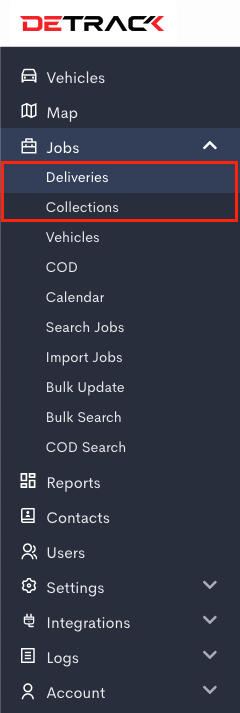
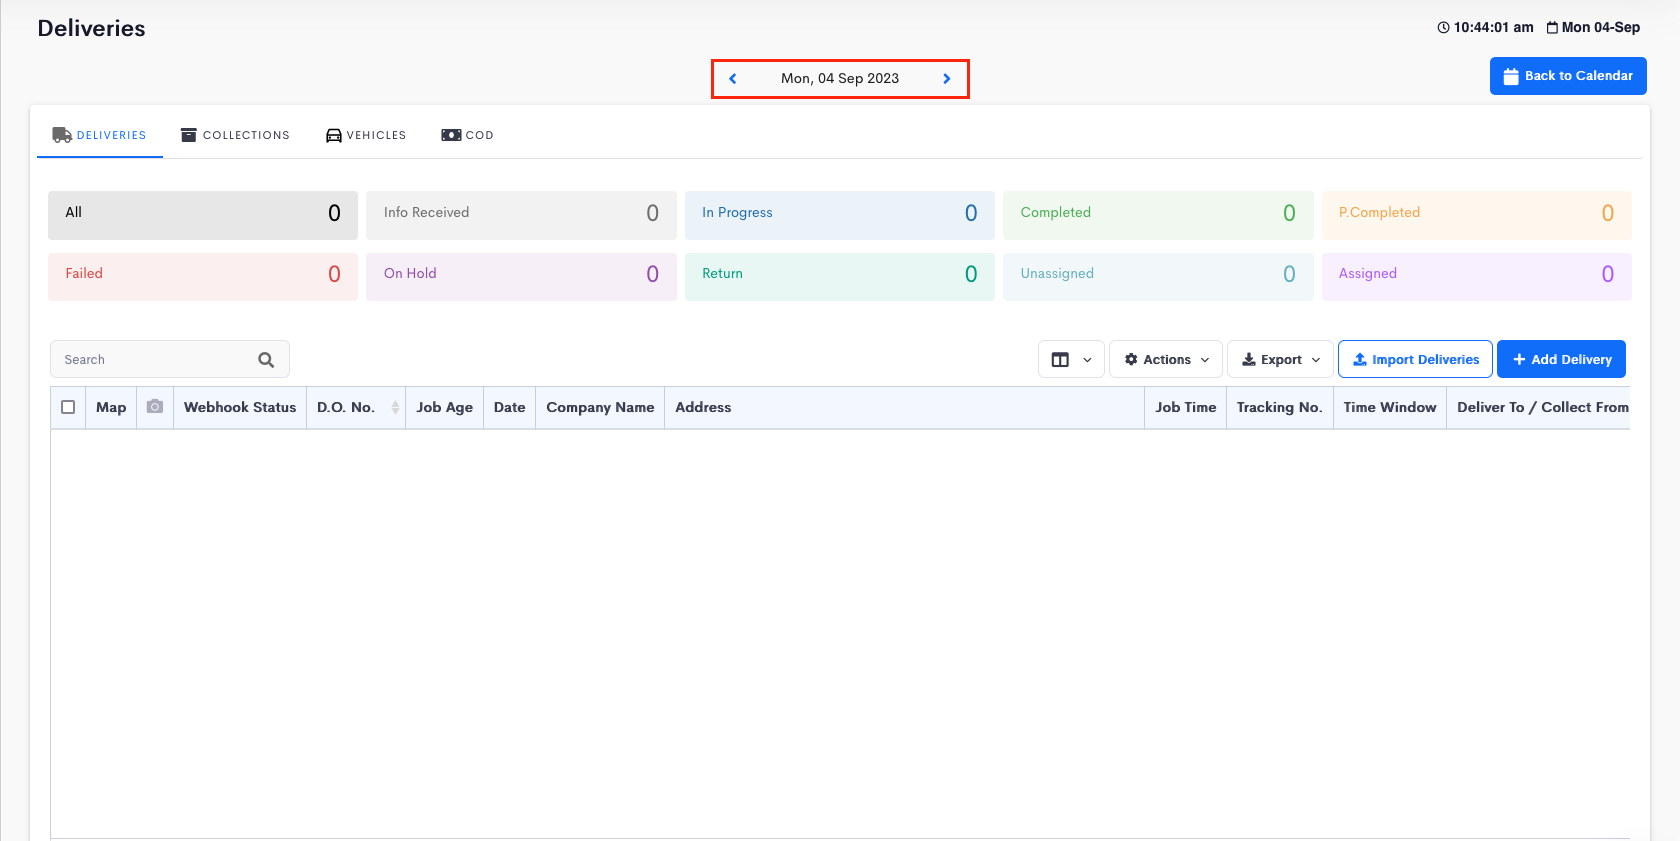
- Go to Jobs > Deliveries / Collections > Click on the date of the delivery on the calendar.


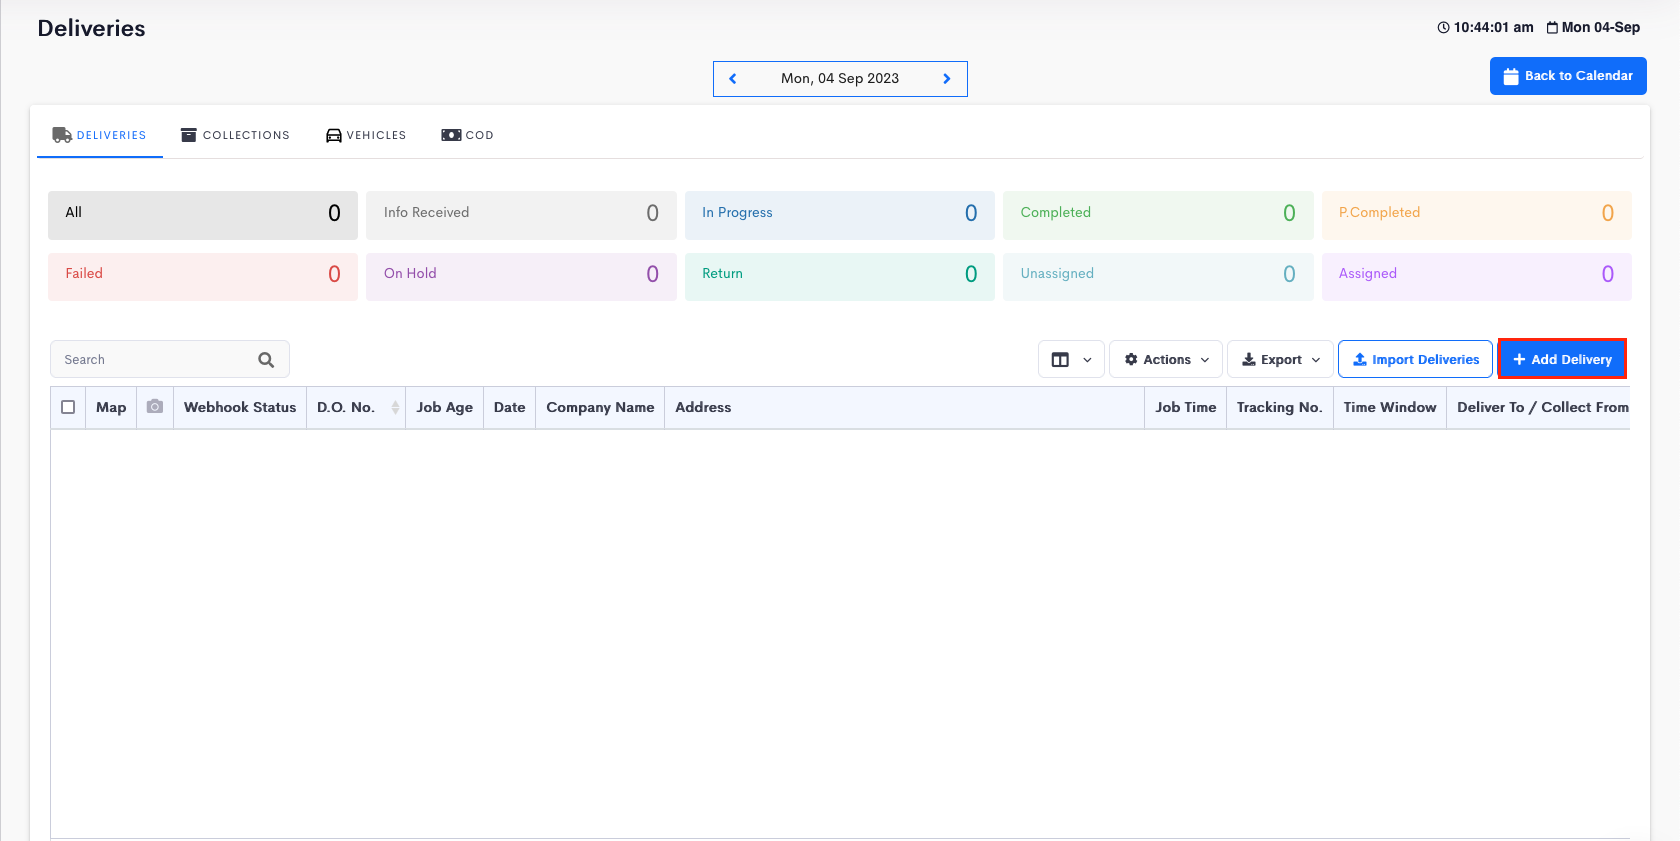
- Under Deliveries tab, click on Add Delivery button or click on the existing current job to reveal a Delivery form.
- After filling in the delivery details, click on Groups column and select the group to be assigned.

- Click Save.