This article will provide the steps on how to add a depot in Detrack Route Optimization.
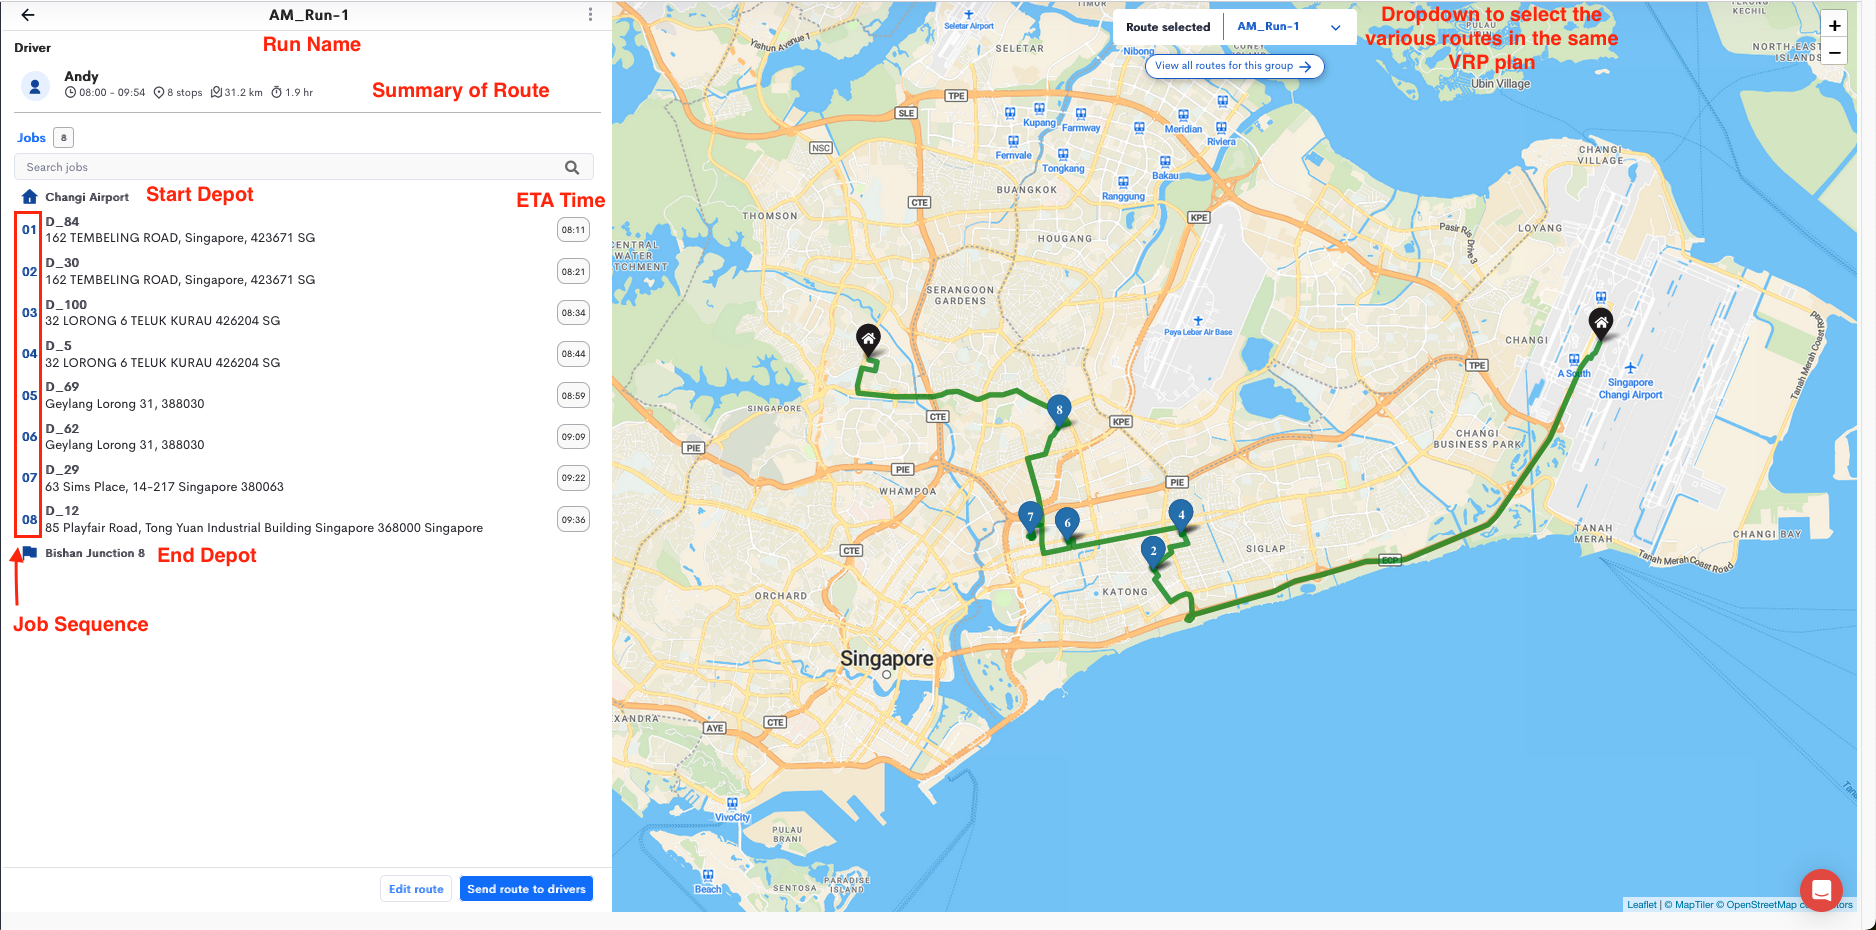
A depot can be selected for the start and end location of the vehicle; and the Route Planning form.
If the same depot is chosen as the ending location, the path is a “directed/closed-path run,” meaning the vehicle returns to the starting location after completing the run.
Steps
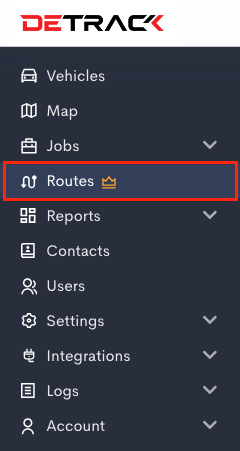
- Navigate to Routes.
- Click on the Add Depot button.
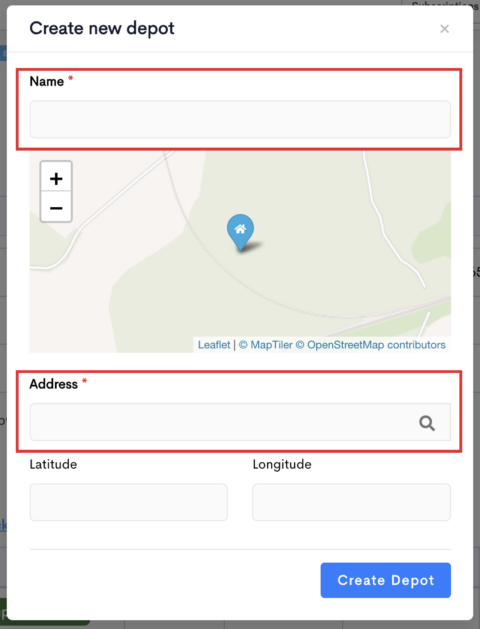
- A form will appear.
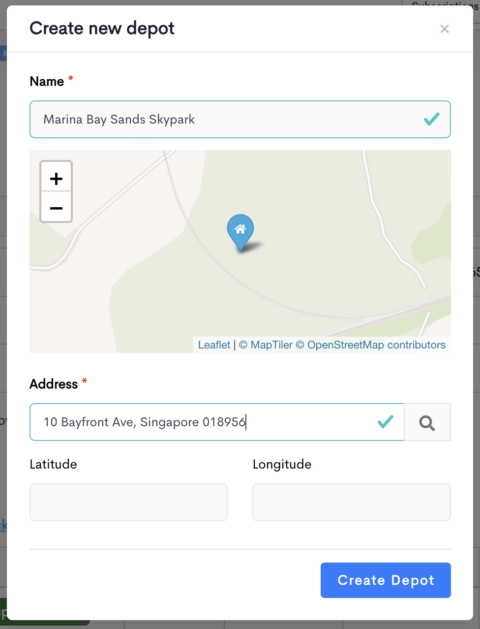
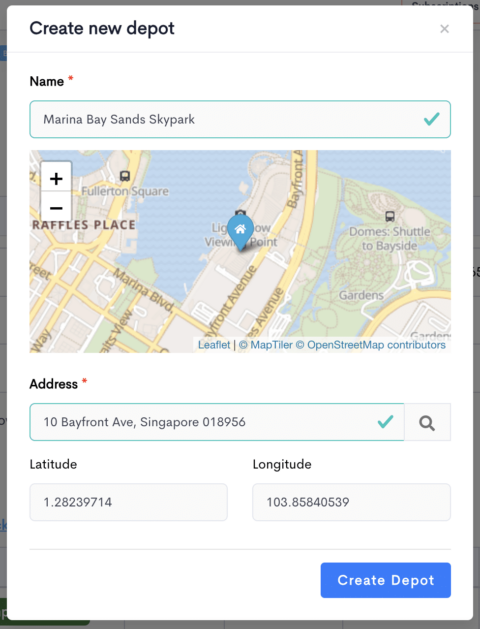
Note:Field Description Name Generic identifier for the depot. Address Location of the depot. Click on the Magnifying Glass Icon to update the Latitude and Longitude of the address. Latitude Latitude of the Address. Longitude Longitude of the Address. - After entering the address, click on the Magnifying Glass Icon. The geocoding service will attempt to look for the location and fill up the Latitude and Longitude. *For accuracy, it is highly recommended to provide the Latitude and Longitude of the location.
- Before clicking on the Magnifying Glass Icon:
- After clicking the Magnifying Glass Icon:
- You can edit by clicking and dragging the map marker or by providing the Latitude and Longitude of the depot. Once done, click the Create Depot Button.
- The Depots table will be updated.

- If the Address cannot be geocoded, drag the map-marker to the correct location, or provide the Latitude and Longitude of the depot.
